Learn the differences between Selenium, Cypress, and Playwright when it comes to automated screenshot testing and screenshot quality.
The Issue with Testing Screenshots
Capturing screens is a fundamental piece of testing web assets and reporting defects. There are other use cases for these screenshots, too. I work as the Director of Quality Control for my company. We service the pharmaceutical industry. I was tasked with leveraging existing automation processes to deliver high quality images of client sites to submit for legal review more efficiently.
My journey to find the best way to take screenshots to fill this niche was filled with ups and downs. The journey started with Selenium WebDriver, which fell short of meeting the requirement. Next I moved to Cypress because it showed great promise. It also had limitations I could not work around. Finally, I landed on Playwright and was able to meet the desired output.
I will err on the side of caution and use a site that is completely unrelated to any of our client work. Snopes seems like a safe choice. Besides, we will not do any advanced or prolonged calls against their site. Be nice to your internet neighbors!
Screenshot Testing in Selenium WebDriver
Automating full page screenshots with high fidelity has been troublesome in the past. Selenium WebDriver, the de facto champion of browser automation, lacks a method to capture a full page. Having said that, Selenium drivers do have methods for screenshots. The sample code for taking a screenshot with Selenium WebDriver is straightforward:
takeSnopesScreenshot.js
let {Builder} = require('selenium-webdriver');
let fs = require('fs');

(async function checkSnopes() {
    let driver = await new Builder()
    .forBrowser('chrome')
    .build();

    await driver.get('https://www.snopes.com');
    // Returns base64 encoded string
    let encodedString = await driver.takeScreenshot();
    await fs.writeFileSync('./homepage.png', encodedString, 'base64');
    await driver.quit();
}())
Here are the steps we took to capture our image:
- We start by bringing in our Builder class so we can create new webdriver instances.
- We also need access to the file system so we can save our image.
- Next, we instantiate a new webdriver for the Chrome browser.
- Then we instruct the webdriver to open https://www.snopes.com. This should probably be put into a variable. We’ll leave it here since we are only going to one page on the site.
- Next, we take a screenshot of the web page.
- Then we save the image to disk by converting the base64 encoded string into a .png file.
- Finally, we free the driver from service.
We get a screenshot like this after running the code:
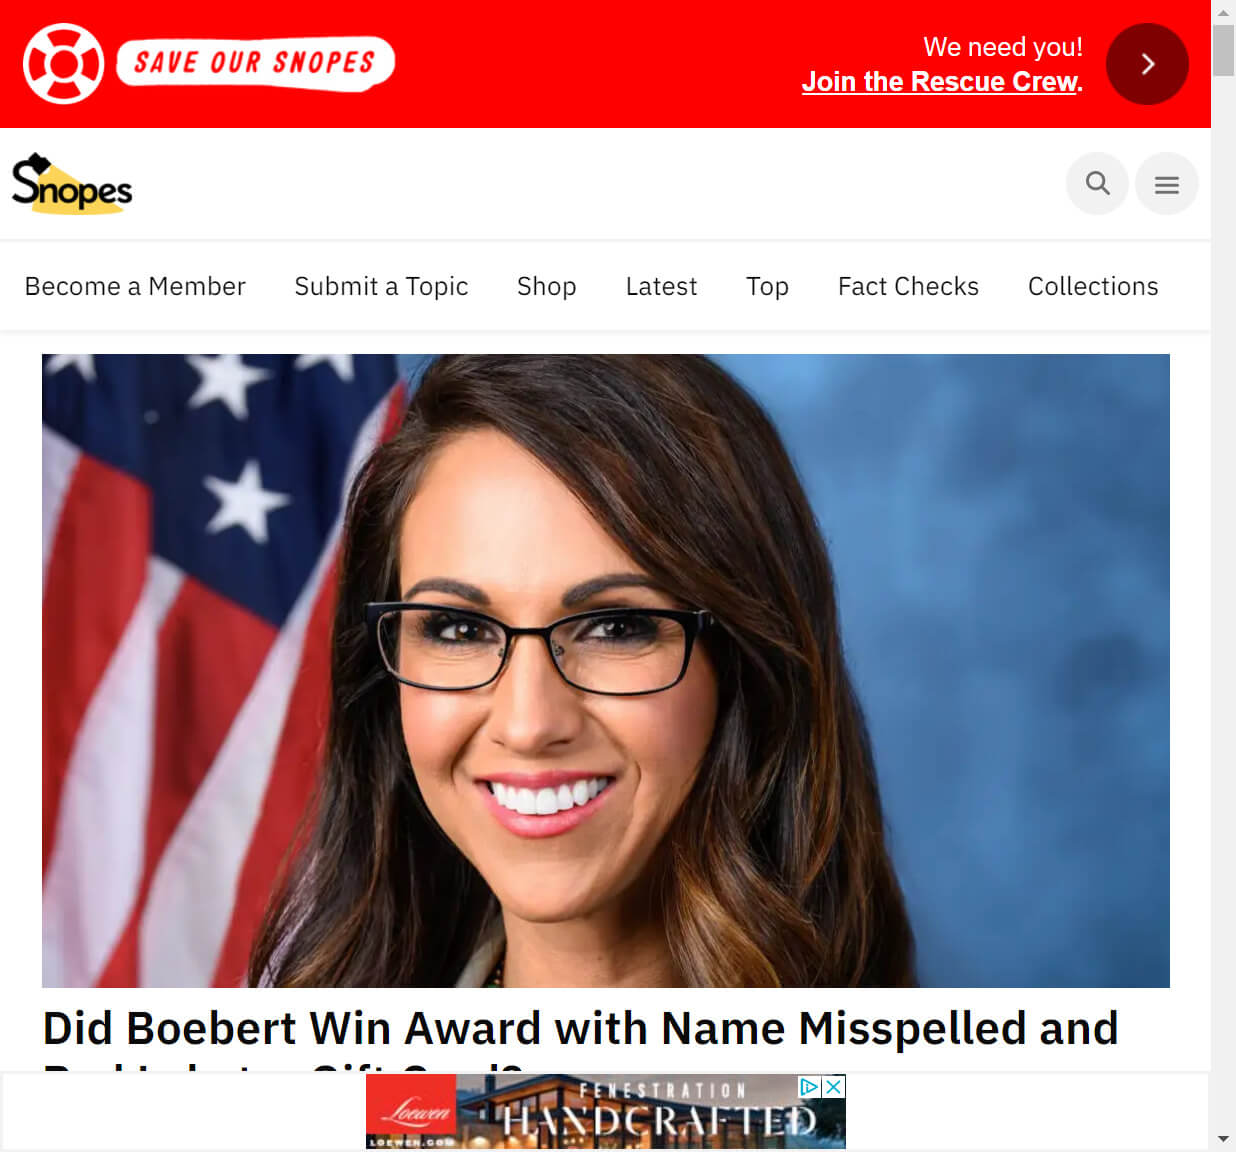
The resulting image looks nice. A couple of things immediately stood out to me as problems here:
- It is not a full-page image.
- The scrollbar is displayed.
We attempt to fix these issues by setting the window size after initializing the webdriver:
takeSnopesScreenshot2.js
let {Builder} = require('selenium-webdriver');
let fs = require('fs');

(async function checkSnopes() {
    let driver = await new Builder()
    .forBrowser('chrome')
    .build();

    await driver.manage().window().setRect({ width: 1024, height: 2000 });

    await driver.get('https://www.snopes.com');
    // Returns base64 encoded string
    let encodedString = await driver.takeScreenshot();
    await fs.writeFileSync('./homepage.png', encodedString, 'base64');
    await driver.quit();
}())
Two things come to mind if this works the way I anticipate:
- I may not know the dimensions of the longest page.
- I do not want to add more code to maintain.
The resulting screenshot after resizing the window:

The second image is high quality. Obviously, the setRect() method did not force the full page image like I had hoped.
This works great for capturing what is in the current viewport, but not so well for a page where scrolling to see all the content is needed. Instead, we would need to “stitch” the images together to get a full-page screenshot. There is also a third-party plugin named aShot for the Java users of Selenium. Not much help in a .NET and JavaScript shop. No easy, consistent method to do full page captures is a deal breaker for my use case.
Screenshot Testing in Cypress
Speedy delivery, simplicity, and consistency are keys for a successful submission. The Champ (Selenium WebDriver) is too cumbersome. That leads to a scrapy newcomer, Cypress.io. Cypress is an amazing framework. Easy to use – check. Fast as lightning – double check. It even has a built-in Screenshot API that captures full page images – yes, please. Here is a quick example of what that looks like:
snopes.test.js
describe('submission screenshots', () => {
    it('takes screenshot of the home page', () => {
        cy.visit("https://www.snopes.com");
        cy.screenshot('/screenshots/cypress-homepage');
    });
});
Here’s the breakdown of what we did:
- We set up our test suite using the built-in support from Mocha.
- Next, we set up the test.
- Then we visit snopes.com.
- Finally, we take the screenshot and save it as cypress-homepage.png.
A few things to note here:
- The code feels less intimidating and more accessible.
- We did get a full-page image!
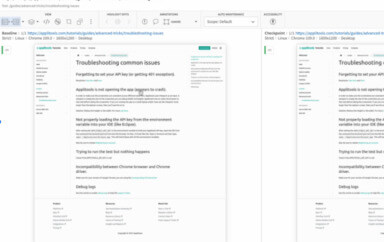
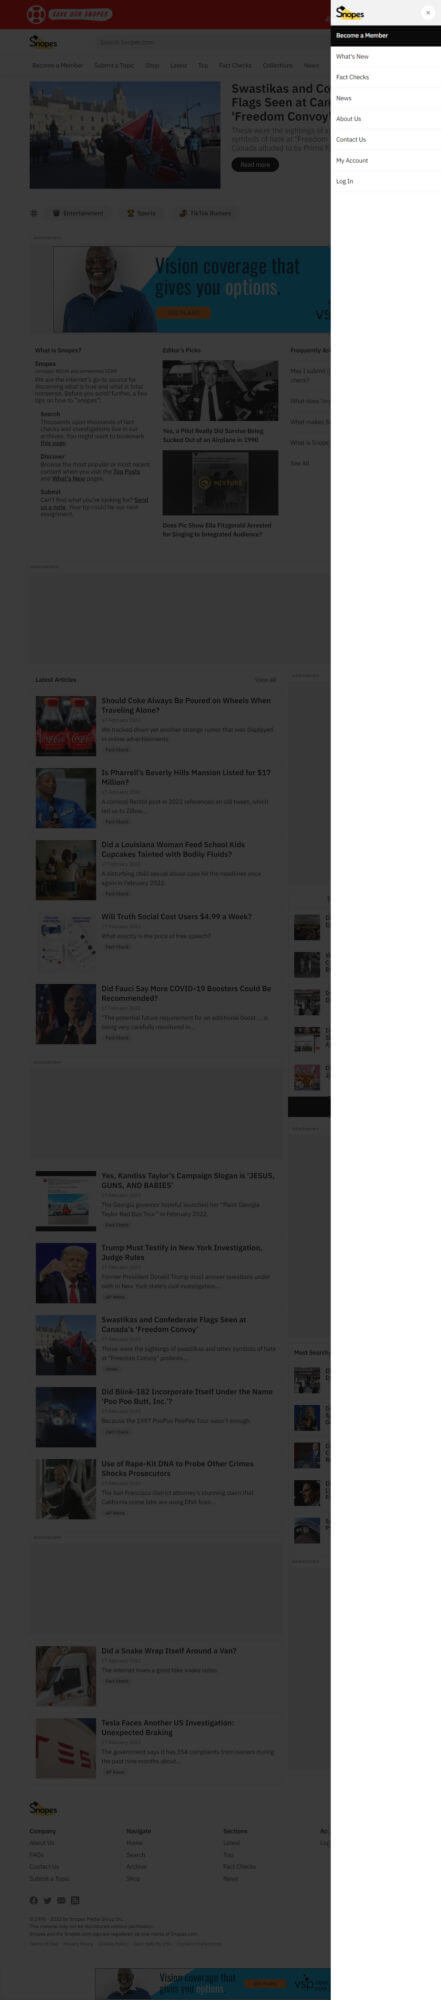
- There is a problem, though. Can you see it? (click to view full size image)

Another great-ish image. Cypress, however, appears to suffer from some of the same stitching and consistency issues found in Selenium. Images were not consistent. Some were blurry. Others were missing content – usually near the bottom of the web page. This is not likely the end of the world for most use cases, but those are killer obstacles to overcome to create legal submission documents for a federally-regulated company.
Screenshot Testing in Playwright
I was quickly losing faith in being able to find a good solution to help with our automated screenshot efforts. Then, I found Playwright, Microsoft’s entry for automated UI testing. It is a fantastic framework that checks the boxes for being speedy and easy to use. It also has the capability to capture full page images out of the box. It looks promising. The only question left is the quality of images.
Spoiler alert – It works like a charm . Let’s take a look at some of the code:
snopes.test.js
const {test, expect} = require('@playwright/test');

// The site I will capture screens from.
const url = "https://www.snopes.com/";
const savePath = "./screenshots/";

// I have a wrapper function to beef up Playwright's screenshot method.
async function takeScreenshot(page, label) {
    await page.screenshot({
      path: `${savePath}${label}.png`,
      fullPage: true,
    });
}

// Start the testing
test.describe('Submission Screenshots:', async () => {

    test('0.0 - Homepage', async({page}) => {
        await page.goto(url);
        await takeScreenshot(page, "playwright-homepage");
    });

    test('1.0 - Menu', async({page}) => {
        await page.goto(url);
        await page.click("//html/body/header/div[1]/nav/div/div[3]/div/a[2]");
        await takeScreenshot(page, "playwright-menu");
    });

    test('2.0 - Search Results', async({page}) => {
        await page.goto(url);
        await page.fill('input[name="s"]', 'scam');
        await page.press('body', 'Enter');
        await takeScreenshot(page, "playwright-search-results");
    });
});
This snippet is a bit more polished than the others.
- We moved the URL into a proper variable.
- Next, we created a variable to hold the saved images path.
- Next is a wrapper function to take care of the additional information (label) needed for each image.
- Inside we call Playwright’s screenshot method.
From there the test suite and individual tests take on the Mocha format like Cypress.
These are the screenshots we get after running the code (click for full size):
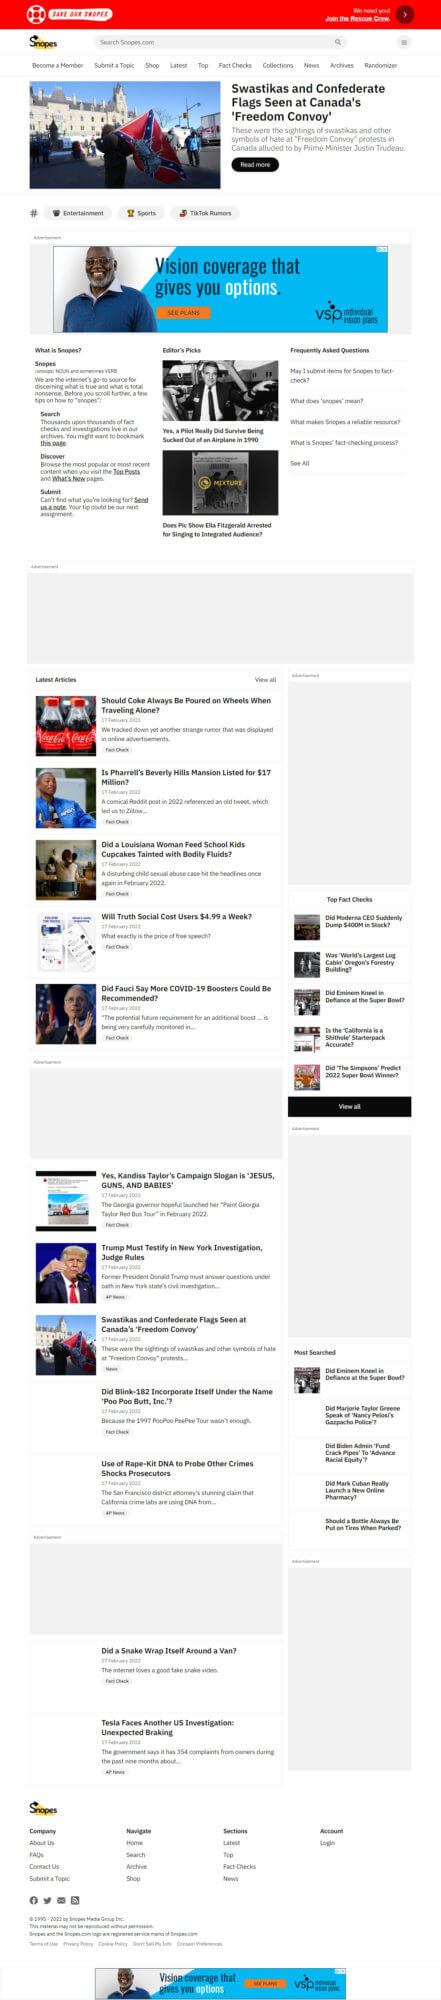

Those images look amazing. Full page. Crisp. Consistent. The time taken to run through the screens is not bad for what we are doing, but there is considerable overhead when doing file I/O. We added 20 seconds by writing those large files to disk.
The chart below lists the times for capturing just the homepage image versus a visit to the page for each framework. Keep in mind that these times reflect visiting an external site on my personal internet connection. Times on a local build will be significantly faster.
| With Screenshot (seconds) | Without Screenshot (seconds) | |
|---|---|---|
| Selenium WebDriver | 21 | 12 |
| Cypress | 18 | 11 |
| Playwright | 21 | 10 |
Conclusion
These are simple examples of how to use the screenshot capabilities of three common automated testing frameworks. The differences of the resulting images were quite shocking. I presumed that a screenshot was a screenshot.
It is important to note that different here does not mean bad. You have to take your use case into account. Take the extra 20 seconds needed to write three full page screens to disk for example. That is not a typical use case, but it is perfect for the time savings we set out to recoup by automating submission screenshots. Is it perfect? No, but it gets closer with every site we automate.
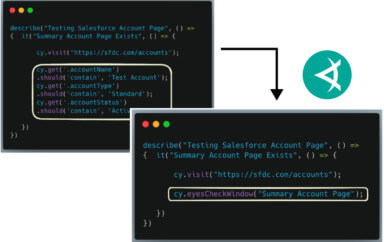
There is room for enhancement. We can move from capturing and saving screenshots into automated visual testing with Applitools. Visual testing with Applitools is an enhancement worth making, especially for regulatory or compliance testing, because we will be alerted whenever a visual change is detected. This is done by swapping out the screenshot method calls with calls to Applitools Eyes.