The Problem
In the last write-up I covered common issues that can lead to false positives in your automated visual tests along with some workarounds for them.
While this was a good start, it was incomplete.
It provided enough information to add initial resiliency to your visual tests, but it glossed over other common scenarios that will cause false positives and create gaps in your test coverage. Not only that, the tactics I’ve demonstrated thus far won’t hold up when faced with these new scenarios.
A Solution
These are the sorts of challenges that give visual testing a bad rap. But by leveraging a more sophisticated image comparison engine we can save ourselves a lot of time and frustration by side-stepping these issues entirely.
But before we get too far ahead of ourselves, let’s step through these additional scenarios to make sure we know what we’re up against.
An Example
In the last write-up we stepped through how to work with small pixel shifts (e.g., an element moving 1 pixel left or right on subsequent page loads) by increasing the mismatch tolerance (the value that WebdriverCSS uses to determine if the page has changed significantly).
Here is the code from it.
// filename: false_positives.js
var assert = require(‘assert’);
var driver = require(‘webdriverio’).remote({
   desiredCapabilities: {
      browserName: ‘firefox’
      }
   });
require(‘webdrivercss’).init(driver, {
    updateBaseline: true, misMatchTolerance: 0.20 } );
driver
   .init()
   .url(‘http://the-internet.herokuapp.com/shifting_content
/menu?mode= random&pixel_shift=1’)
   .webdrivercss(‘body’, {
      name: ‘body’,
      elem: ‘body’
   }, function(err,res) {
      assert.ifError(err);
      assert.ok(res.body[0].isWithinMisMatchTolerance);
   })
   .end(); “`
NOTE: For a full walk-through you can read the previous post here.
To briefly recap — this code loads an instance of Firefox, visits the example application, captures a baseline image, then refreshes the page, captures another image, and checks to see if there is a significant change between the baseline image and the second image.
For this example, our test code works well. It passes when the menu button shifts by a pixel (avoiding a false positive), and it fails when it shifts by 20 pixels (a legitimate failure). But when the same approach is applied to a slightly different example (e.g., an image shifting by a single pixel) the test will get tripped up.
Let’s change the URL to point to this new image example and see for ourselves.
// filename: false_positives.js
driver
  .init()
  .url('http://the-internet.herokuapp.com/shifting_content/image?mode=
random&pixel_shift=1')
...
If we save this file and run it (e.g., node false_positives.js from the command-line) it will fail when it should have passed. Here’s the diff image from the failure:
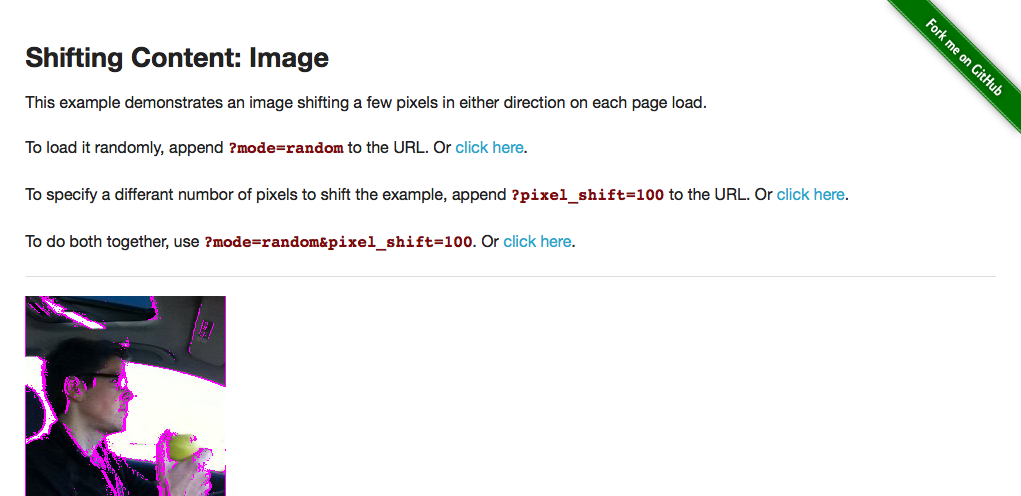
Compared to a text menu button, when an image moves, it accounts for a greater number of pixels on the page. So when the image in this example moves a single pixel from it’s original location, it’s enough to trigger the mismatch tolerance (which causes the test to fail). Simply put, the failure occurred because more pixels changed, even though it was just a single pixel to the left or right.
And it’s not that the image we’re testing is overly detailed. The same thing will occur with a simpler image.
// filename: false_positives.js
...
driver
  .init()
  .url('http://the-internet.herokuapp.com/shifting_content/image?mode=
random&pixel_shift=1&image_type=simple')
...
Here’s the diff image from the failure:
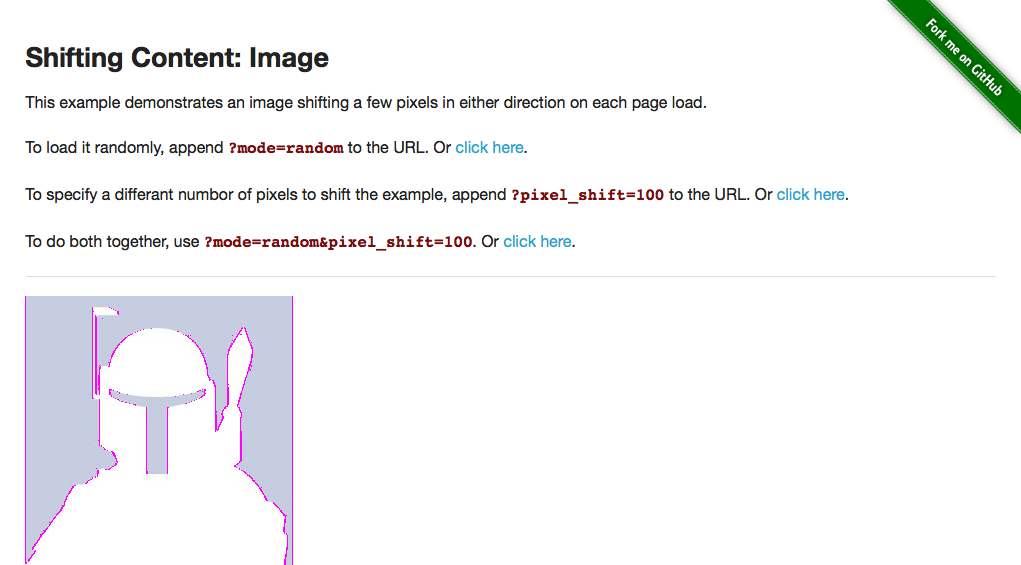
Conventional wisdom posits that we could simply increase the mismatch tolerance even higher. This is a bad idea and should be avoided since it can quickly make your automated visual tests go off the rails by opening up holes in your coverage that you’re not aware of.
Another Example
And that’s not to say that we don’t already have holes in our coverage.
In addition to tricky false positives, we also run the risk of missing legitimate failures. For example, let’s point our test at an example that has an occasional typo and see if we can catch it.
And just to be certain, let’s also set the mismatch tolerance back to the it’s original default (reverting it from 0.20 to 0.05) — making the visual comparison stricter.
// filename: false_positives.js
...
require('webdrivercss').init(driver, {
  updateBaseline: true
  }
);
driver
  .init()
  .url('http://the-internet.herokuapp.com/typos')
...
If we save the file and run it (e.g., node false_positives.js from the command-line) it will run and pass. But it should have failed. It missed the typo entirely.
Now, granted, if the typo occurred elsewhere (e.g., at the beginning of the sentence) the test may catch it. But not if the typo were composed of a character of similar pixel width to the original character.
Missing typos may seem like a contrived example, regardless it’s a hole in our visual test coverage. And if it can slip through the cracks, then something else could too.
A Better Solution
With a more sophisticated image comparison engine like Applitools Eyes we can easily avoid these issues since it doesn’t rely on thresholds like our previous examples. It actually ignores changes that are not visible to the human eye, but still identifies valid changes (no matter how tiny) in pages of all sizes. And thankfully WebdriverCSS comes with support baked-in.
NOTE: For more info on Applitools Eyes, check out their Quick Start Guide and take a spin for yourself. They have SDKs for a bunch of different languages and are constantly adding to that list.
You just need to create a free Applitools Eyes account (no credit-card required) and grab your API key from your account dashboard. Once you have that, we just need to update the test setup for WebdriverCSS (removing the existing WebdriverCSS init configuration, replacing it with your key).
// filename: false_positives.js
...
require('webdrivercss').init(driver, {
    key: 'your API key goes here'
  }
);
...
After that, there are a couple additional tweaks to make.
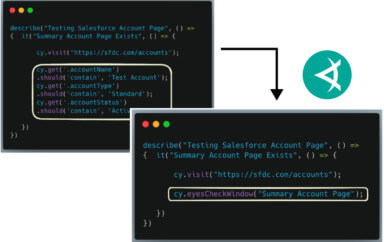
Previously we just used 'body' for all of the test parameters. But now we want the test to be more descriptive since the results will show up in the Applitools dashboard and we’ll want to discern which test goes to what since we’ll be doing multiple test runs.
So let’s specify the name of the site (e.g., .webdrivercss('the-internet')) and the page name (e.g., name: 'typos') — the focus element will stay the same (e.g., elem: 'body').
// filename: false_positives.js
...
driver
  .init()
  .url('http://the-internet.herokuapp.com/typos')
  .webdrivercss('the-internet', {
    name: 'typos',
    elem: 'body'
...
We’ll also need to update our assertion to use the Applitools Eyes comparison engine (instead of the WebdriverCSS mismatch tolerance).
// filename: false_positives.js}, function(err,res) { assert.ifError(err); assert.equal(res[‘typos’].steps, res[‘typos’].matches, res[‘typos’].url) }) .end(); …
Just like with the assertions in previous examples, res is a collection of the results for the elements used in the test. The main difference here is that we’re performing an assert.equal (instead of assert.ok) to compare the results of the test steps against the baseline image stored in Applitools. We’ve also included custom output for the assertion (so a permalink for the Applitools job will get outputted for us on failure).
If we save the file and run it (e.g., node false_positives.js from the command-line) the test will run, fail, and provide us with a URL (to the job in Applitools Eyes) in the terminal output. This failure can be ignored since it’s not actually a failure. It’s a side-effect of the Eyes platform capturing a new baseline image. It’s the second test run that we’ll want to pay attention to.
NOTE: If you don’t want to save this initial test run as the baseline, open the test in Applitools Eyes (e.g., either through URL provided or through the dashboard), click Reject, Save, and then re-run your test.
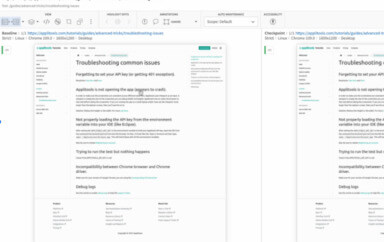
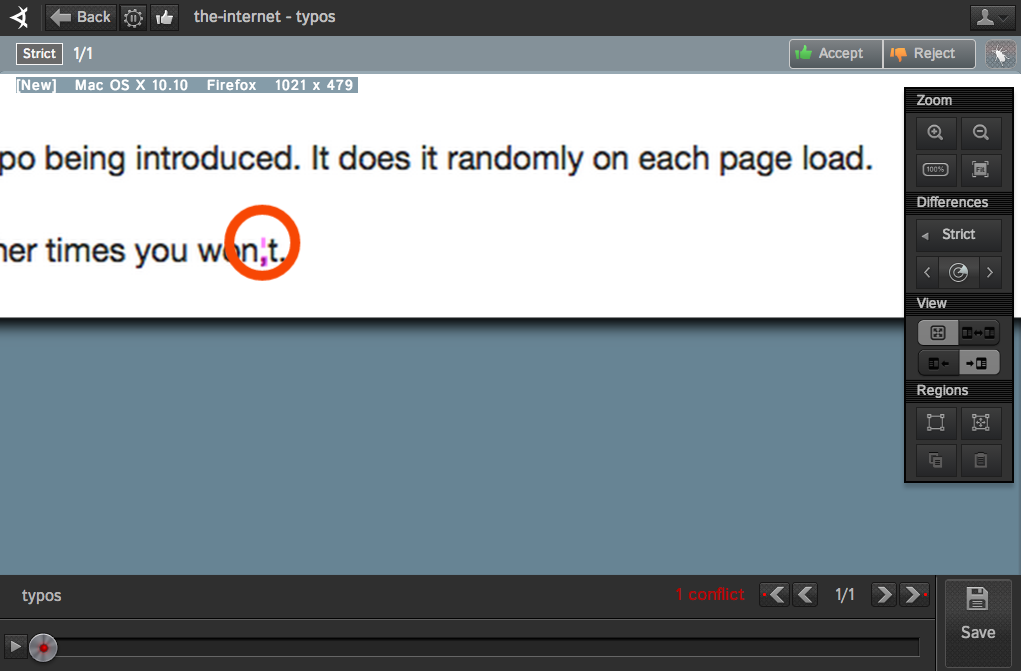
Now let’s run the test again. This time it will be compared against the baseline, fail, and provide us with a URL to job in Eyes. When we view the result page, we can see that the failure was legitimate because it caught the typo.
Here is an image of failure result.
One Last Example
Now, for closure, let’s point our test back at our shifting image example and see how Applitools Eyes holds up.
// filename: false_positives.js
...
driver
  .init()
  .url('http://the-internet.herokuapp.com/shifting_content/image?mode=
random&pixel_shift=1')
  .webdrivercss('the-internet', {
    name: 'shifting image',
    elem: 'body'
  }, function(err,res) {
      assert.ifError(err);
      assert.equal(res['shifting image'].steps,
        res['shifting image'].matches,
        res['shifting image'].url)
    })
  .end();
Just like before, we’ll want to run the test twice. And on the second test run it will pass — clearing the previous hurdle of a false positive from the image shifting by a single pixel.
In Conclusion…
It’s worth noting (although not demonstrated in these last two examples) that Applitools Eyes handles other false positive scenarios (e.g., anti-aliasing, dynamic data, etc.) that would normally trip up your tests. And these examples merely scratch the surface of what the Eyes platform can do for your visual testing efforts — which I’ll cover in more depth in future posts.
For now, I’d say you’re armed with more than enough information to dig into automated visual testing on your own; regardless of whether you go with an open source or proprietary solution.
To read more about Applitools’ visual UI testing and Application Visual Management (AVM) solutions, check out the resources section on the Applitools website. To get started with Applitools, request a demo or sign up for a free Applitools account.
Dave Haeffner is the writer of Elemental Selenium – a free, once weekly Selenium tip newsletter read by thousands of testing professionals. He’s also the creator and maintainer of ChemistryKit (an open-source Selenium framework), and author of The Selenium Guidebook. He’s helped numerous companies successfully implement automated acceptance testing; including The Motley Fool, ManTech International, Sittercity, Animoto, and Aquent. He’s also a founder/co-organizer of the Selenium Hangout, and has spoken at numerous conferences and meet-ups about automated acceptance testing.