A common question is “does Applitools visual testing work on mobile apps?”. The answer is a resounding YES! In this post, I’ll automate a couple of scenarios and show you the power of visual testing.
The App
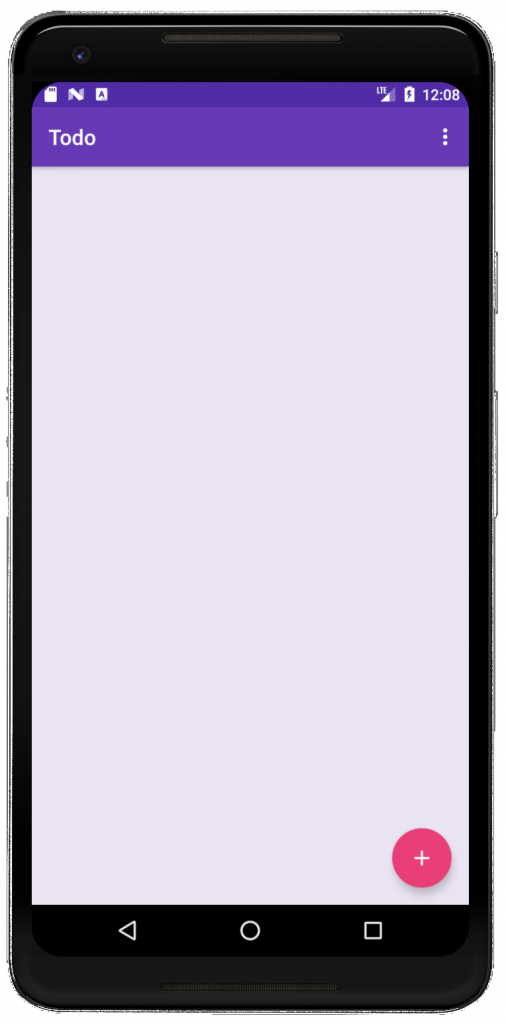
We’re going to work with a Todo App which will allow us to add tasks. A cool feature of this app is the ability to add colors to tasks, which is a great way to designate categories for our various types of tasks.
Scenario #1: Add multiple tasks of different categories
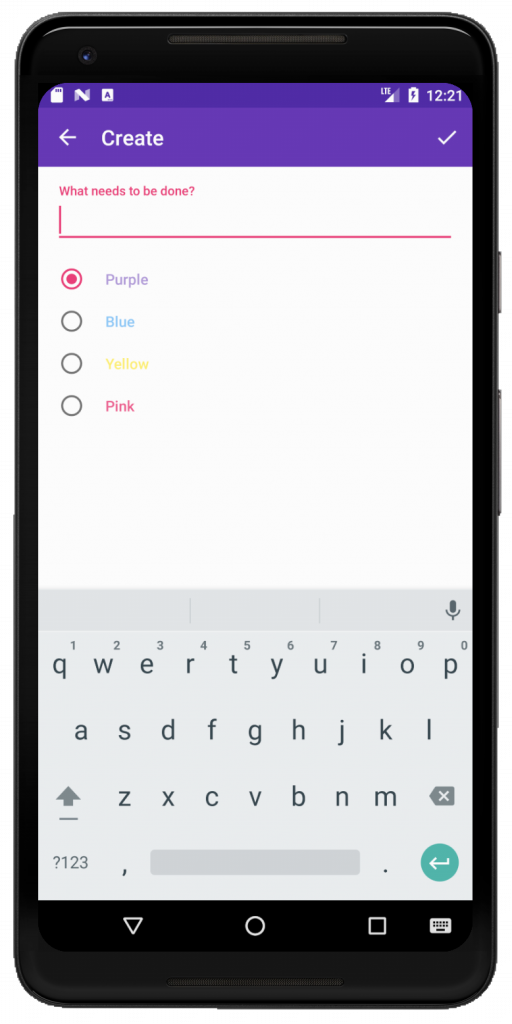
Our first scenario is to add four tasks, one for each of the different colors/categories. So here, we declare the 4 tasks and add them to the app: one for purple, blue, yellow, and pink. Next, we verify that the tasks were indeed added.
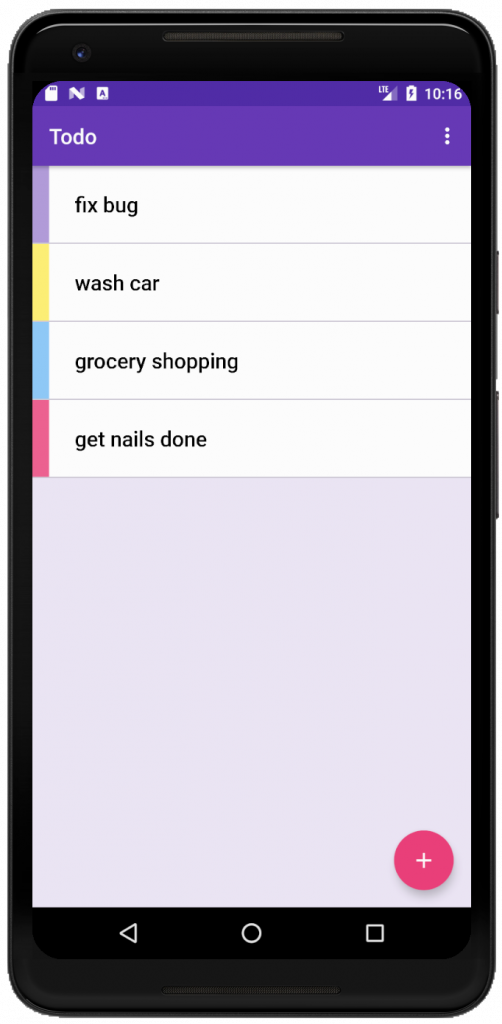
However, a key aspect of this scenario is to verify that the tasks were added as the right color. This is a native app, so we can’t make a call to get the CSS value as that is unsupported. And when looking in the Inspector, there was nothing there that identified these tasks by color. Fortunately, visual testing can help us with this!
What is Visual Testing?
Visual testing is an automated technique for verifying the state of your application by using snapshots. This means your tests are not limited to interrogating the DOM to determine status, like what is done with most other automation tools. Instead, with visual testing, a screenshot of your application is taken on every regression run and compared against a baseline image. Therefore, viewing and verifying your application as your users would!
Applitools’ visual testing API is called Eyes. The Eyes API uses AI to compare the images and is much more reliable than all other forms of visual testing, namely the notoriously flaky pixel-to-pixel and DOM-based approaches offered by other vendors.
Adding Visual Testing
The Eyes API can be added to your existing tests so there’s no need to throwout your test suite and start over! Let’s add visual testing to Scenario #1 so that we can make sure the tasks were added with the right colors.
Here we’ve added visual testing with 4 lines of code! ?
On line 21, we’re simply initializing the Eyes API. On line 22 is where we tell Eyes that we would like to begin visually testing.
On line 23 is where the magic happens – we take a screenshot of our app. If this is the first time the test is run, this will become the baseline image. If there is already a baseline image, a new image will be taken and compared to the baseline image to determine if there are any differences. Notice the arguments sent into this call. This is telling Eyes to ignore the status bar region of our app because it is dynamic and will contain a timestamp and notifications. So this part of the app will be ignored every time the test runs!
Finally, on line 24, we’re done so we can close our Eyes. At this point, the screenshots are sent to the Applitools cloud, analyzed, and stored in a nice dashboard. In the event of a failure, your team can easily review the images to determine where the application has changed, and annotate the image with bugs and remarks.
But wait…
We added visual testing to verify the colors of the tasks. But it’s doing so much more. It’s verifying the entire screen (sans the status bar which we explicitly said to ignore). So that means all of our assertions above are already covered by Eyes and we can actually DELETE CODE!!! ? In fact, we’ve deleted almost HALF of the code from this one test alone – with MORE coverage!!! Woohooo ?
Let’s try another more scenario.
Scenario #2: Complete a task from the list
In our next scenario, we need to complete one of the tasks by clicking on it, and then verify that it is crossed off.
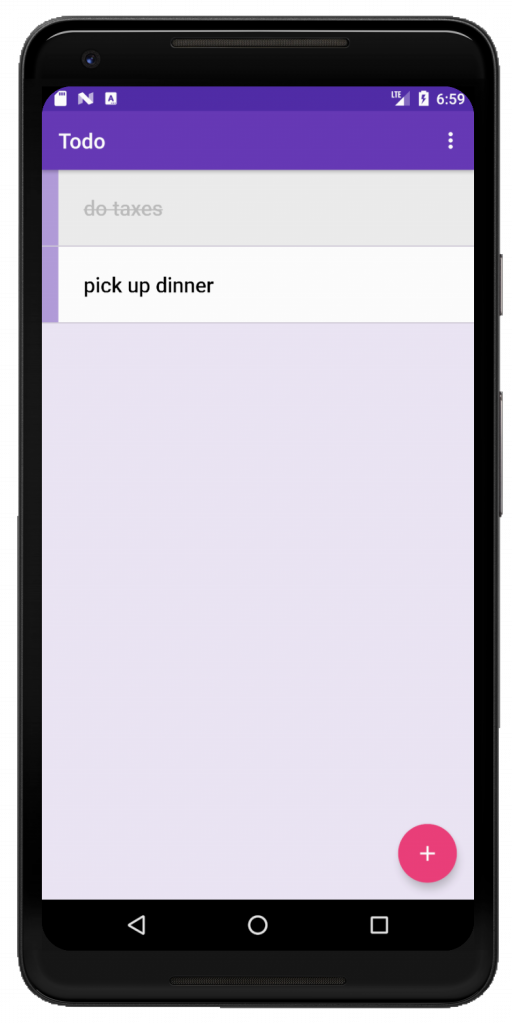
Now when it’s time to verify, we run into the same issue we did in Scenario #1. The strikethrough on the completed task is a CSS effect, and cannot be verified using the Inspector. So, let’s use visual testing.
Now we’re covered! Ok, one more scenario…
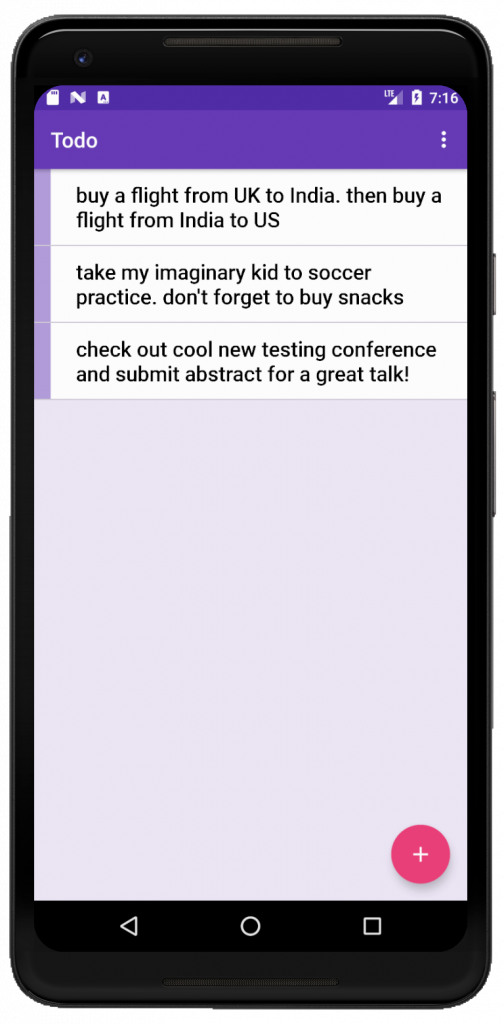
Scenario #3: Add long tasks
For the last scenario, we want to add long tasks. What is the purpose of this test? It’s to ensure that on this mobile view, the text is displayed properly and doesn’t get cut off or bleed off the edge of the page.
But how can we make sure the text is displayed correctly without using visual testing? We can’t! We can make sure it exists. We can make sure it’s visible. But only visual testing will make sure that it’s showing up just as we intend it to.
Visual Bugs Love Mobile Viewports
Mobile testing is such a challenge. In addition to not being able to access style attributes from the Inspector, the presentation of your apps can vary based on the various viewport sizes. This makes mobile apps ripe for visual bugs! To make matters worse, traditional mobile automation tools only offer so much and are incapable of catching these visual bugs, and heck, even some of the functional ones as we’ve seen in Scenarios 1 and 2. If you’re doing mobile app test automation, you need visual testing! Wait no more; create your forever-free Applitools account and improve your testing today!