Give a warm welcome to Electron: a new rising star claiming to take over the world of desktop applications smoothing the rough edges between web, mobile, and desktop.
If you still haven’t heard the name Electron, you are going to hear a lot on it in the following years. There are already many applications that are built with Electron. These include Slack, Atom editor, Visual Studio Code, WordPress.com, Skype and many others.
So, what is Electron? Electron is a new way to build cross-platform desktop applications based on the well-known Chromium and Node.js engines that are already popular in the industry.
What front-end technologies does Electron use? Electron uses HTML, JavaScript, and CSS to build desktop applications. The vision of one codebase for web, mobile, and desktop applications has never been closer. When it comes to automation, it was always a chase after the recent platforms, frameworks, and technologies. Here again, we are closer than ever to use the same automation for all.
Technically speaking, you can automate Electron applications as if they were standard web applications using Selenium ChromeDriver.
So How to Start Using Electron?
Let’s use the Electron API demos app, which can be downloaded here.
The first thing to notice is that the Chrome developer tools are already there.
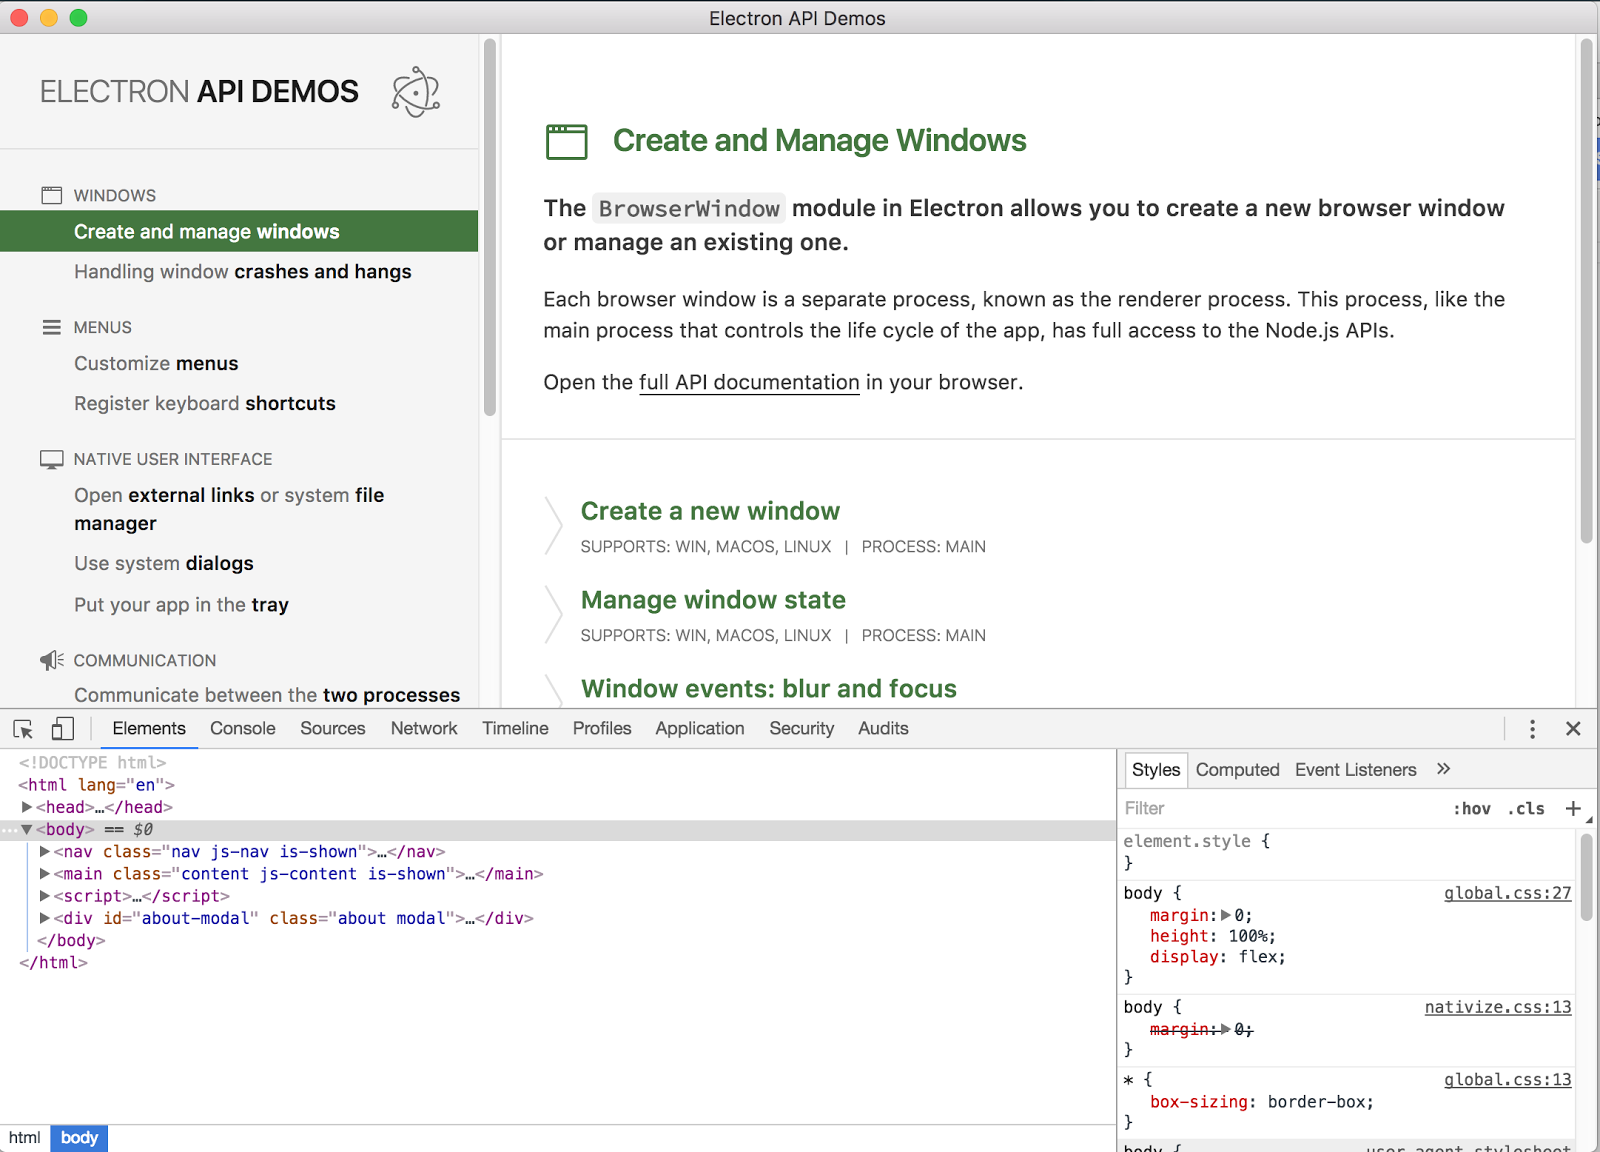
Use alt+cmd+i (or F12 on windows) to bring up the dev tools.
Now you can locate elements in the HTML and build css selectors for your own Selenium test. With that, let’s jump into a tutorial.
How to test Electron applications?
Let’s set up a sample test in Junit using Java and Selenium. It will be required to set up the path to the actual binary of the application in the ChromeOptions object. The rest of the example is similar to any other Selenium test:
package com.applitools.Full.Electron;

import org.junit.After;
import org.junit.Before;
import org.junit.Test;
import org.junit.runner.RunWith;
import org.junit.runners.JUnit4;
import org.openqa.selenium.By;
import org.openqa.selenium.WebDriver;
import org.openqa.selenium.WebElement;
import org.openqa.selenium.chrome.ChromeDriver;
import org.openqa.selenium.chrome.ChromeOptions;
import org.openqa.selenium.remote.DesiredCapabilities;

import java.util.List;


@RunWith(JUnit4.class)
public class ElectronApiAppTest {
   private WebDriver driver = null;

   @Before
   public void setup() {
       ChromeOptions opt = new ChromeOptions();
       opt.setBinary("/Users/yanir/Downloads/Electron API Demos.app/Contents/MacOS/Electron API Demos");
       DesiredCapabilities capabilities = new DesiredCapabilities();
       capabilities.setCapability("chromeOptions", opt);
       capabilities.setBrowserName("chrome");

       driver = new ChromeDriver(capabilities);
       if (driver.findElements(By.id("button-about")).size() > 0)
           driver.findElement(By.id("button-about")).click();
   }

   @Test
   public void test() throws InterruptedException {
       driver.findElement(By.id("get-started")).click();

       List elements = driver.findElements(By.className("nav-button"));
       for (WebElement element : elements) {
           element.click();
       }
   }

   @After
   public void teardown() {
       driver.quit();
   }
}
Now we are good to go.
You will notice that, unlike regular web tests, the test is running much faster. This is due to the fact that the entire application is hosted on the same machine, so there is no network latency involved.
Take it to the Next Level: Visual Validation
If you never used visual validation, now is the time. Visual validations add a layer of coverage to all the visible elements, so you will enjoy a significant reduction in assertions coding and maintenance. Let’s use Applitools to demonstrate how easily it can be achieved (some code ahead):
package com.applitools.Full.Electron;

import com.applitools.eyes.selenium.Eyes;
import org.junit.After;
import org.junit.Before;
import org.junit.Test;
import org.junit.runner.RunWith;
import org.junit.runners.JUnit4;
import org.openqa.selenium.By;
import org.openqa.selenium.WebDriver;
import org.openqa.selenium.WebElement;
import org.openqa.selenium.chrome.ChromeDriver;
import org.openqa.selenium.chrome.ChromeOptions;
import org.openqa.selenium.remote.DesiredCapabilities;

import java.util.List;

@RunWith(JUnit4.class)
public class ElectronApiAppTest {
   private WebDriver driver = null;
   private Eyes eyes = new Eyes();

   @Before
   public void setup() {
       ChromeOptions opt = new ChromeOptions();
       opt.setBinary("/Users/yanir/Downloads/Electron API Demos.app/Contents/MacOS/Electron API Demos");
       DesiredCapabilities capabilities = new DesiredCapabilities();
       capabilities.setCapability("chromeOptions", opt);
       capabilities.setBrowserName("chrome");

       eyes.setApiKey("MY_APPLITOOLS_API_KEY");
       driver = new ChromeDriver(capabilities);
       if (driver.findElements(By.id("button-about")).size() > 0)
           driver.findElement(By.id("button-about")).click();
   }

   @Test
   public void test() throws InterruptedException {
       driver = eyes.open(driver, "Electron API Demos app", "Electron app Smoke test");
       eyes.checkWindow("Home page");
       driver.findElement(By.id("get-started")).click();

       List elements = driver.findElements(By.className("nav-button"));
       for (WebElement element : elements) {
           element.click();
           eyes.checkRegion(By.cssSelector("main.content"), element.getAttribute("id"), true);
       }
       eyes.close();
   }

   @After
   public void teardown() {
       driver.quit();
       eyes.abortIfNotClosed();
   }
}
The result will appear in Applitools Eyes dashboard:
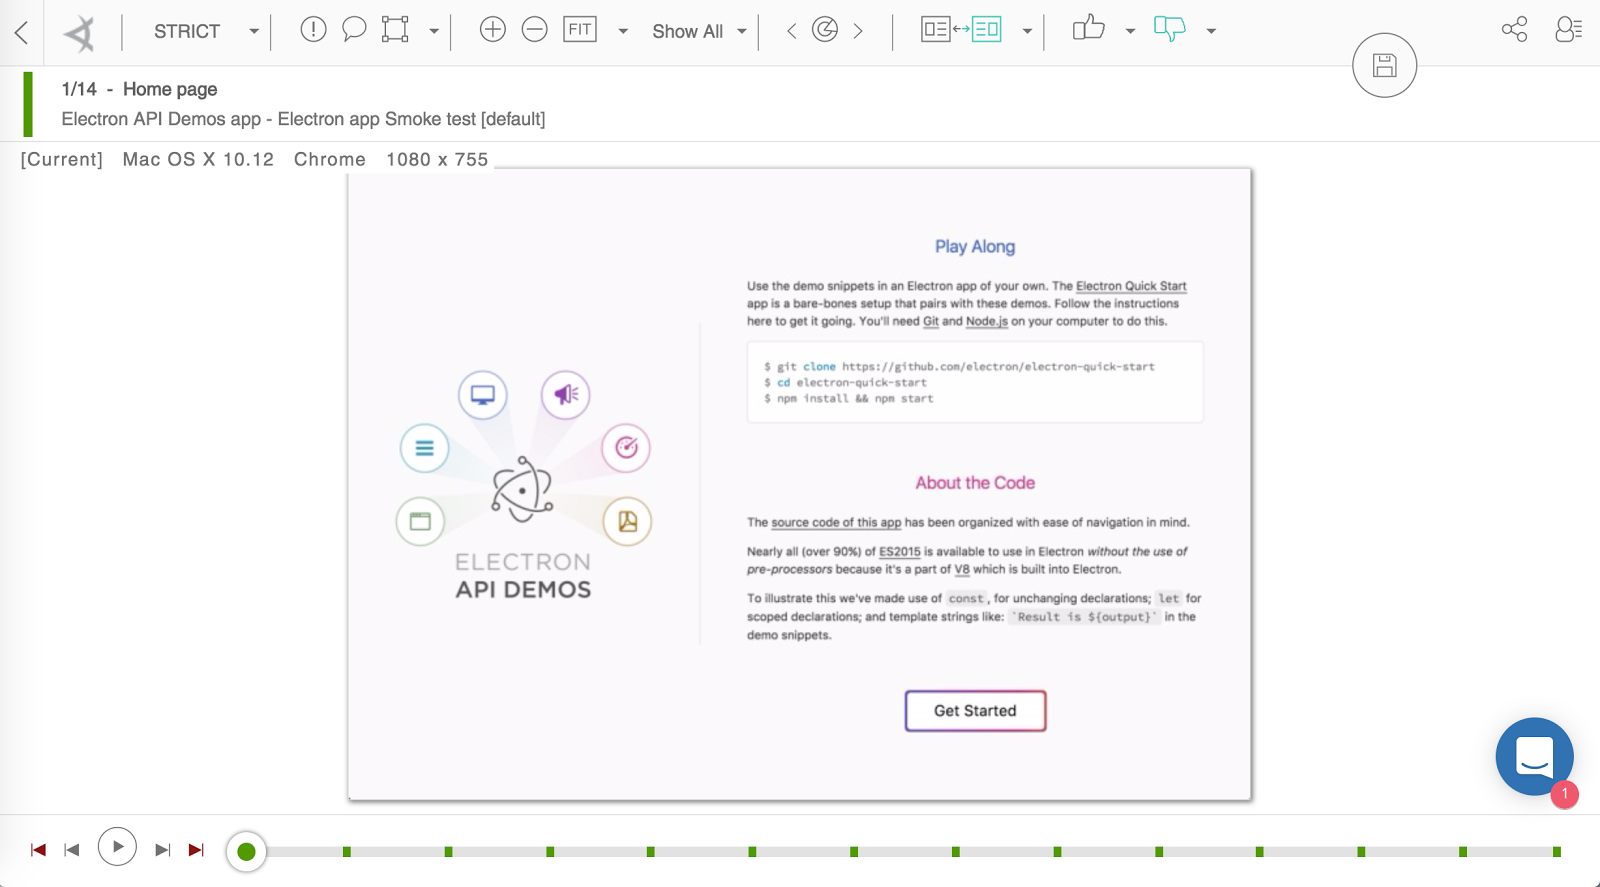
If something changes in the screens of your the application – it will be discovered by Applitools Eyes visual validation.
To familiarize yourself with Selenium, head to http://www.seleniumhq.org, as well as expert blogs, such as Elemental Selenium by Dave Haeffner.
To read more about Applitools’ visual UI testing and Application Visual Management (AVM) solutions, check out the resources section on the Applitools website. To get started with Applitools, request a demo or sign up for a free Applitools account.


