Applitools GitLab Integration
The Eyes GitLab integration allows you to benefit from Eyes visual testing and branch and merge workflow on projects run using GitLab. This article focuses on how to configure Eyes and GitLab so that work together and assumes that you are already acquainted with working with both Eyes and GitLab. GitLab integrates with Eyes in the following aspects:
- All Eyes tests in a specific CI build are automatically grouped together as an Eyes batch, with a batch name that includes the Git commit information.
- Eyes tests are automatically configured to use and save baselines in branches with names derived from the test's GitLab branch name.
- The GitLab merge request panel includes a status indicating the latest visual test results and merge status.
- When you initiate a GitLab merge request, this triggers an Eyes branch merge.
Setting up the Eyes GitLab Integration
Integrating GitLab into Eyes is done using the Test Manager. The user setting up the integration must have Eyes team administration privileges and must have GitLab owner privileges for the project. This integration involves the following steps:
-
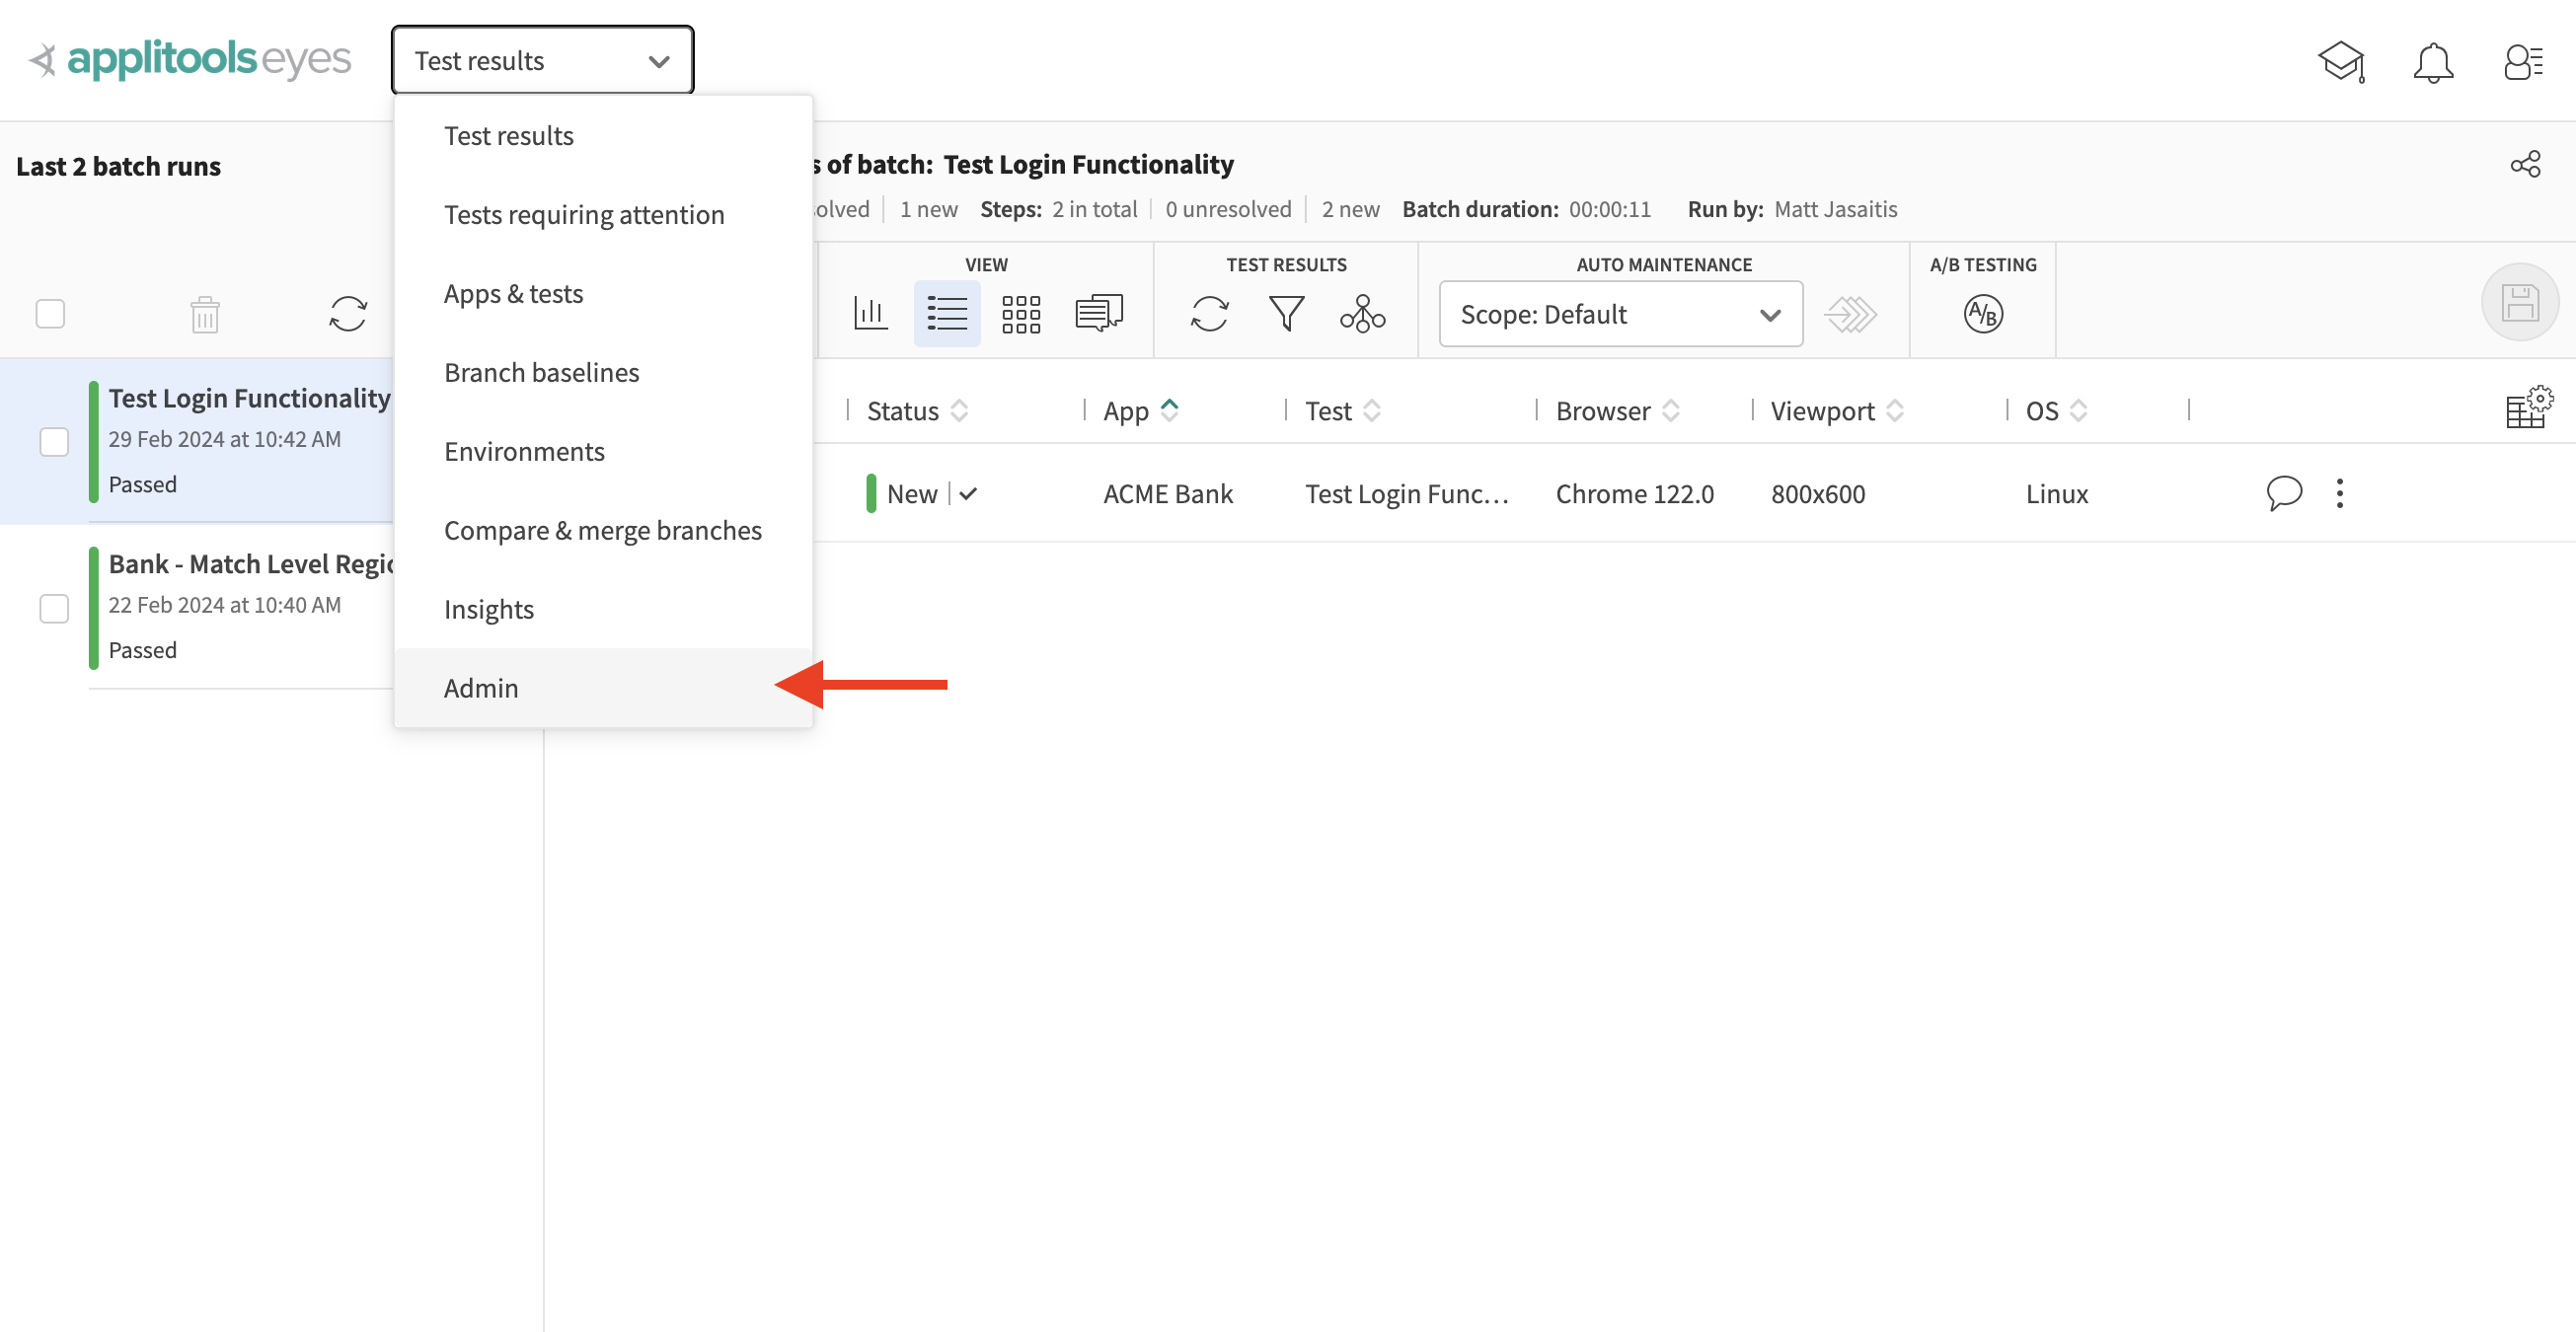
Navigate to the Admin Panel
-
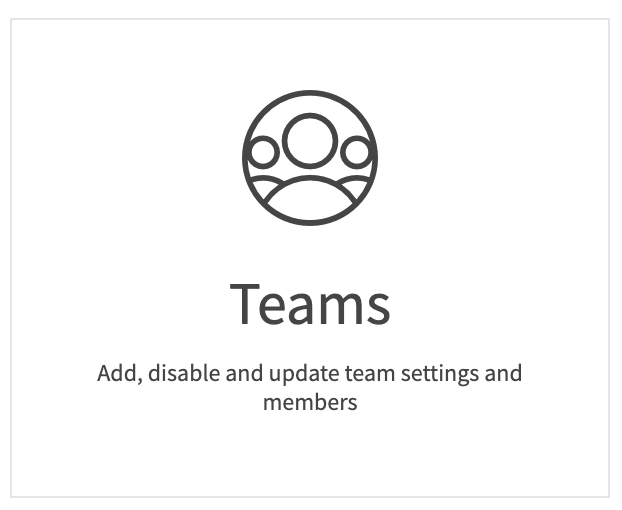
On the Admin panel, click on the Teams tile
-
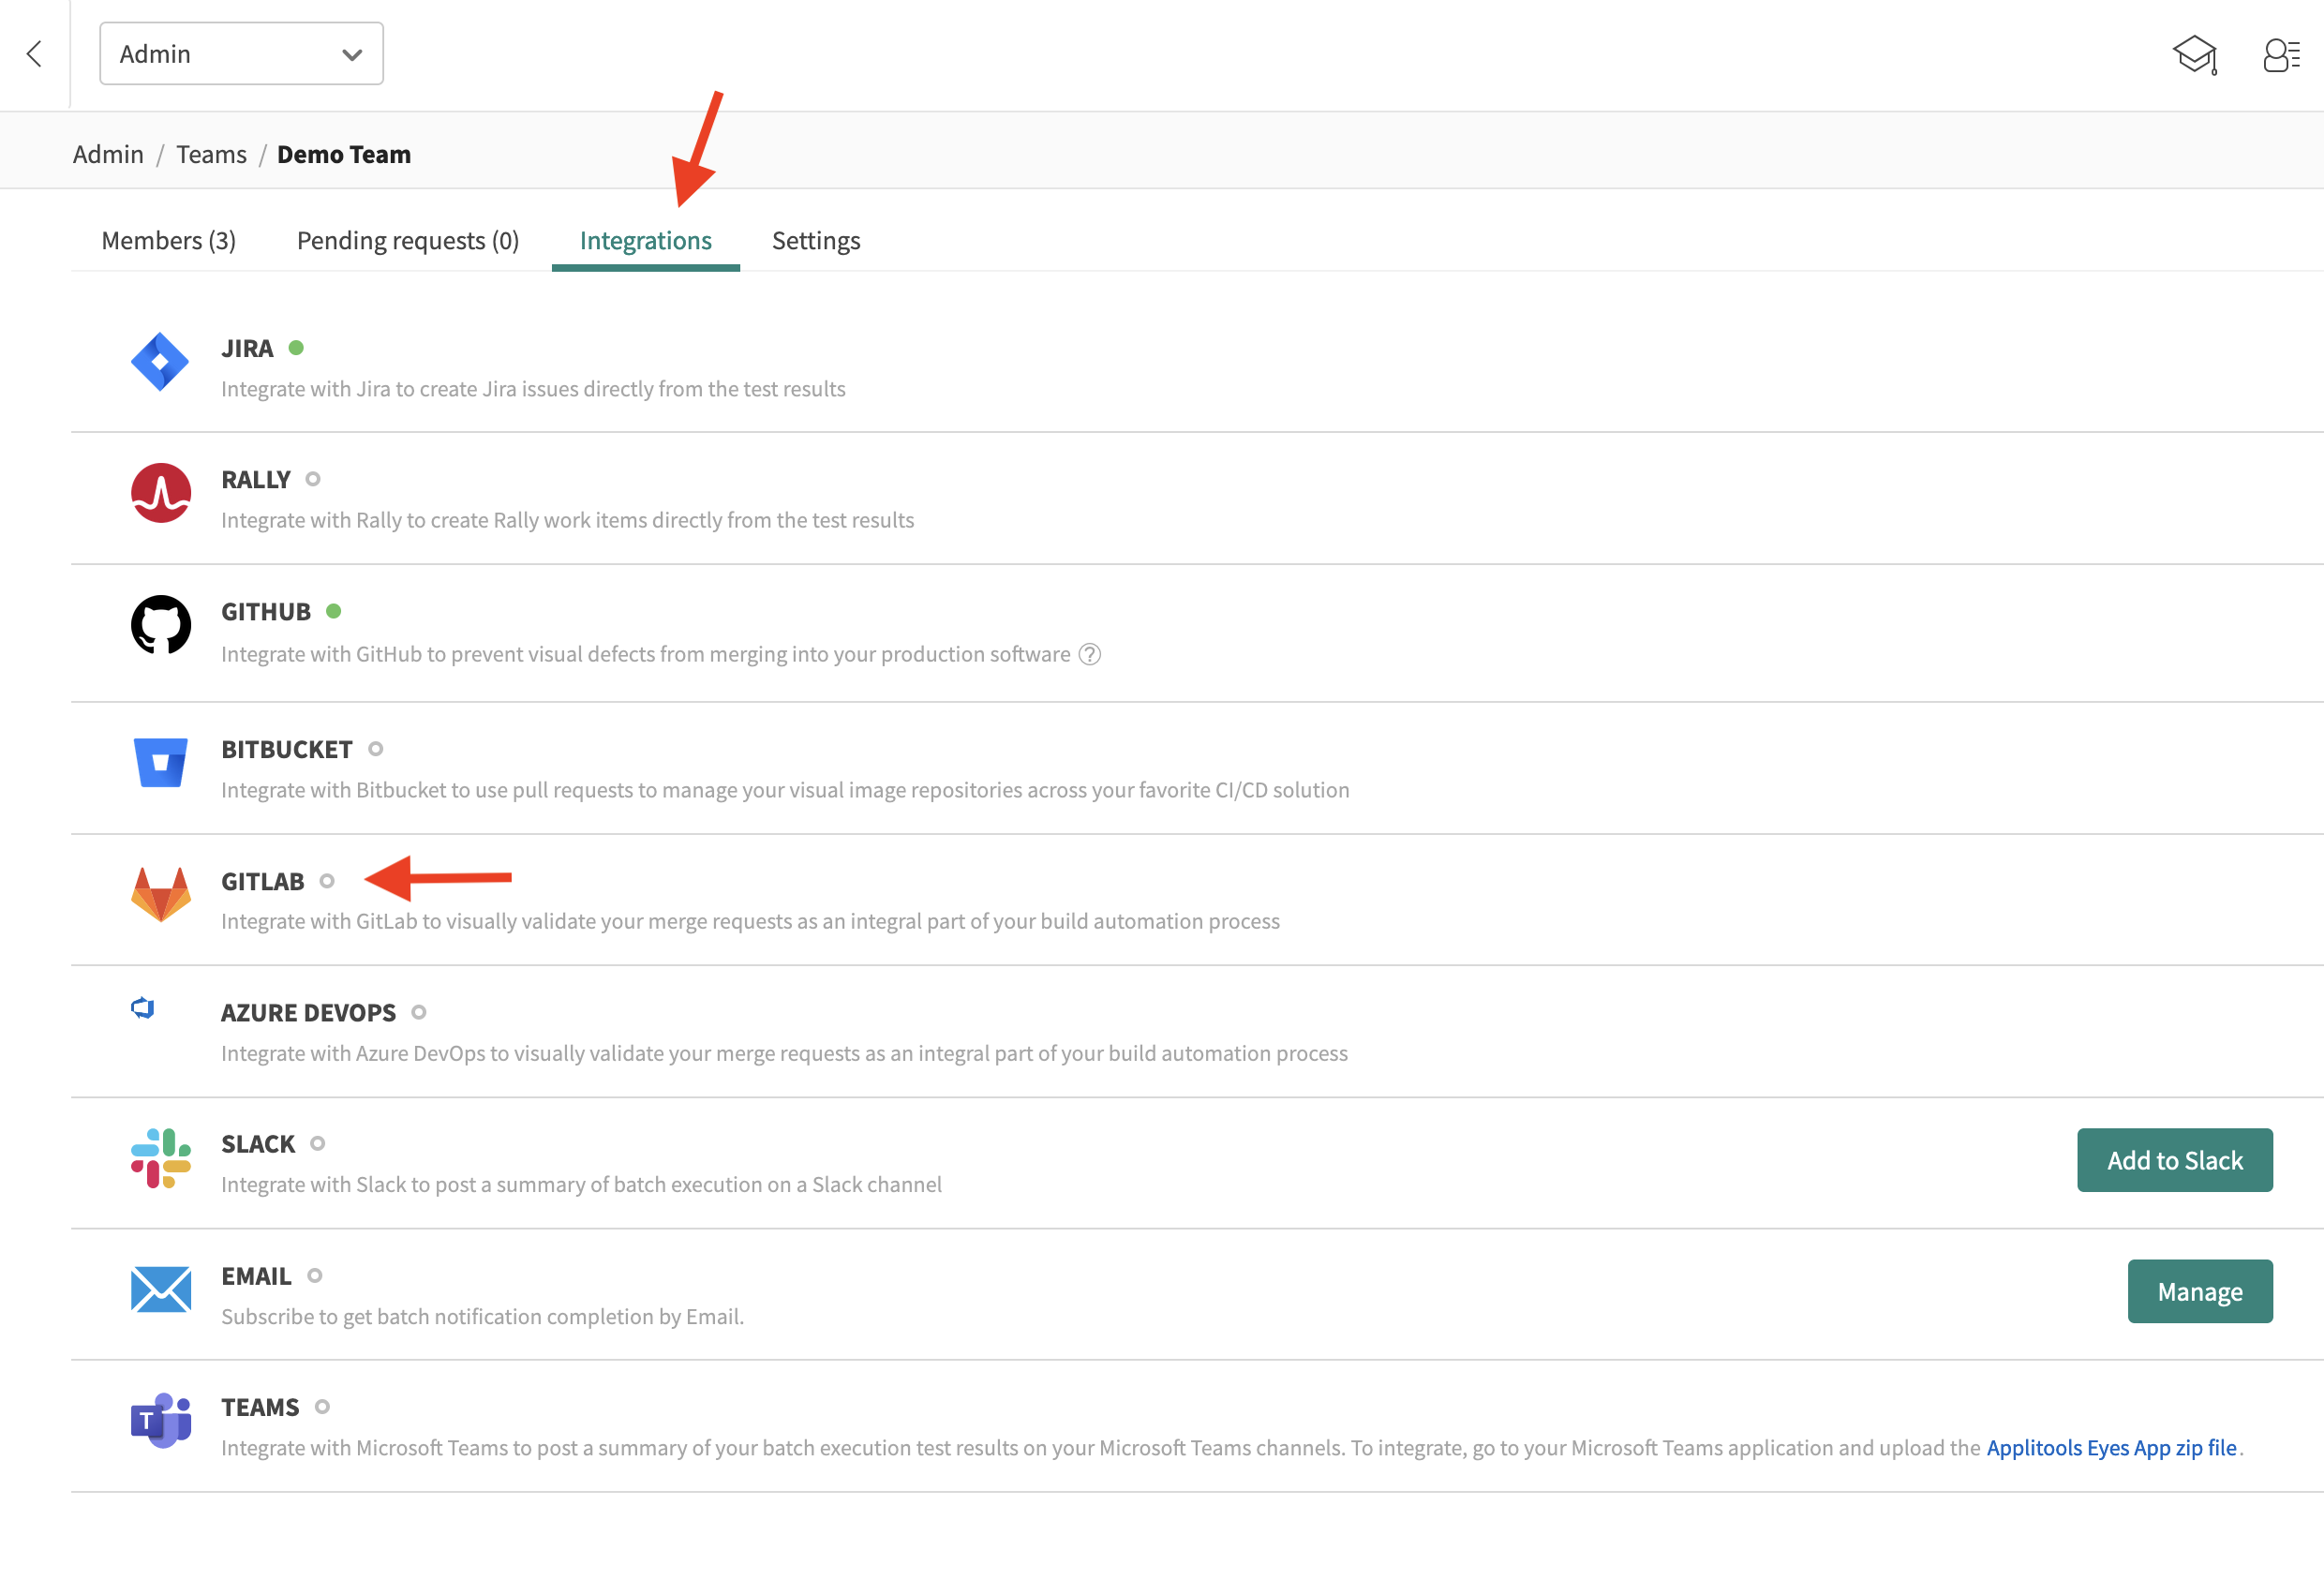
Click on the name of the team you want to configure.
-
On the Integrations tab, click GitLab.
-
Select your server from the drop-down list. If your server is not on the list, then click the Add button and enter the URL in the dialog that opens.
-
Click the Manage repositories button.
-
If you have not already logged into GitLab, you will see a message asking you to do so. Click the link and enter your GitLab credentials.
-
Once you have logged into GitLab, you can see a list of repositories associated with the logged-in GitLab account.
-
The dialog includes a filter you can use to narrow down the list of repositories.
-
Select the repositories that you require and click Apply.
-
A list of selected repositories is now visible. You can remove a repository from the list by hovering over it in the list and clicking the
xbutton. -
By default, GitLab integration closes a batch automatically once the CI build operation is completed. If your build runs concurrently or consists of multiple tests and you want all of the results to appear together in a single batch, you need to disable automatic closing of the batch and close the batch explicitly when the build is complete in your CI.
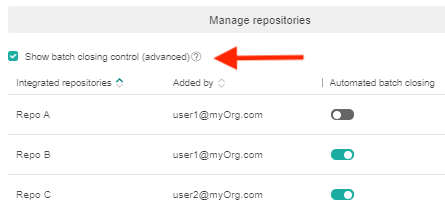
To control the batch closing operation for a repository, select the Show batch closing control checkbox and enable or disable auto-closing of the batch. If you disable batch auto-closing, you must explicitly close the batch.
If your organization uses an Eyes on-premise server, in addition to the above, you should also white list inbound HTTPS traffic from the GitLab server to your Eyes server in your organization's firewall.
How to configure GitLab to run Eyes tests
In the GitLab configuration file .gitlab-ci.yml, add the following lines:
variables:
    APPLITOOLS_API_KEY: "YourAPiKey"
    APPLITOOLS_BATCH_ID: ${CI_COMMIT_SHA}
Replace the string YourAPiKey with your API key. To get the value of your API key, see How to retrieve your API key.
Typically the .gitlab-ci.yml will also contain at least one job that runs an Eyes test.
How to prepare your code
The Eyes SDK obtains the API Key and the BatchID from the environment variables that are set up in the gitlab-ci.yml, as described above. If you are converting existing tests, then ensure that the existing codes do not explicitly set the API key, batchID or batch name.
Working With The GitLab Integration
Once your system is configured as described above, you can use GitLab in the usual way. A GitLab pipeline is run when changes are pushed to a branch in your repository. This pipeline will typically include an Eyes visual test.
The Eyes GitLab integration is based on the GitLab merge request. When there is an open merge request, Eyes adds the following functionality to your GitLab workflow:
- When GitLab runs a pipeline that includes an Eyes test, Eyes detects that the run is associated with a GitLab merge request and searches for a baseline to use as a reference. Eyes checks for a matching baseline in the following order:
- On a branch that corresponds to the repository name and source branch defined by the merge request.
- If there is no such branch, it creates a branch and populates it with the latest baseline for that test from the repository name and target branch defined by the merge request.
- If there is no such baseline, the test will be marked as New.
- Eyes sends the GitLab server status information and this is displayed in the GitLab CI results.
How to review branch differences and resolve them
Merging an Eyes source branch with a target branch results in adding new baselines to the target branch or updating its existing baselines according to baseline changes found in the source branch. Changes can include both updated baseline images and new, changed, or removed annotations (e.g. an added ignore region).
When working on a branch that is a child of another branch (the parent branch) and the child branch doesn't have a baseline, Eyes will use a fallback baseline from the parent branch. For details, see Baseline management on a child branch.
When you click on the scm/applitools/team1 link, the browser switches to the Test Manager Merge branches page reloaded with the source and target branches derived from the merge request. If there are no conflicts, the Test Manager displays a pop-up window, as shown below.
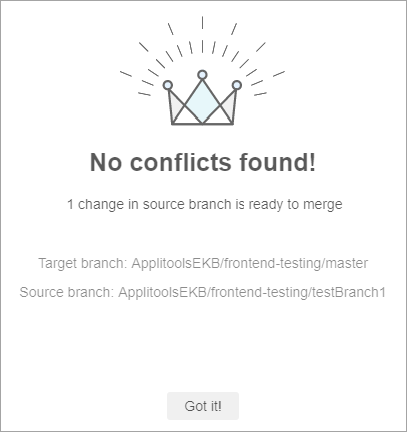
Click Got it! to close the pop-up.
If there are conflicts found, then you need to handle them. See the Compare & Merge Branches guide for more details.
Once you have resolved all conflicts, the merge status of the scm/applitools item will update and the check will be marked as passed.
GitLab Proxy service
Eyes/GitLab integration requires two ways communication between the Eyes server and the GitLab server.
Communication from the Eyes server to the GitLab server is needed during the setup phase, when you select repositories to integrate with; the Eyes server uses the GitLab API to create webhooks in the selected repositories, the webhooks send all the relevant GitLab events to Eyes. The GitLab API also is used to update the status when an Eyes batch is completed and the status needs to be updated on the GitLab commit or pull request.
Communication from the GitLab server to the Eyes server is needed when events are sent by the webhooks to the Eyes server
If your GitLab server is protected behind a firewall, and you cannot add a custom rule that exposes the relevant GitLab APIs so that Eyes can call them, you can use the eyes-scm application to create webhooks on the relevant GitLab repositories. When using eyes-scm, the Eyes server never calls the GitLab APIs directly, all calls are made through the application.
To use eyes-scm, you need to set up integration and select the required repository in the eyes-scm interface, not in the Eyes server admin dashboard.
Once integration is complete, the commit or pull request status update flow is also performed by eyes-scm. The eyes-scm application constantly polls the Eyes server for status update commands and updates the status when needed on the GitLab server.
Installation
Prerequisites
Before installing the proxy service, you must have:
- Node.js installed (version 12 or later)
- The URL of the Eyes server that you use to open the Test Manager
- Your Eyes organization ID, available on the Admin/Account page in the ID field.
One-time setup
Set up the following environment variables so that they are available to the proxy service.
# set the Eyes server URL to your server
EYES_SERVER_URL=<https://myorganizationeyesapi.applitools.com>
#set the Eyes organization ID
EYES_ORG_ID=<org ID>
# set the HTTP port the proxy service should use (optional - default is 4000)
PORT=<1234>
To install the proxy server run the following from any command shell:
npm i -g @applitools/eyes-scm
Running the proxy service
Configuration prerequisites
To set up eyes-scm you need the following:
- The API key of an Eyes user with team admin rights. See How to retrieve your API key.
- The URL of the SCM server.
- The Personal Access Token (PAT) that provides access to GitLab with read admin rights, available from GitLab.
- The names of the repositories that you want to provide Eyes access to. You will select the required repositories from the list of available repositories displayed by the proxy service.
Starting the proxy service
Use the following command to start the server:
eyes-scm
Configuring repositories and access credentials
The first time you run the server, you need to define the repositories you want Eyes to access, and provide the necessary Eyes and SCM credentials. You do this by starting the proxy service and the accessing it with a browser.
-
Make sure the proxy service is running.
Start a browser on the server where the proxy is running and navigate to the proxy service. The default URL is localhost:4000.
-
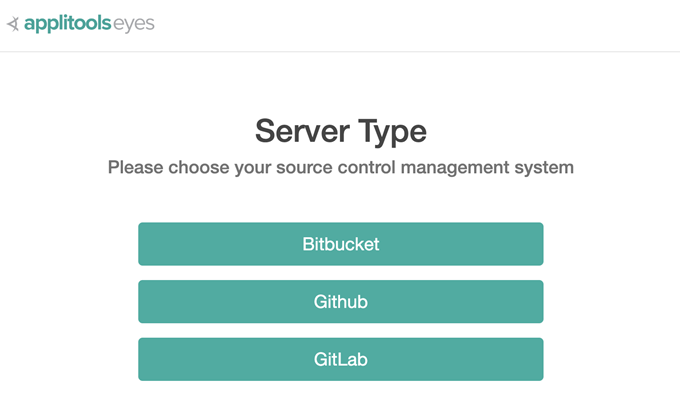
Select GitLab as the source control management system.
-
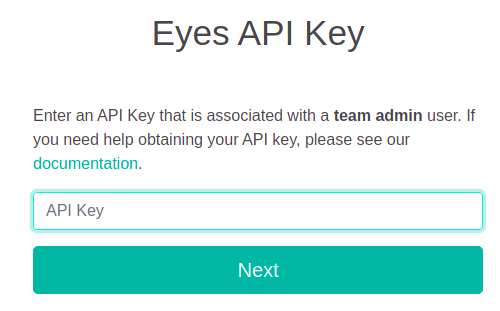
Enter an Eyes API key with Team Admin rights and full privileges.
-
Click Next
-
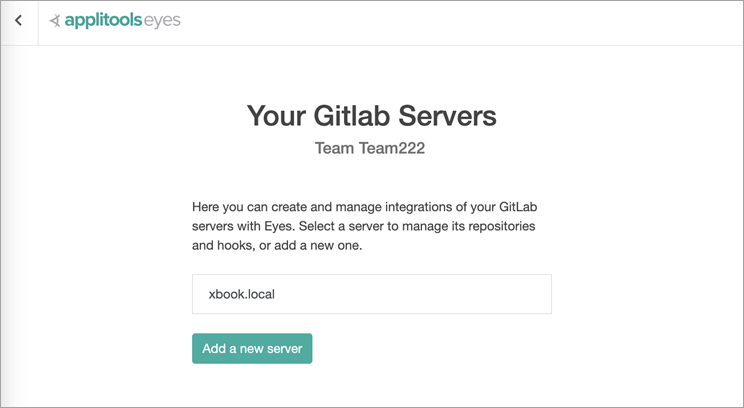
A list of any SCM servers that have already been configured is displayed. Select an existing server, or click Add a new server and enter the URL of the server.
-
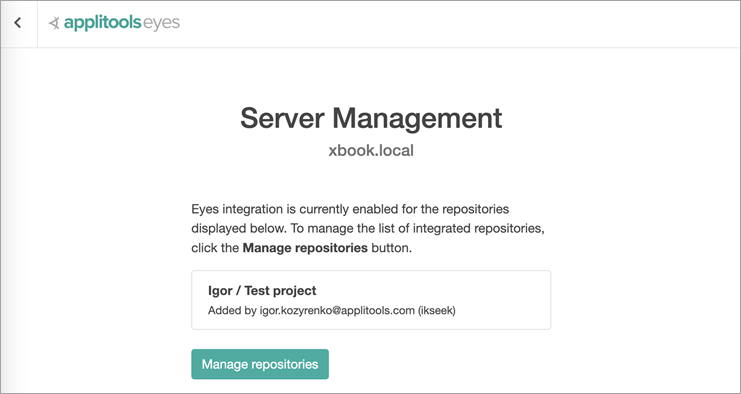
The first time you interact with the server, no repositories will have been enabled for Eyes access. Click Manage Repositories to select the repositories that you want to enable Eyes access to.
-
Click Next
-
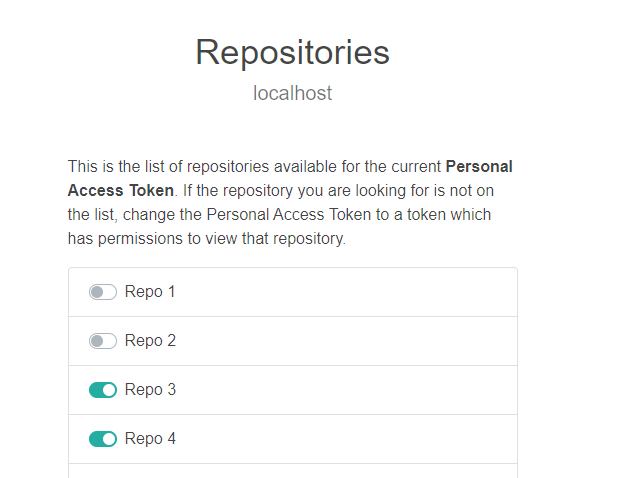
A list of repositories on the SCM server appears. The first time you configure the proxy service, all the repositories will be disabled. Click on the toggle next to the repository that you want Eyes to access, to provide a Personal access token (PAT) for repositories that are disabled, or to change the PAT for repositories that are already enabled.
-
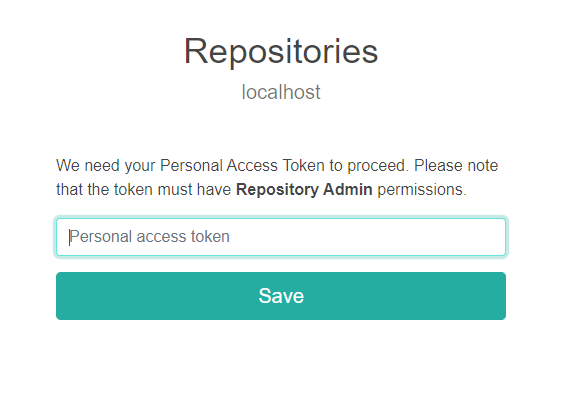
Click Next. and enter the PAT for the repository. You can obtain the PAT value from Bitbucket.
-
Click Save.
If the PAT is valid, the repository you selected will be in the enabled state. You can now enable any other repositories that you want to allow Eyes to access, and then exit from the browser.