Applitools Testing Lifecycle
Workflow Overview
The typical workflow is outlined by the following steps:
- Run tests to establish baselines
- On subsequent runs, review the test status
- Analyze differences flagged by Applitools' Visual AI (if any)
- Resolve issues in application (if necessary)
- Repeat
Execute Automation Tests
Everything starts with the execution of the automation tests.
Review Test Status
When you run a test for the first time, the test status is . This status means that there is no existing Baseline to perform a Visual AI comparison against so this test is saved as the baseline going forward.
On subsequent runs, after the baseline has been established, the test status will either be or
. If the test status is
, the Applitools Visual AI didn't find any differences between the previous version of your application (baseline) and the current version (checkpoint). In the
case, no further action is required.
Analyze Differences Found
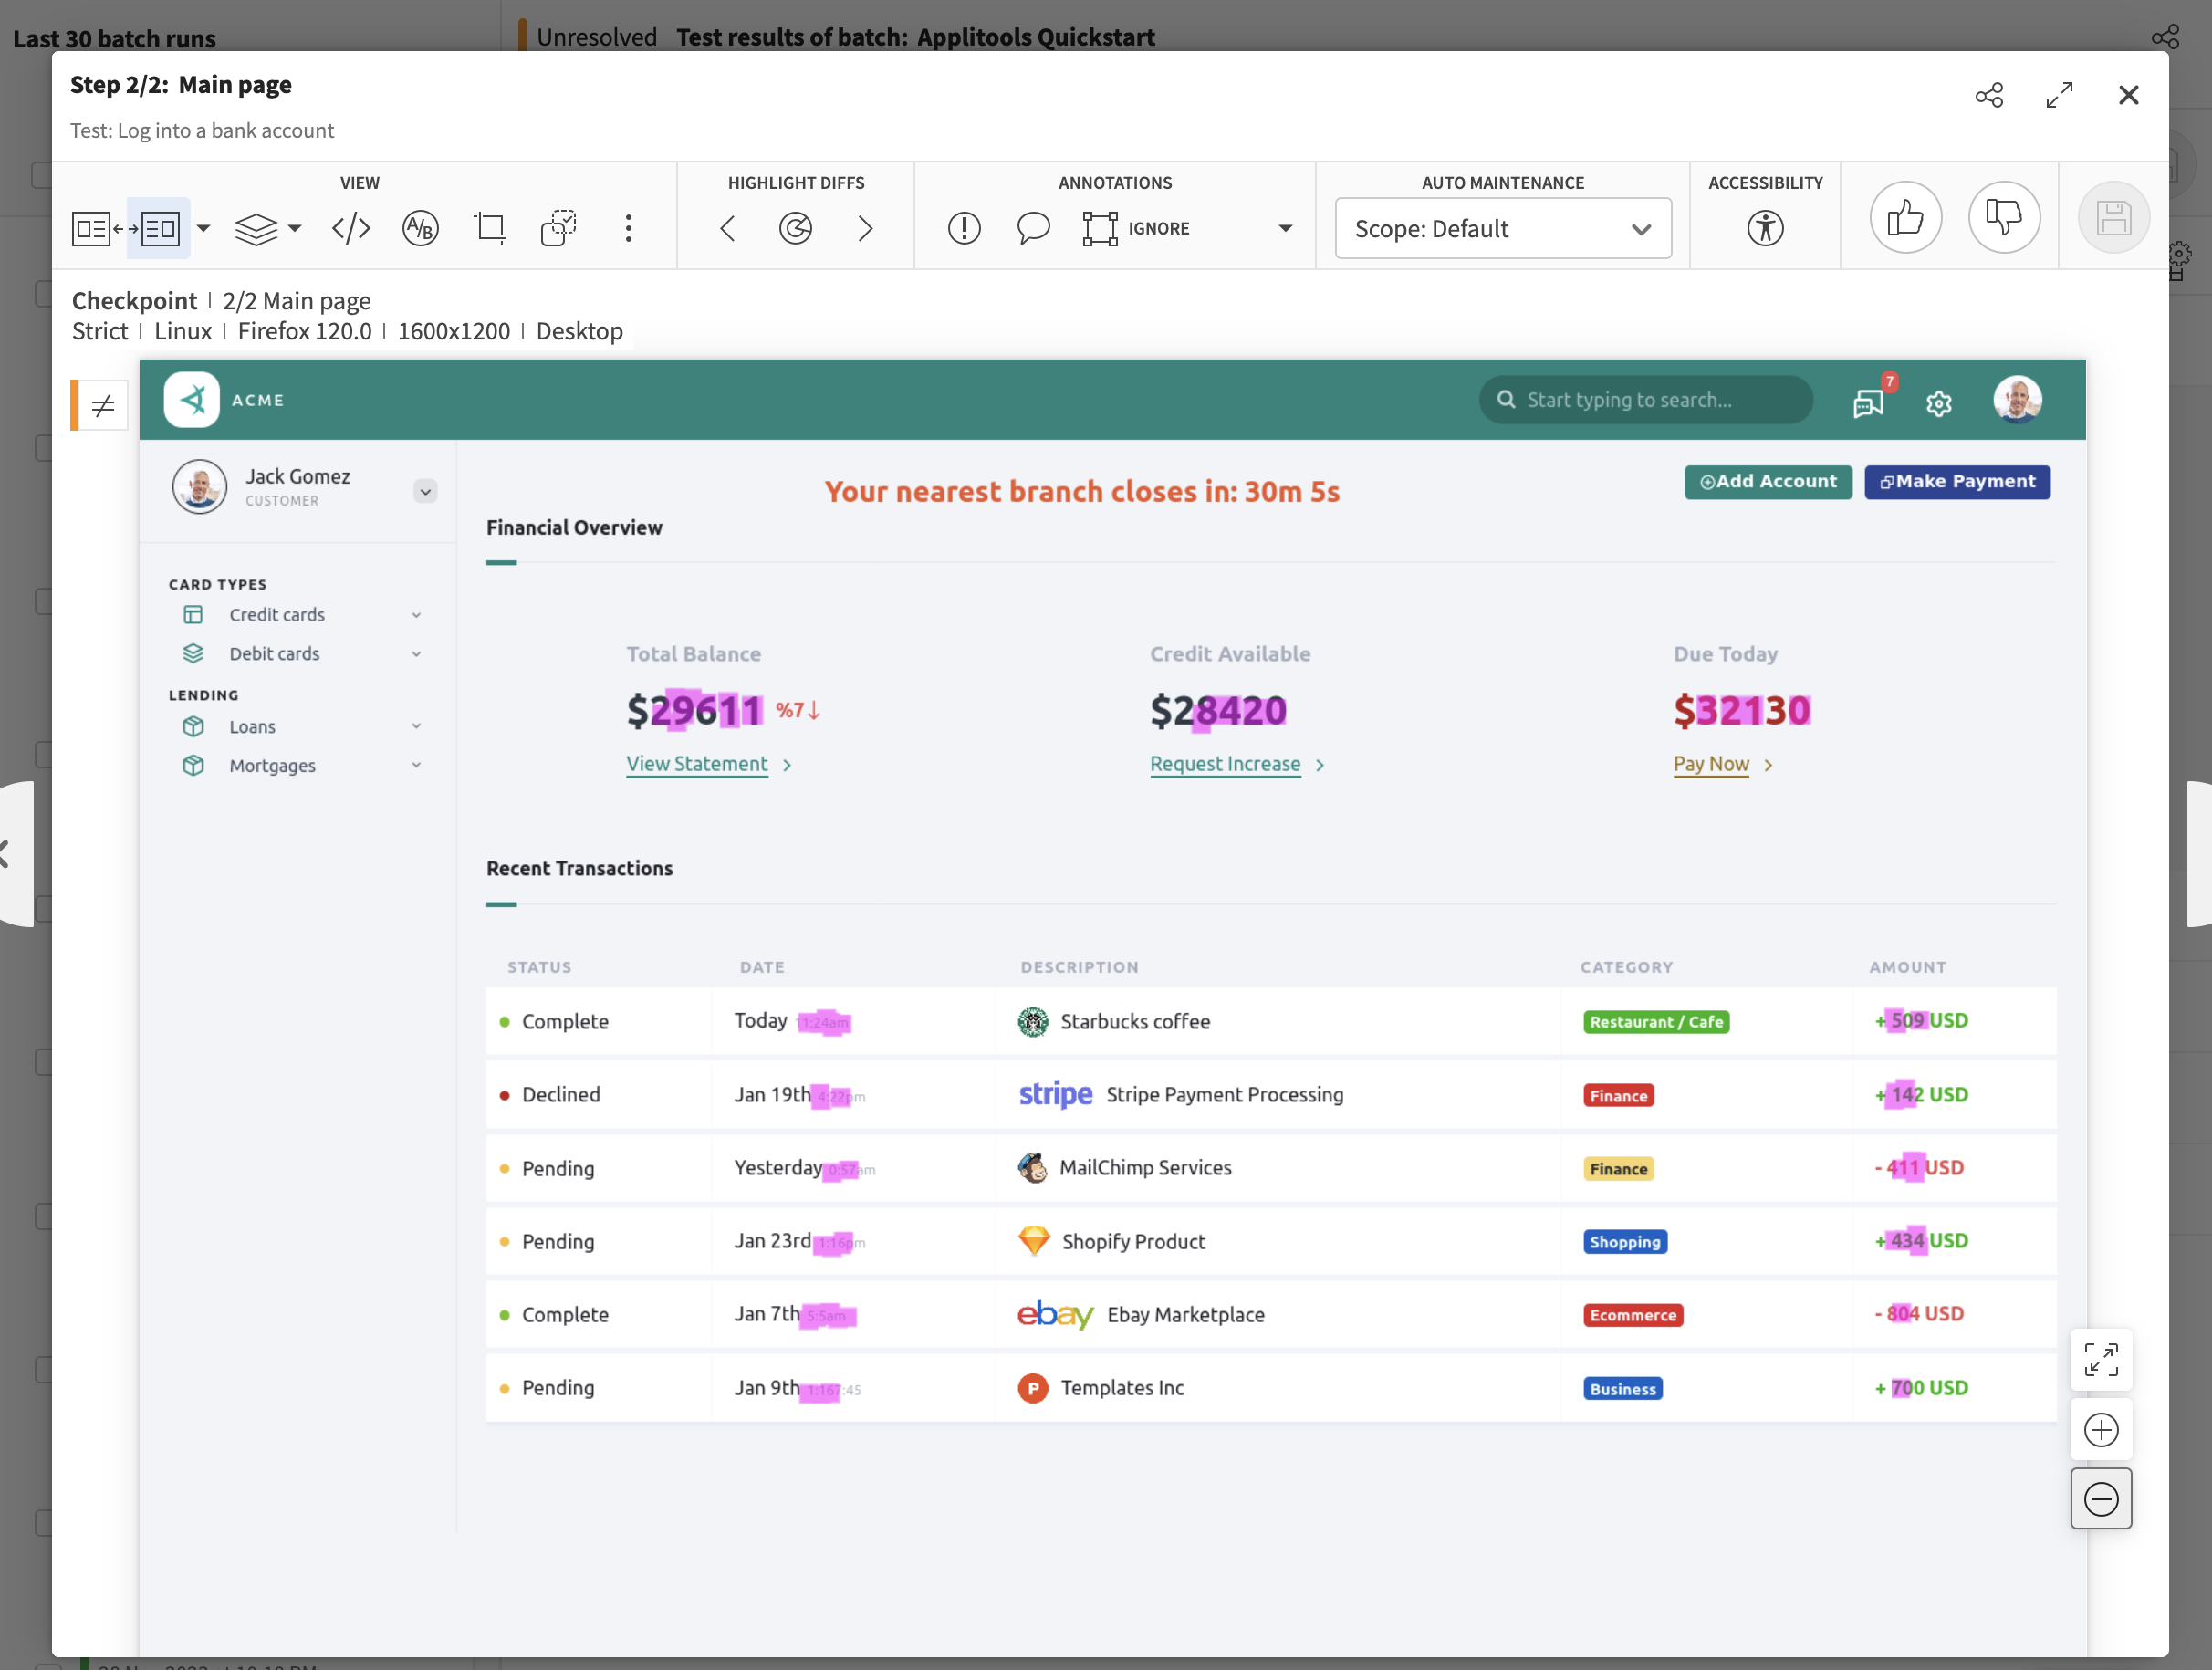
If the test status is , the Applitools Visual AI found differences and we must now review them. Differences are either a defect/visual bug that we need to resolve, such as broken CSS styling, or they're an expected change, such as adding an input to a web form. The differences found will be highlighted in pink as shown below:

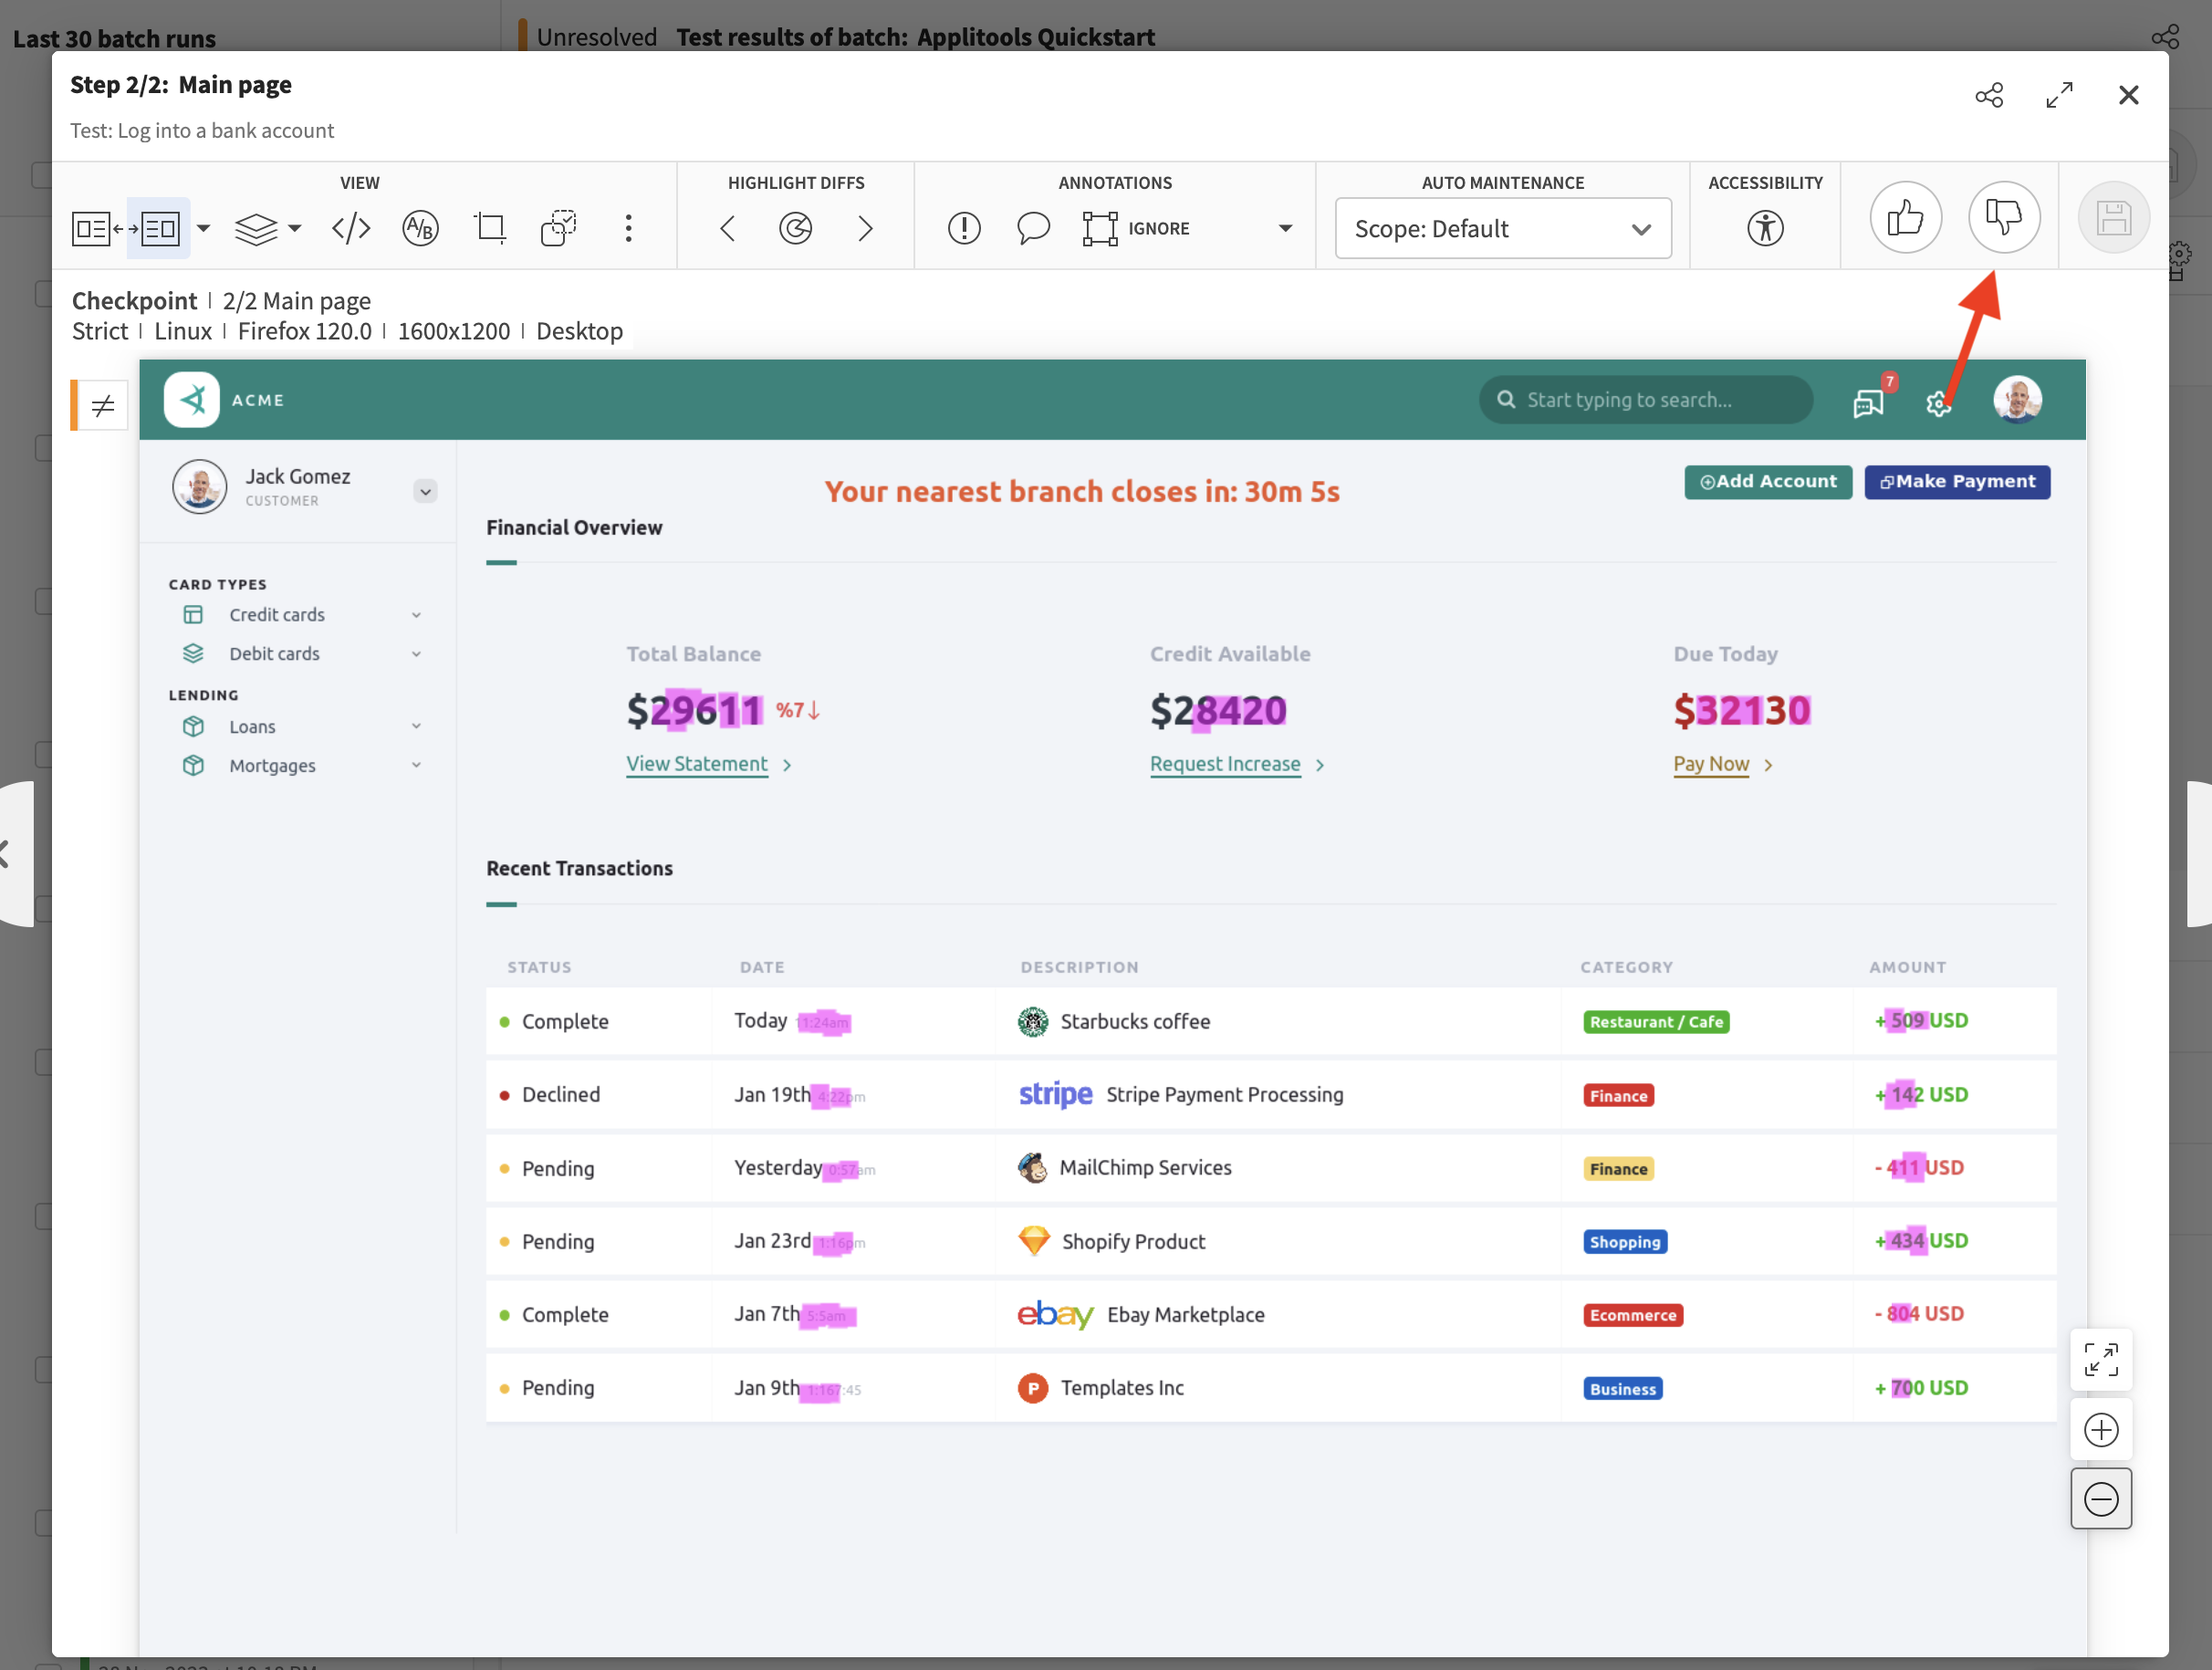
If it's an unexpected change, we should reject this test by pressing the button shown below:

This will mark the test as and will not update the baseline image for this test.
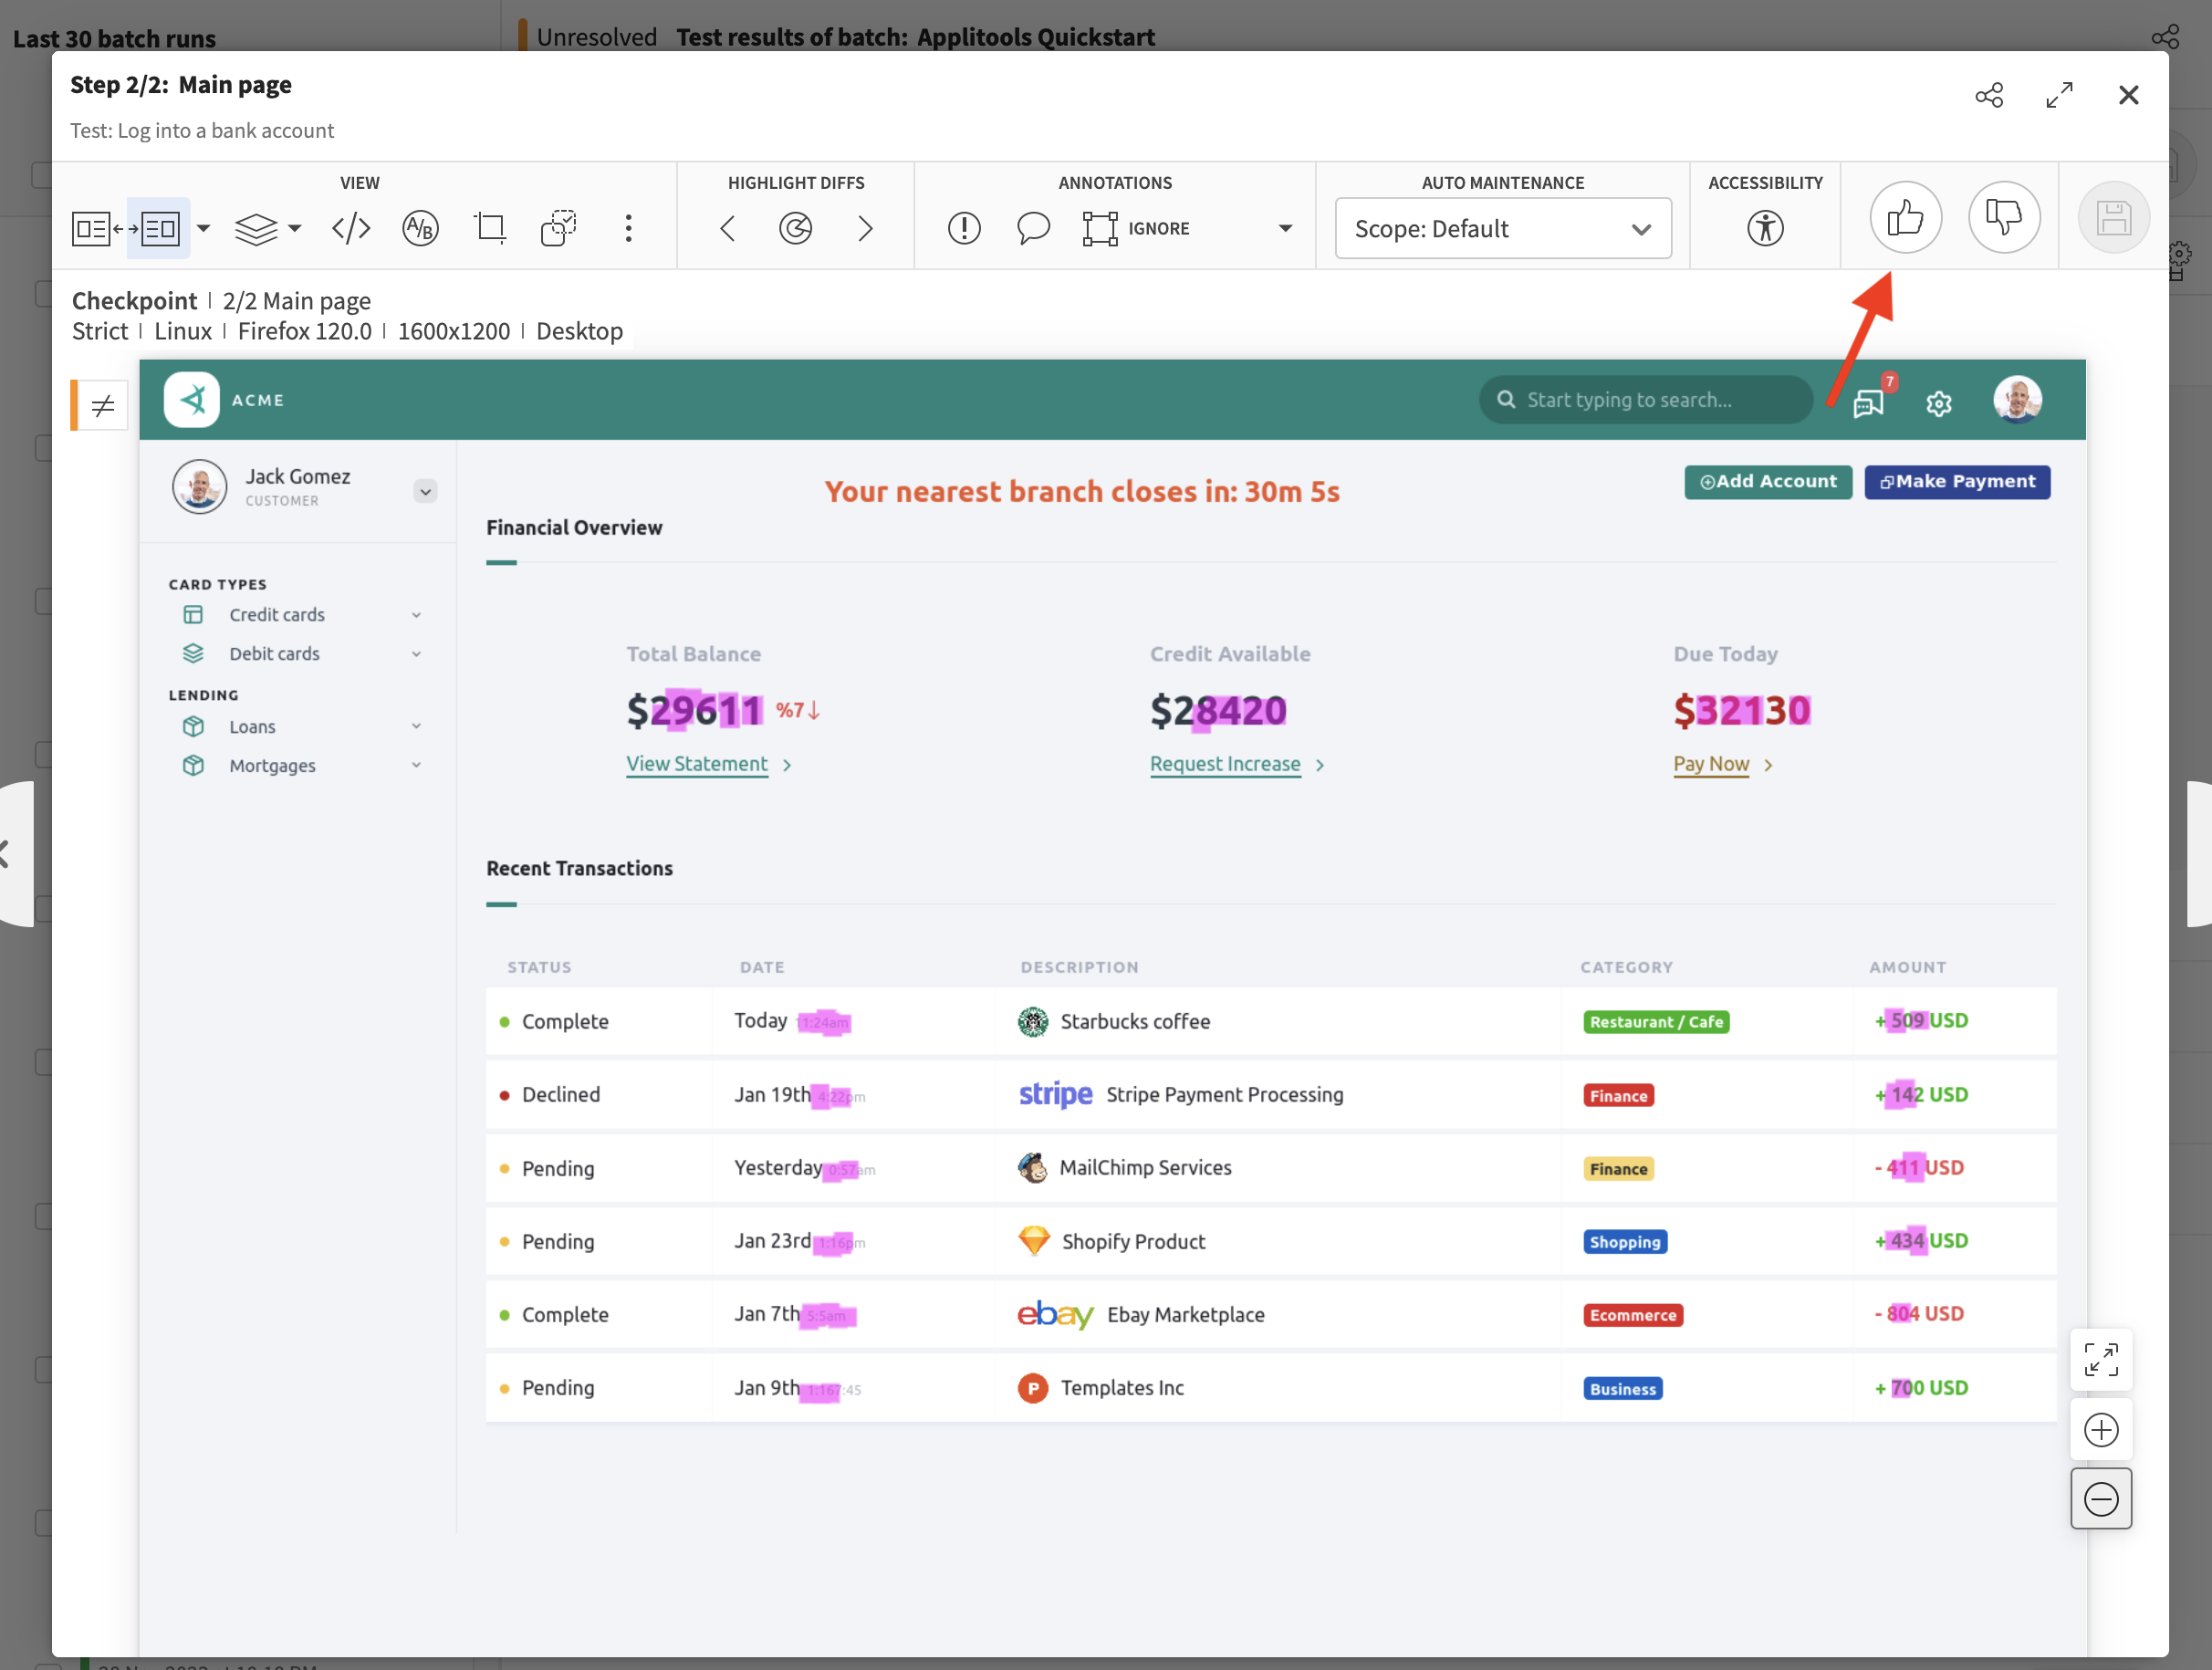
If it's an expected change, we should accept this test by pressing the button shown below:

This will mark the test as and will replace the old baseline image with the new checkpoint image. Every subsequent test run will now be compared to this updated version of the application under test.
Resolve Issues
If we have any failed tests where visual bugs were detected, we can then use tools like RCA to analyze the root cause of the issue, resolve the problem in the application and prepare for another test run.