Playwright Quick Start
Note: This guide is intended for @applitools/eyes-playwright versions 1.32.0 or above using our custom Playwright fixtures. Please see our standard SDK guide here if you wish not to use our Fixtures version.
Installation
Install playwright
If you don't already have playwright installed, install with the following command. More info can be found here:
npm init playwright@latest
Install the Eyes SDK
In your project directory, install the Applitools Eyes SDK for Playwright:
npm install -D @applitools/eyes-playwright
Run the interactive CLI setup
To configure your project for Applitools Eyes, run the setup tool:
npx eyes-setup
The CLI will:
- Configure your project for Applitools Eyes.
- Attempt to modify imports where possible.
- Add configuration settings to your
playwright.config.tsfile. - Add a demo test to help you get started.
- You can run the demo test with
npx eyes-setup run-example
- You can run the demo test with
Note: In cases where imports cannot be modified automatically (e.g., when importing the test object from another npm package), you may need to adjust them manually. More details are provided in the Integration with Playwright section.
You may be prompted to enter your Eyes Server URL. If you are using the Applitools public cloud, your server URL will be https://eyes.applitools.com. If you're using a private deployment, enter your account's server URL instead.
Set your Applitools API key
When prompted by the CLI, enter your Applitools API key. If you don't have one, you can sign up for a free account and obtain your API key from the Applitools Dashboard.
Alternatively, you can set the API key as an environment variable:
export APPLITOOLS_API_KEY='your_api_key_here'
It's advisable to set your API key as an environment variable APPLITOOLS_API_KEY instead of hardcoding it in your configuration file. This approach keeps your API key secure since configuration files are often checked into version control systems.
Note: Detailed instructions on acquiring your API key are provided in the Applitools Dashboard section.
Setting up your first visual test
Import Applitools test
In your test files, ensure you're using the Applitools version of test:
import { test } from '@applitools/eyes-playwright/fixture';
Note: The CLI setup should have automatically updated all imports in your existing tests for you.
Add a visual checkpoint
Use eyes.check() in your test to add a visual check:
test('My first visual test', async ({ page, eyes }) => {
  await page.goto('https://example.com');
  // Visual check
  await eyes.check('Homepage', {
    fully: true,
    matchLevel: 'Dynamic',
  });
});
This command captures a screenshot of the page and compares it against a baseline image. If no baseline exists yet, the captured screenshot becomes the baseline for future comparisons.
Note: If you have existing tests using toHaveScreenshot, they will run with Applitools Eyes as the equivalent of eyes.check(). Simply import except from '@applitools/eyes-playwright/fixture'. However, we recommend using the eyes.check() API for enhanced capabilities and better integration with Applitools features.
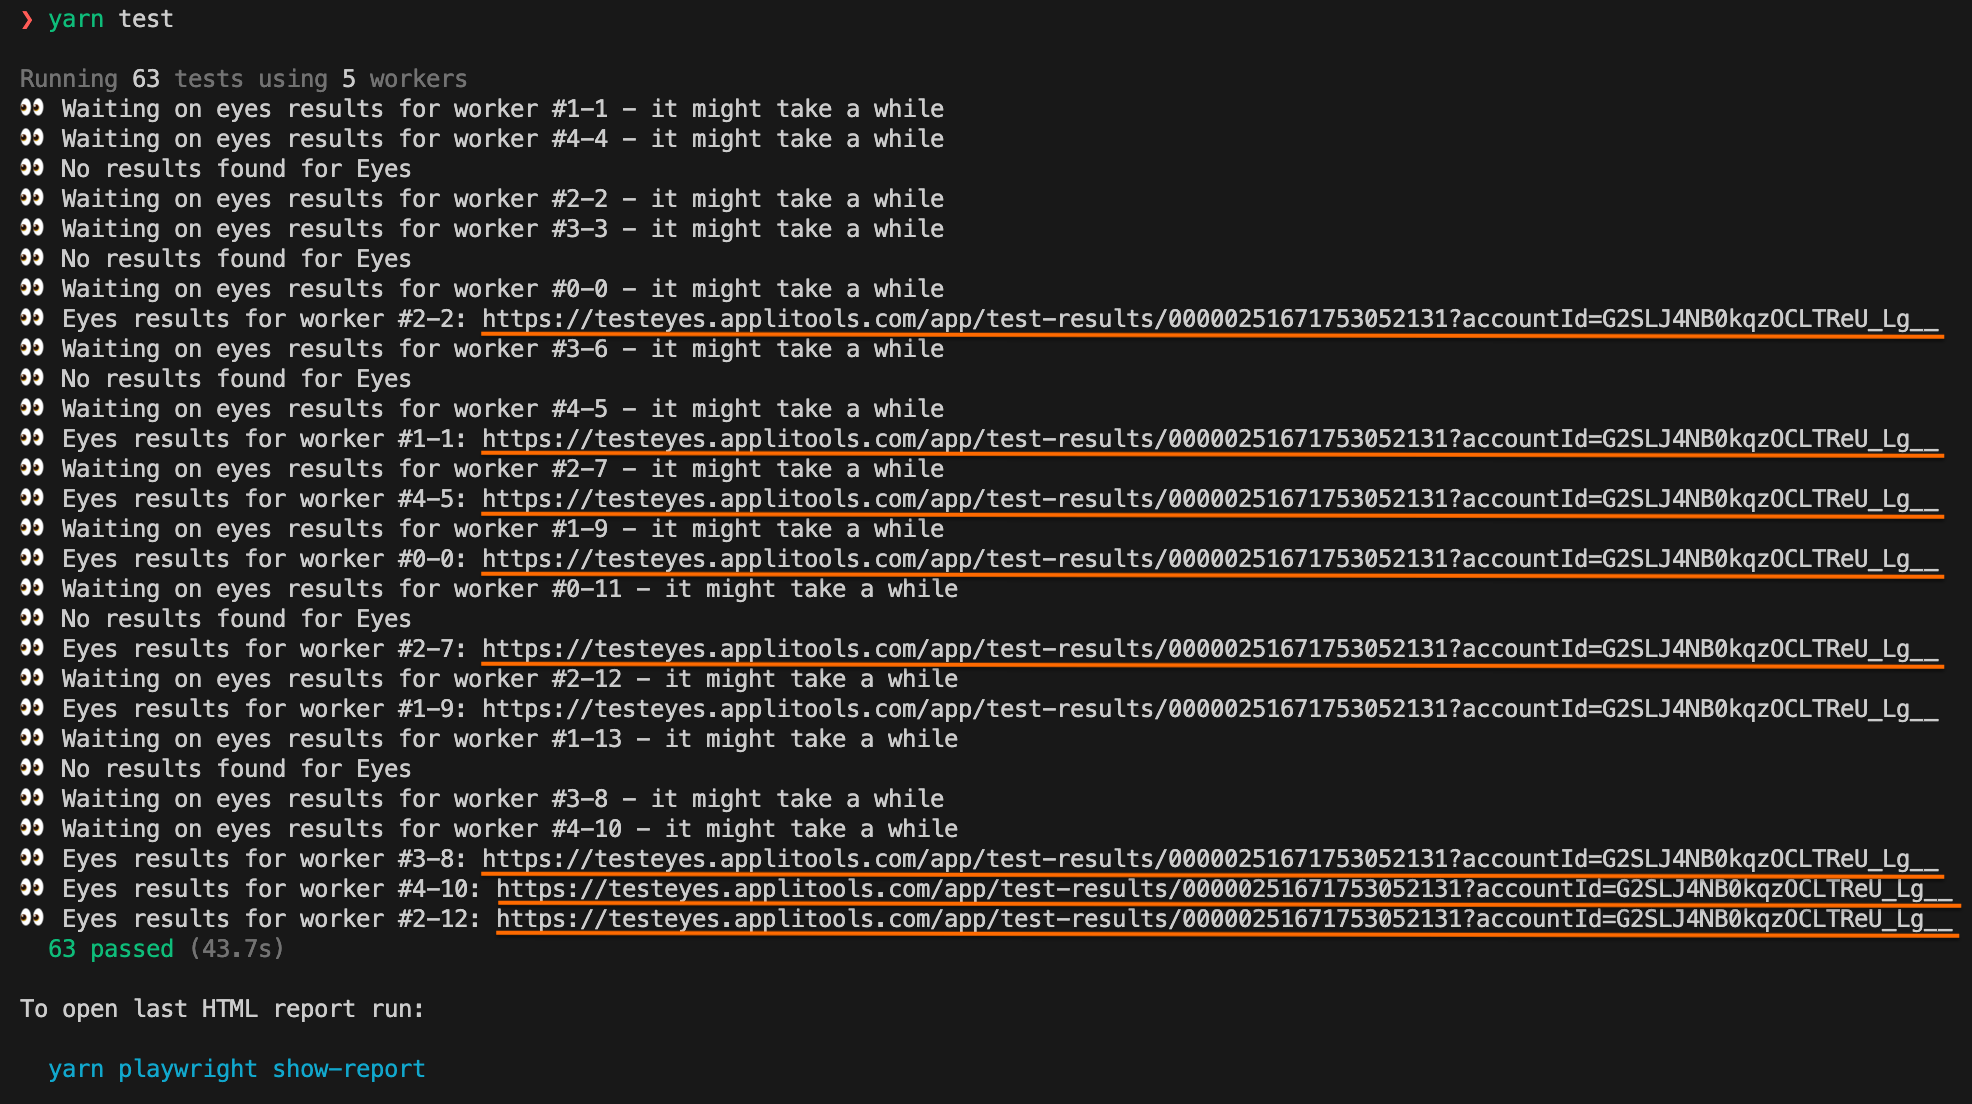
Running your test
Execute your test using the Playwright test runner:
npx playwright test <name_of_test_file.spec.ts>
First run: baseline creation
On the first run, Applitools captures baseline images for each visual checkpoint. These baselines serve as the reference for future test runs.
Subsequent runs: visual comparison
On subsequent runs, Applitools compares new screenshots to the baselines to detect visual differences. Any discrepancies are reported in the test results.
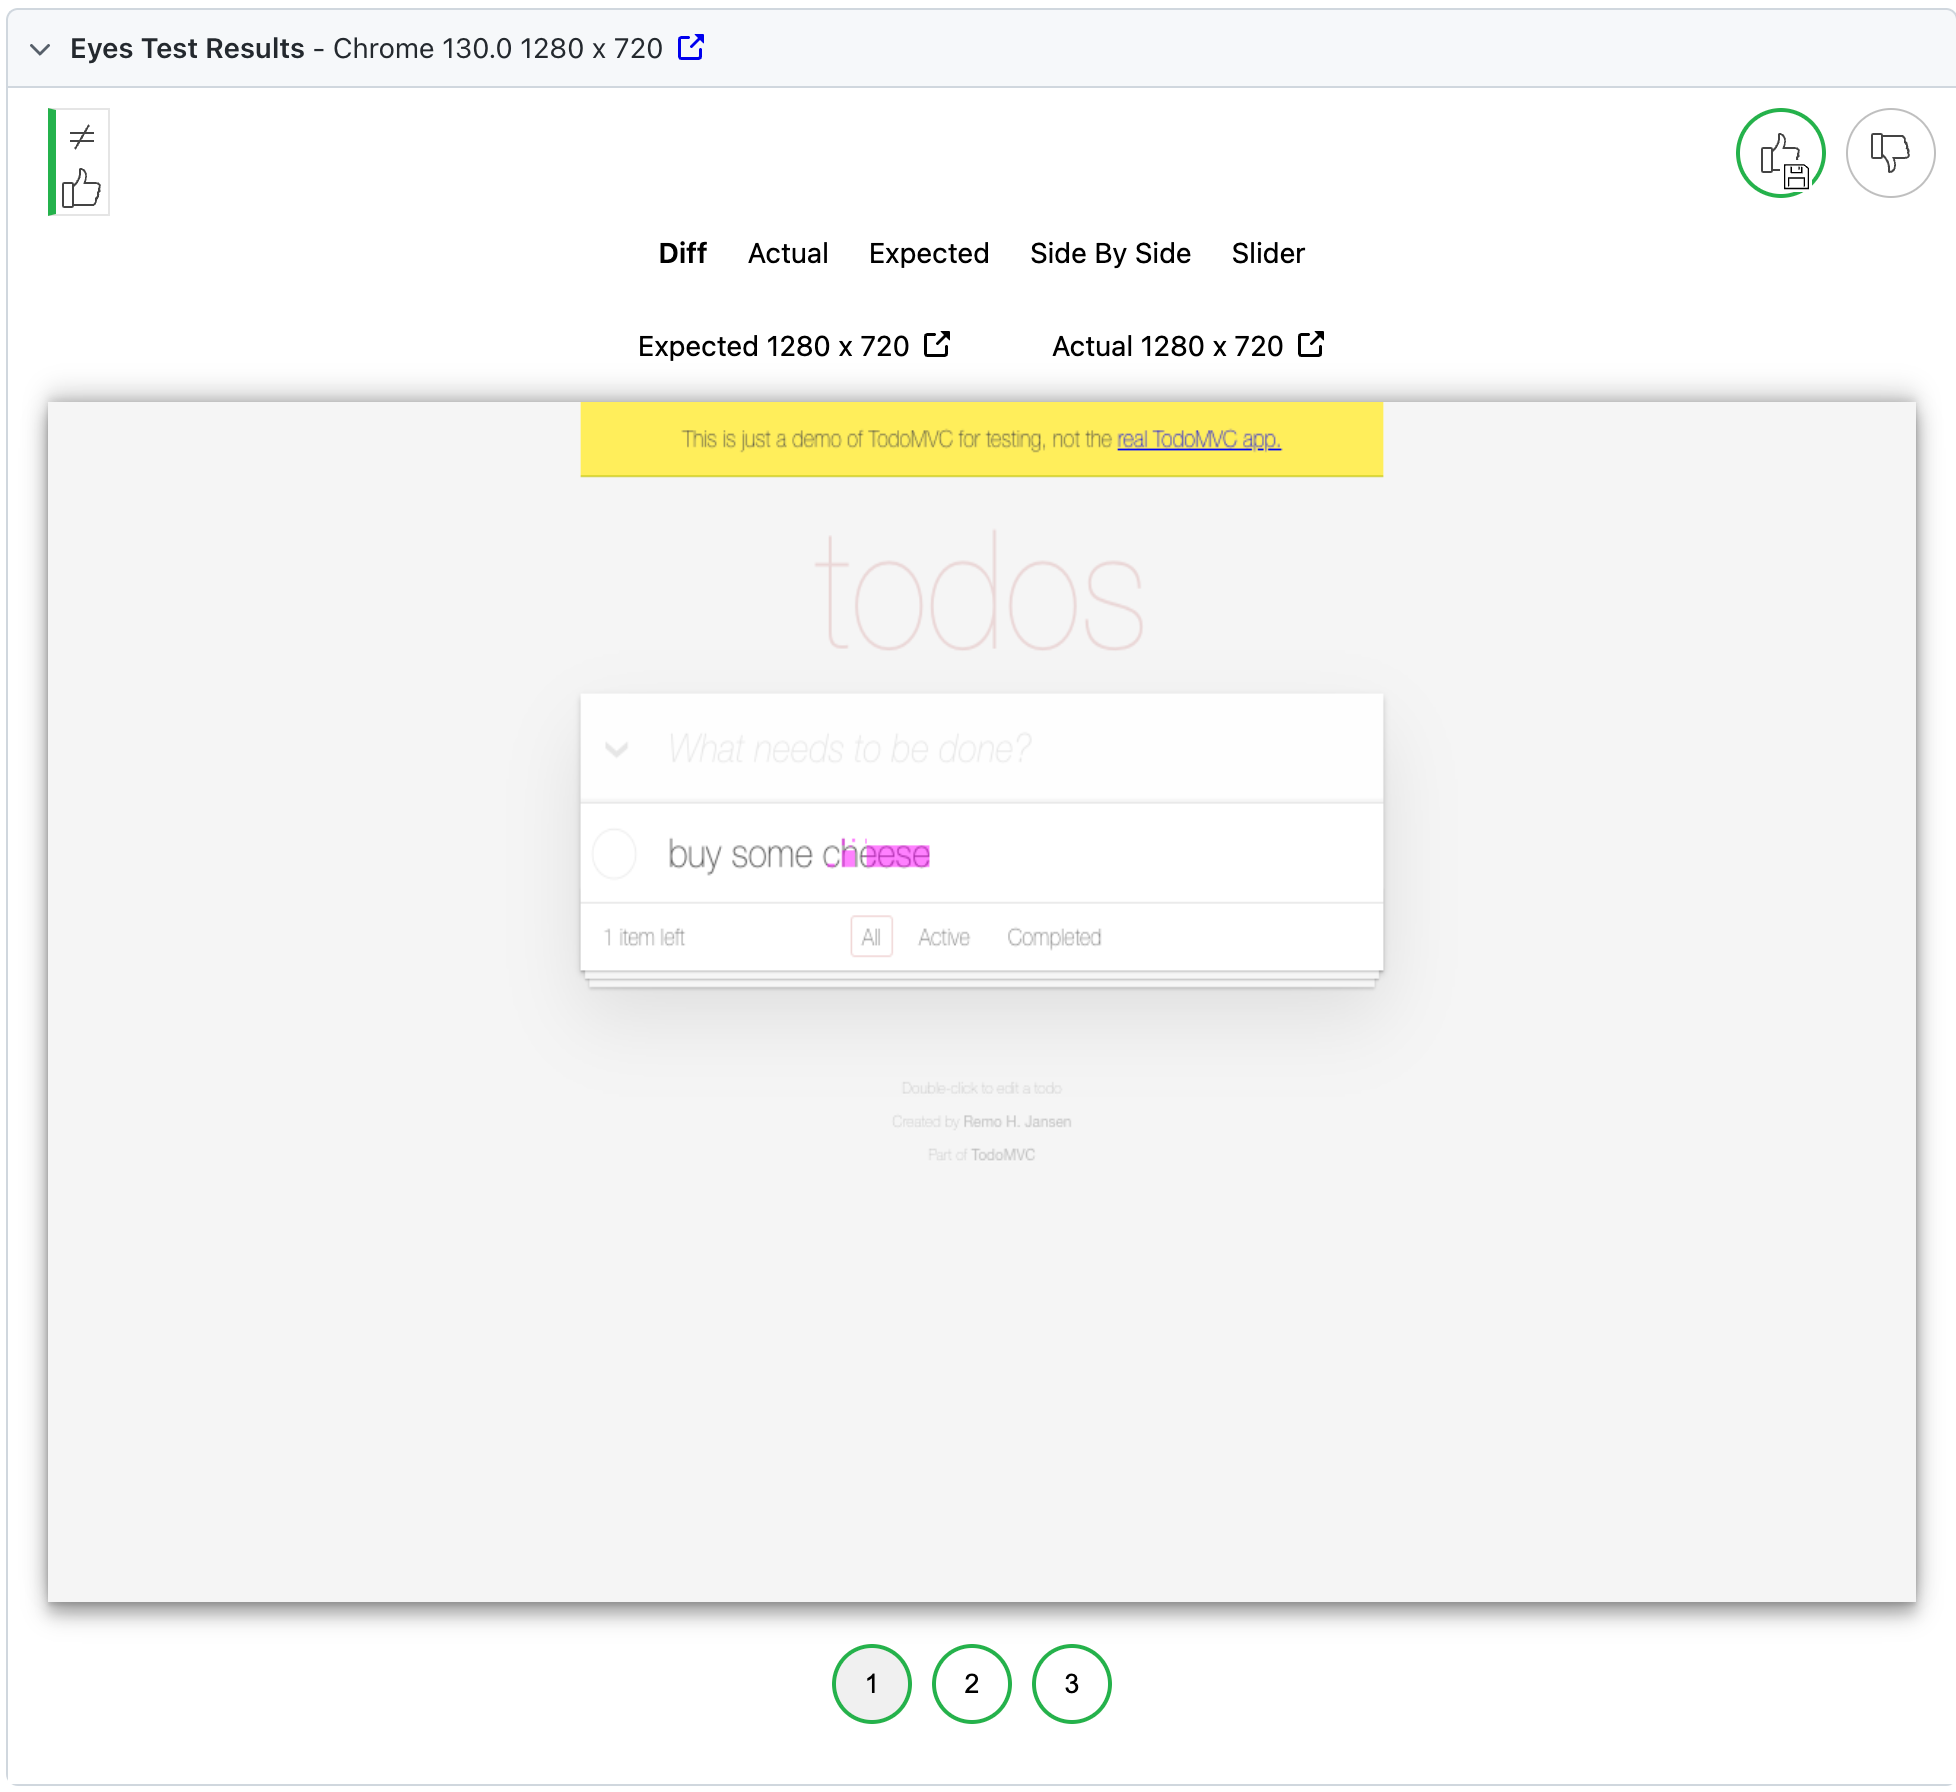
Viewing results
In Playwright
After running your tests, you can view the test results in Playwright's HTML report. To open the report, run:
npx playwright show-report
This custom report will display the visual test outcomes and can serve as a lightweight alternative to the Applitools Dashboard, easily shareable and always available and up to date with the latest batch resolution.
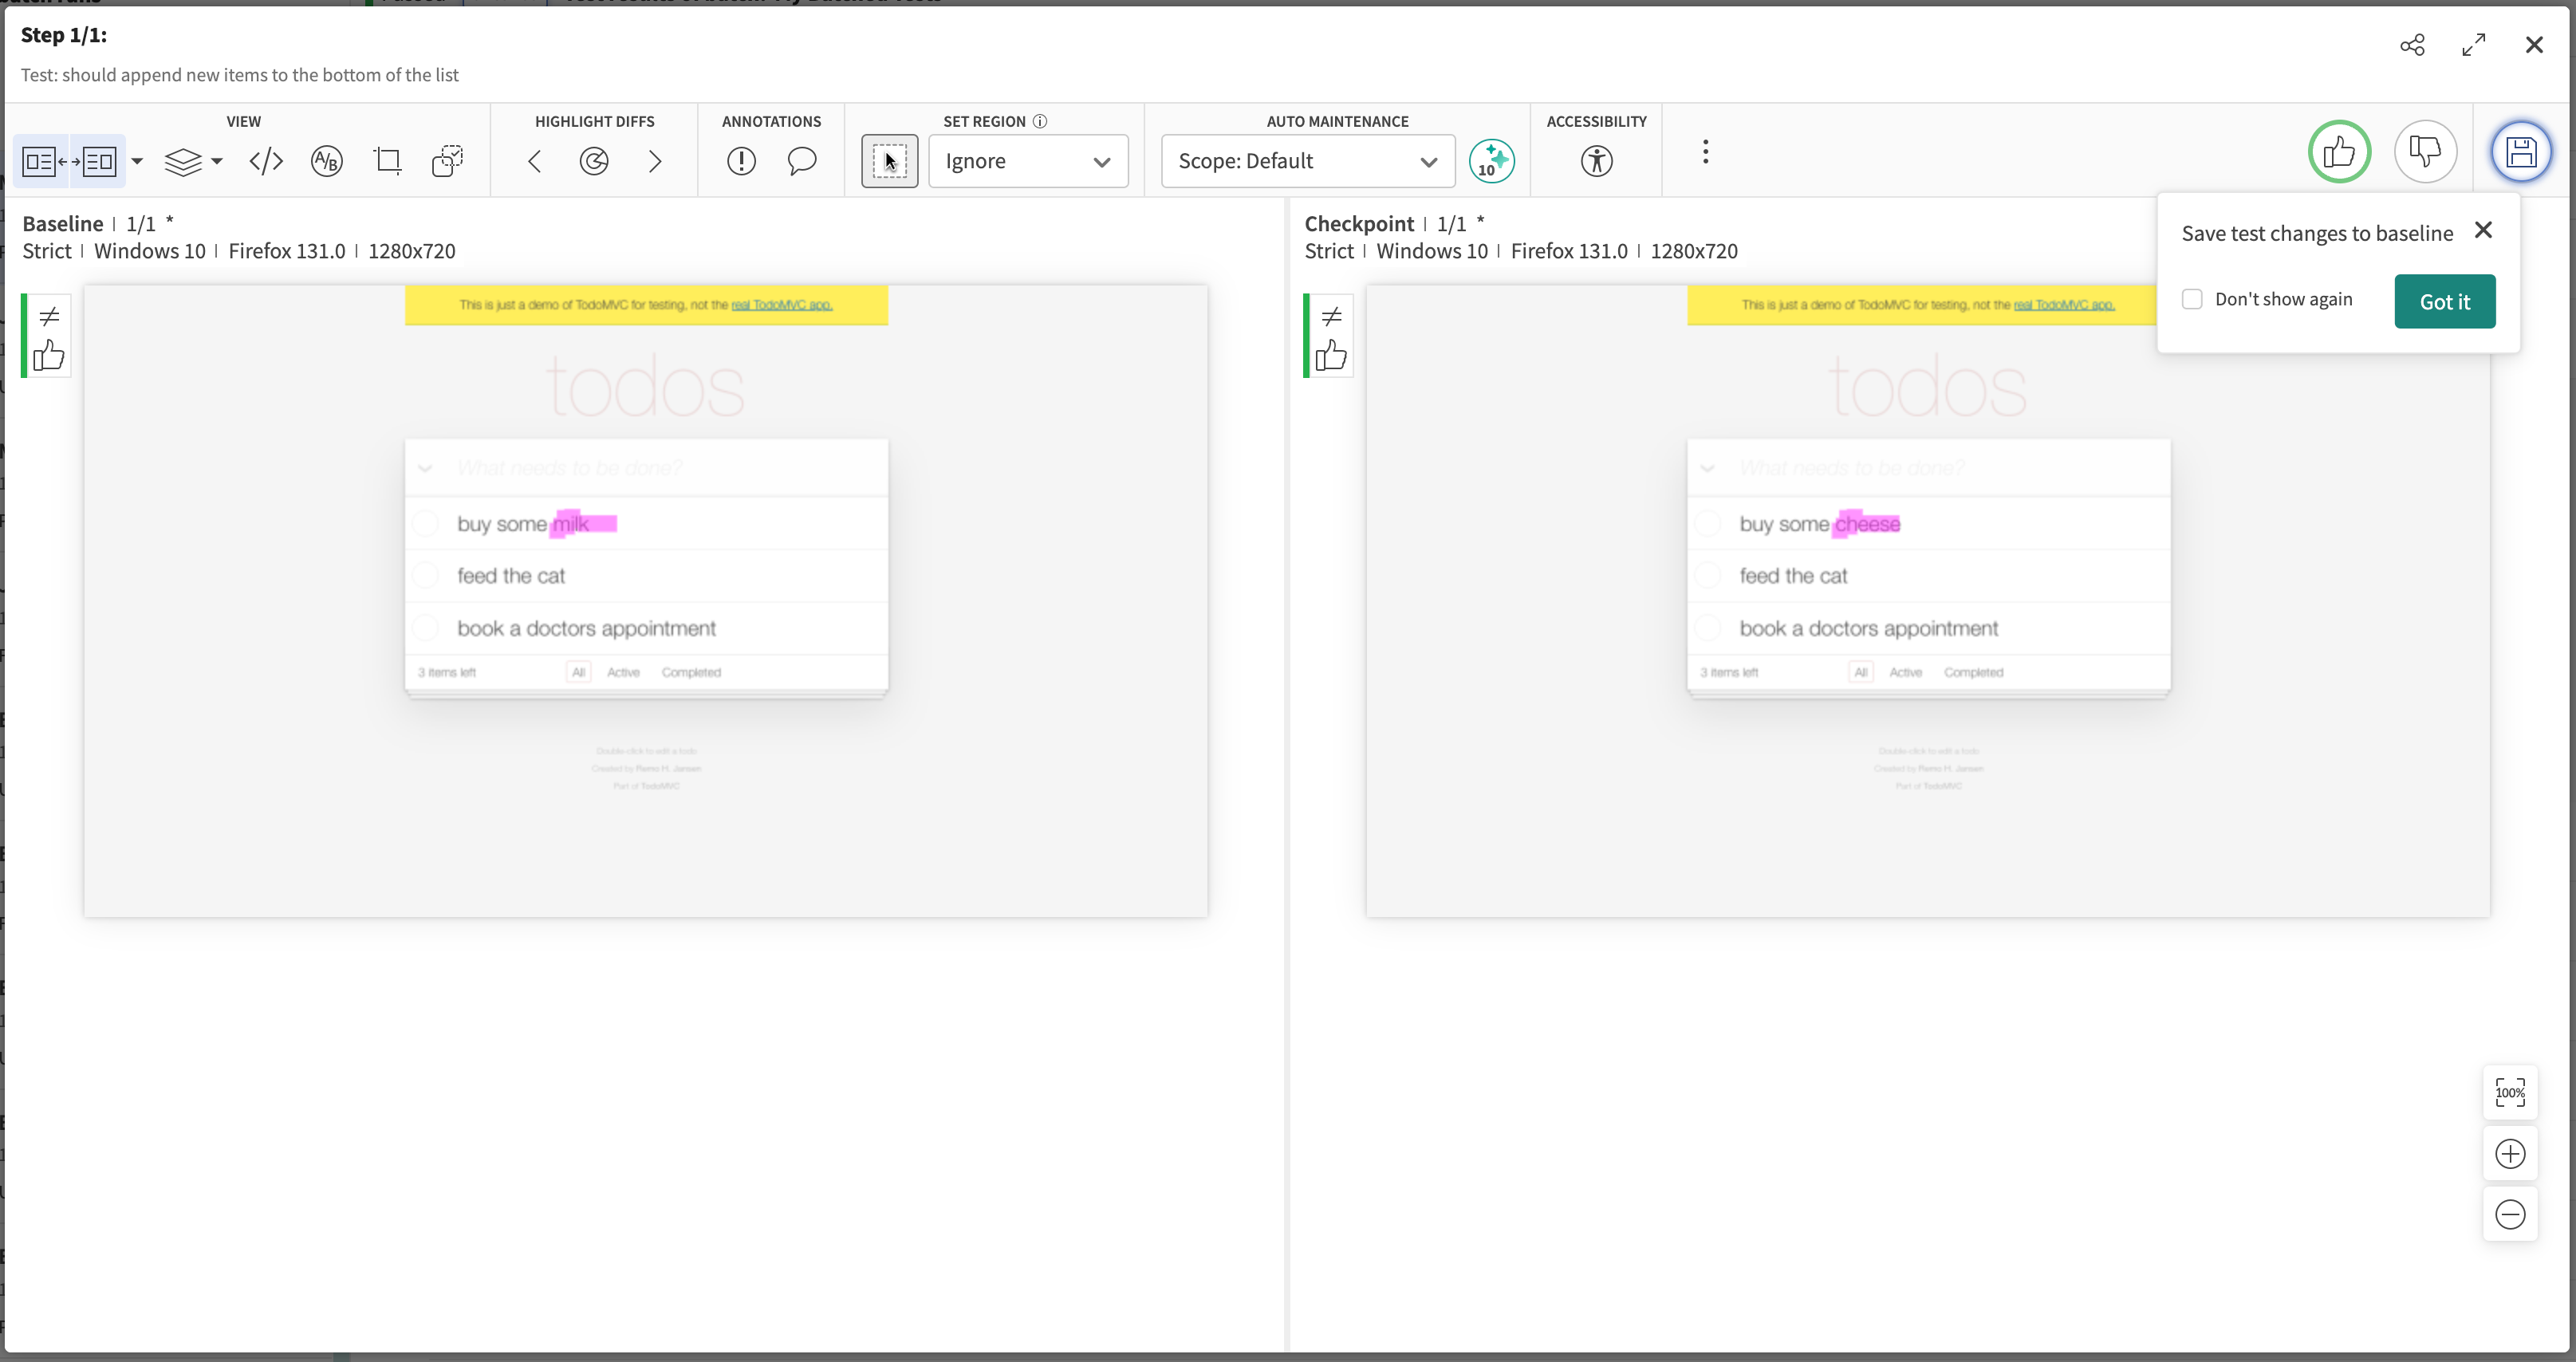
In Applitools dashboard
For detailed visual test results:
- After your test run, the terminal output will include a link to the test results in the Applitools Dashboard.
- Click the link to navigate directly to your test results.
- Review any visual differences detected.
- Accept changes and click the Save button to update baselines, or reject changes to flag issues.