Recording Tests
Preflight enables you to record all actions, including uploading files, signing in, and working with PDFs. For a full list of recordable actions, see Step Types.
If you have integrated with Eyes Visual AI, the Preflight recording extension will appear with additional features to enable full page checkpoints.
This topic includes:
Prerequisites
While Preflight uses your browser to record tests, these tests will be run in the cloud without your browser's state. Follow the instructions in this topic to ensure that tests will be successful when running for the first time in the cloud.
To ensure the tests will run successfully:
- Log out of your web app.
- Clear cookies if you need to show modals to first time users.
- Ensure that all input fields that you want to record are empty.
- Preflight uses a Google Chrome extension to record and create tests, so you will need Chrome. You can, however, use your web app from any desktop browser.
Starting the Recorder
The Preflight Recorder works on any Chrome-based browser and on any operating system.
There are two ways to start recording a test:
- From Preflight
- From your web app
Recording From Preflight
To Record from Preflight
-
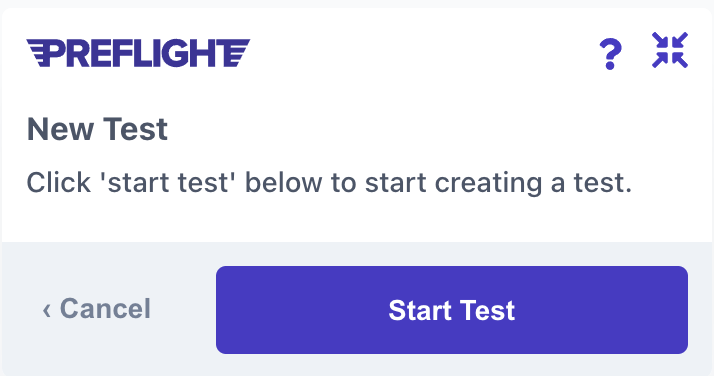
Click the New Test button on the left navigation bar.
-
Click Record & Play in the pop-up.
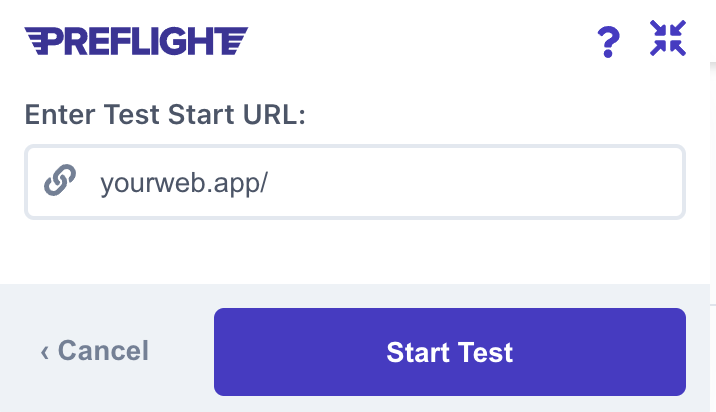
-
In the pop-up that appears in the top right corner of the screen, enter the URL of the app you want to test in the Enter Test Start URL field.
Preflight will record each action.

If you have integrated with Eyes Visual AI, the Preflight extension will appear as follows:
-
Click Start Test.
-
If you haven't recorded a `Login` test, the extension will open your dashboard in a logged-in state. If this is not what you want, cancel the recording, log out and then record a login test.
Recording From Your Web App
To Record from Your Web App
-
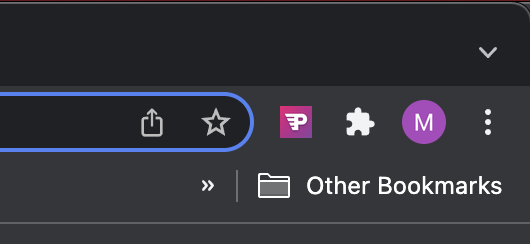
Select the Preflight Recorder extension from the browser's extensions menu.
-
Click Start Test. Preflight will record each action.
-
To record a hover action over a specific element, move the mouse to the element, right-click and select Preflight Recorder > Hover Element.
-
Add checkpoints to your test to ensure that the text or graphics that should always be displayed appear as expected. For example, if you are recording a login test and the user is meant to received a Welcome message, or be shown a specific graphic, use checkpoints to ensure that these elements appear. For more information see Checkpoints.
-
Add variables to your tests to enable the value that appears in a field to be randomized or reused. For more information, see Variables.
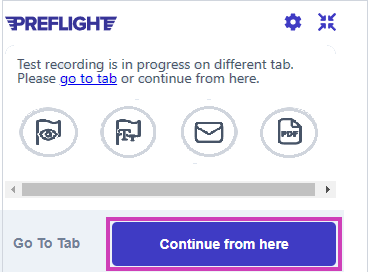
If you try to open the recorder from another site, before completing the current test, click Go to tab to complete the recording on the original tab, or Continue from here to continue the original recording in the current tab.
Saving Your Recording
To Save Your Recording
-
Click Finish Test to complete the recording.
-
Click Confirm.
-
In Test Name enter a name for your test.
-
By default, the test is run immediately. If you don't want to run it immediately, turn off the Run Immediately toggle.
-
To run a login test prior to this test so you don't have to re-record your login each time, click Add Login Flow.
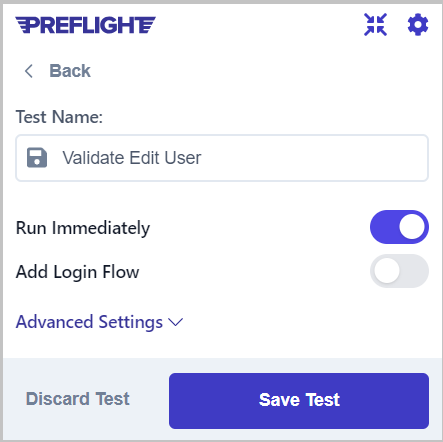
You can also add your Log-out flow. In order to do that, check here.
-
To assign a group to the test, click Advanced Settings and select a group from the list.
-
To assign tag(s) to the test, click Advanced Settings and select tag(s) from the list.
-
Click Save Test. You will be redirected to Preflight and your test will start running.
Re-recording a Test
You can overwrite an existing test by re-recording it.
To Re-record a Test
-
Click Tests to display all tests.
-
Select your test to open it.
-
Click the Test Settings button on the top right of the page.
-
Under Re-record click Start.
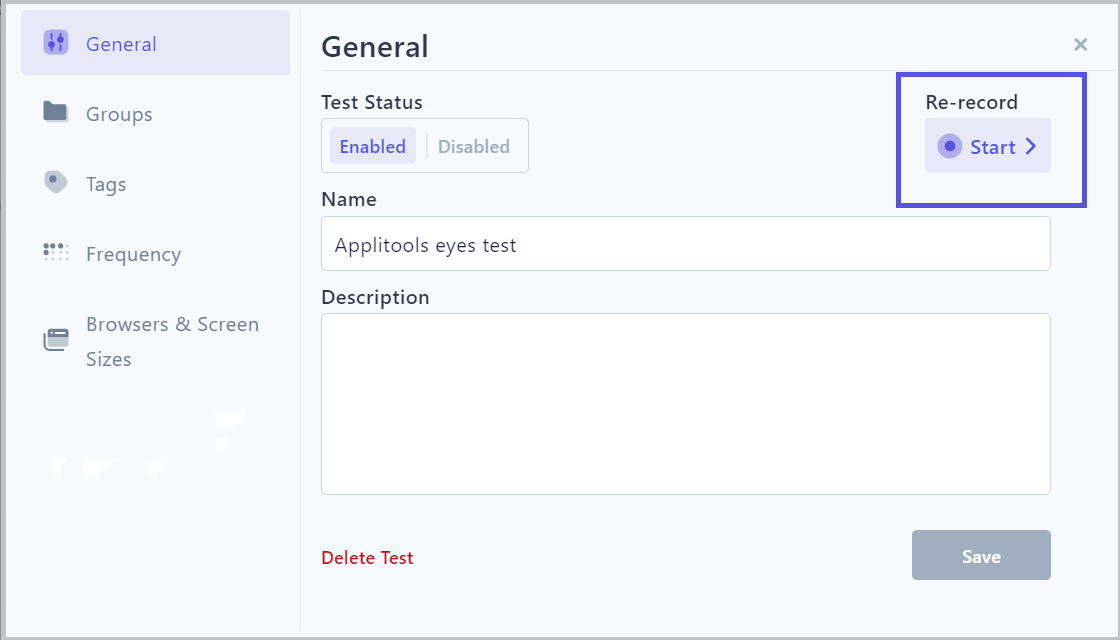
Your web app opens in a new tab, and you can start recording as usual.
Switching Tabs During Recording
If you'd like to switch to another tab and resume your recording, click on the Preflight Recorder extension and click Continue From Here.
Related topics
Creating a Signing Up and Verification Email Test