Creating a Login Test
If you have a web app that requires logging in, your first test should be a Login test.
After creating the login test, you can re-utilize that test to prevent you from logging in each time you need to record a new test. You can either define the test to be used by default when you record subsequent tests, or manually assign it to one or more tests.
To Create a Login Test
-
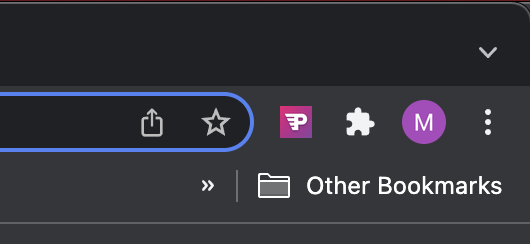
Select the Preflight Recorder extension from the browser's extensions menu.
-
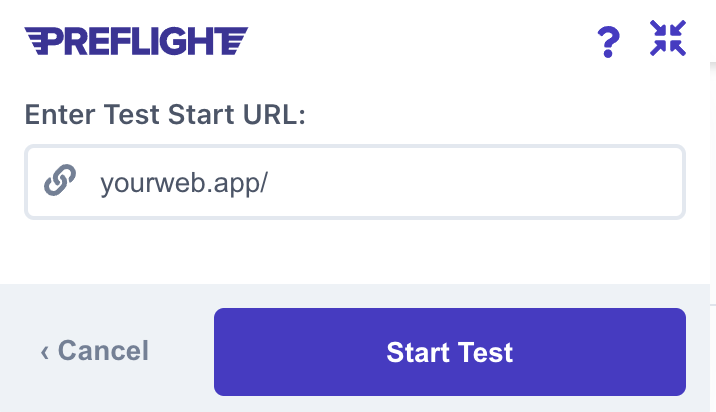
Click Start Test. Preflight will record each action.
-
In the Email field, enter an email.
-
In the Password field, enter a password.
-
Once you have logged in, add a checkpoint to ensure that expected text and or graphics appear after logging in.
-
Click Finish Test to complete the recording.
-
Click Confirm.
-
In Test Name enter a name for your test.
-
Click Save Test. You will be redirected to Preflight and your test will start running.
-
You can define this test as the default login test to be used automatically if a user selects the Add Login Flow option while recording or add it to selected tests after recording.
Related topics