Creating a Signing Up and Verification Email Test
To test emails, you can generate a random email that will enable Preflight to use a unique email each time the test is run. This ensures that you can run tests in parallel without email conflicts. You can also create a custom email from a randomized address, which can be reused in multiple tests. Once you have signed up, you can access the verification mail from Preflight's Inbox.
Click here for information about using unique emails to test your signup process.
This topic includes:
Generating Emails
To Generate an Email
-
While recording your test, in the relevant name fields, select the First Name and Last Name variables that are suggested to you.
-
In the email field, click {{generate.email}} which should appear above the field. If it doesn't, either type it or:
-
Click the symbol
 that appears above the field or click the symbol next to the action in the recorder.
 -
In the Variables window select Email from the New tab.
-
Click Apply.
A random email is automatically generated and appears in the field.
-
-
Enter the password.
-
Click the Sign in button. A mail is sent to Preflight's Inbox.
Accessing the Inbox
To Access the Inbox
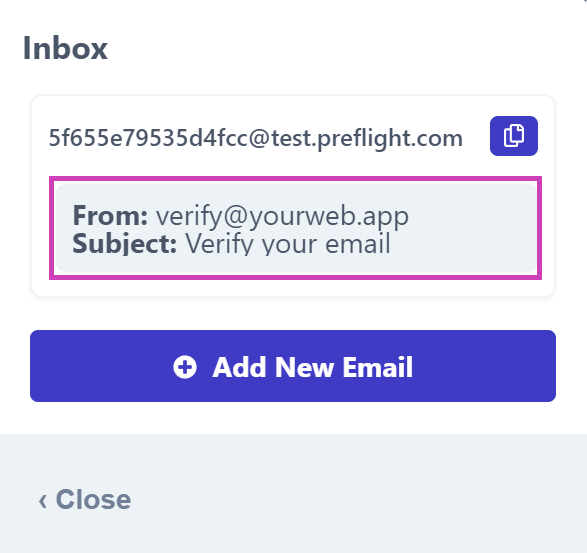
Once you have signed up you can access the verification mail from the Inbox from the Preflight Recorder extension. A notification appears when you receive an email:

-
Click the icon to view the list of received emails:
-
Click the relevant mail to display it.

-
Do one of the following:
- Create a Checkpoint to store a value.
- Click on a URL to get redirected to a login page. Use the {{generate.email}} variable as the email. Enter a password and sign in.
- Interact with the email pop-up.
The recorder will record all of your actions in the email pop-up.
-
Close the window from the top-right corner.
-
Once you have logged into the system, add checkpoints to ensure the correct screen is displayed.
Adding a Custom Email
Adding a custom email enables you to save a user's credentials for further testing.
To Add a Custom Email
-
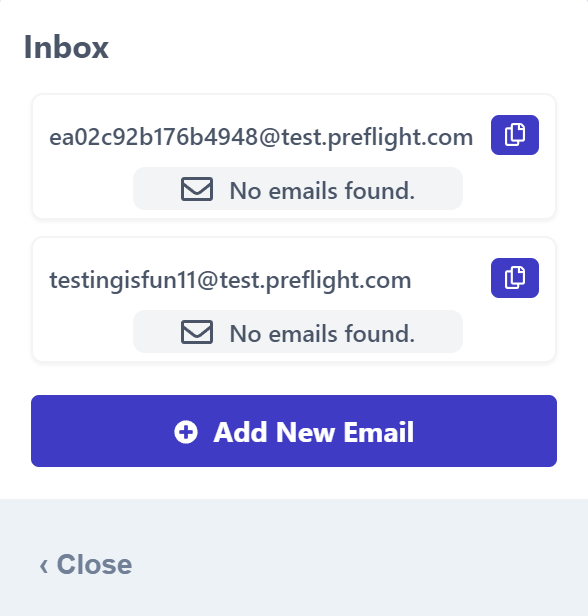
Click on the Inbox in the Preflight Recorder:
-
Click Add New Email:

-
Type your identifier and hit Enter or the check mark.
-
Access the mail from the email address you entered.
Related topics
How can I test a registration or signup page with a unique email?