Adding a Figma Project
Figma is the "Source of truth" in Centra, and Centra mirrors your corresponding Figma page. When you upload a Figma page, Centra automatically extracts all the frames in the selected page and adds them to the project. Adding, updating, or removing designs from your Figma page has the same impact on your Centra project whenever you sync your Centra project with Figma.
For large Figma pages, we recommend that you create a new Figma page and copy only the frames that you want to collaborate on. You can then import this new Figma page into Centra as a project and collaborate with your team members and interested stakeholders in Centra.
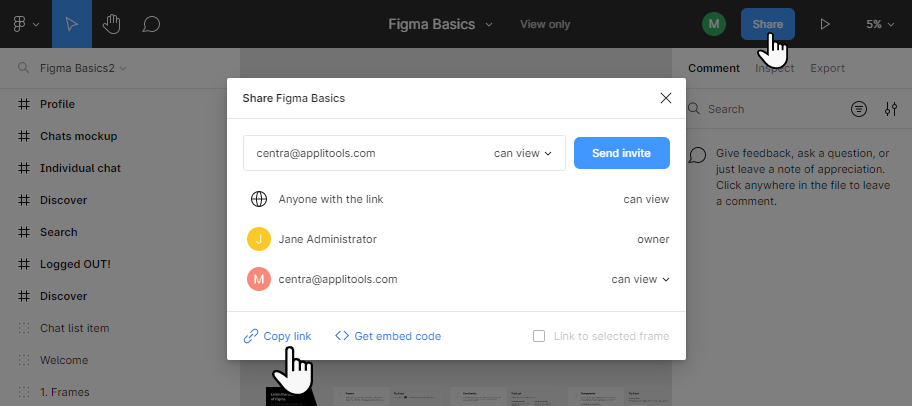
We recommend that you make your Figma project public so that anyone with a link will have access to the project. If your must keep your Figma project restricted, so only people who are invited have access to the project, you need to give "can view" access to centra@applitools.com. For details, see Sharing Restricted Figma Files.
To add a project from a Figma page:
In Figma, open the project and click Share and then Copy link to copy the Figma link to your system Clipboard.
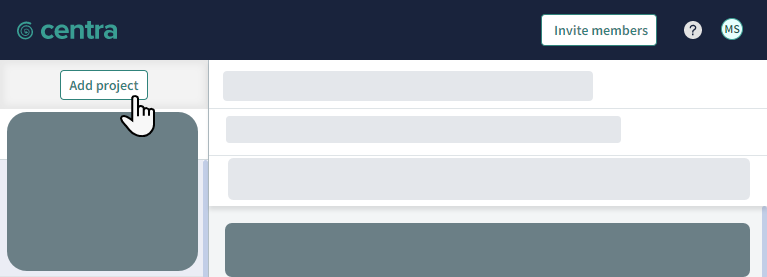
In Centra, click Add Project.
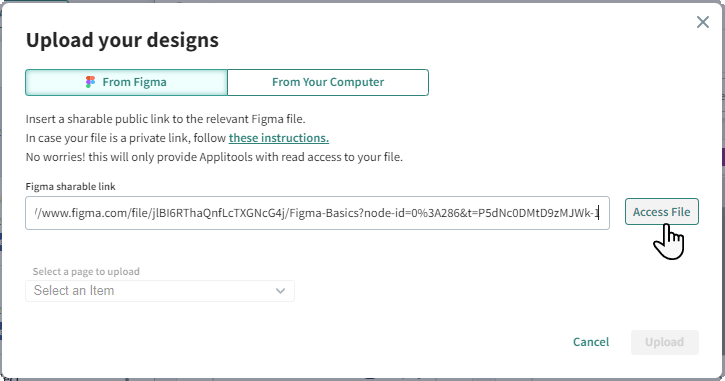
Click From Figma, paste the link to your Figma project, and click Access File.
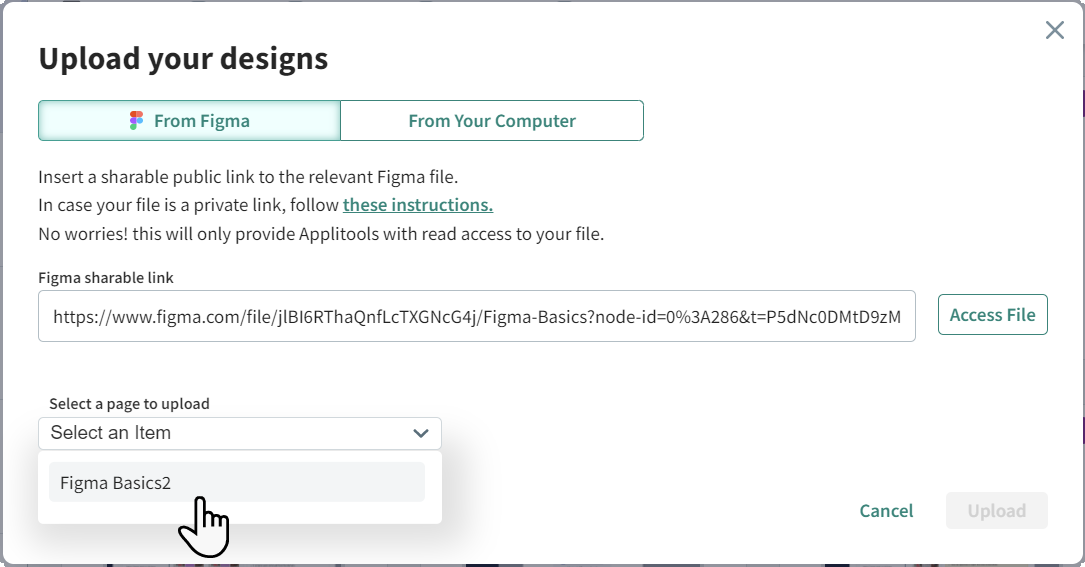
Select the Figma page from the dropdown list and click Upload.
Centra creates a new project.
Click Finish.
Centra adds images from Figma and all Design images have a status of New (see Project and Image Status).