Adding Implementation Images
Once Design images have been uploaded to a project, team members can upload an image of the application as it was implemented.
You can upload one Implementation image for each design image.
You can upload an image in PNG format using one of the following methods:
- from your file system
- paste an image from the clipboard
- Use our Chrome extension to capture screenshot. Learn more
To upload an Implementation image:
In the Project Dashboard, click on a design thumbnail to open the image in the Design Viewer.
If there is already an Implementation image associated with the Design issue, click the Options button
 and select Add new implementation image.
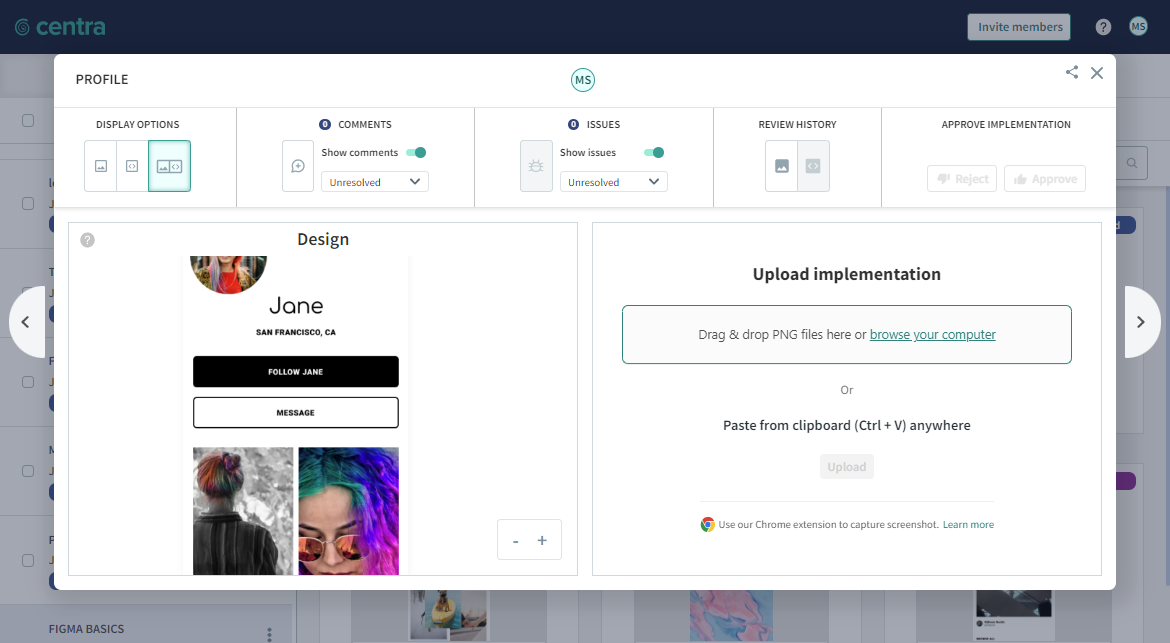
If there is no existing image, the Upload Implementation panel is visible.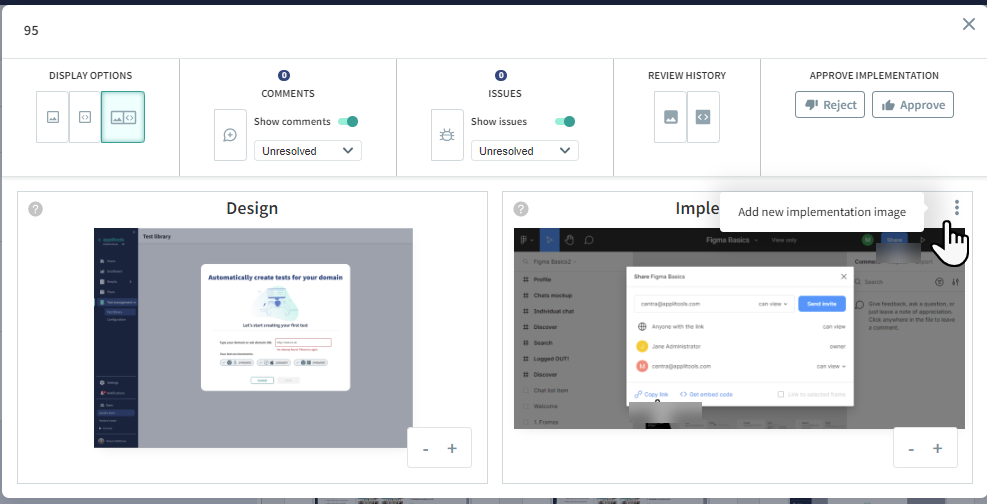
Upload the image using one of the following:
- Drag and drop a PNG file to the Drop captures here area.
- Click Browse your computer and browse to the required file.
- In your snipping or graphic editing tool, copy the image to your system clipboard and paste the image with CTRL+V (Windows), CMD+V (macOS), or CTRL+SHIFT+V (Linux).
Or use our Chrome extension Learn more
Click Upload.
Use the Zoom buttons or + and - keys to zoom in and out of the image.
Use the arrows at the side of the image or the → and ← keys to view the next or previous image.