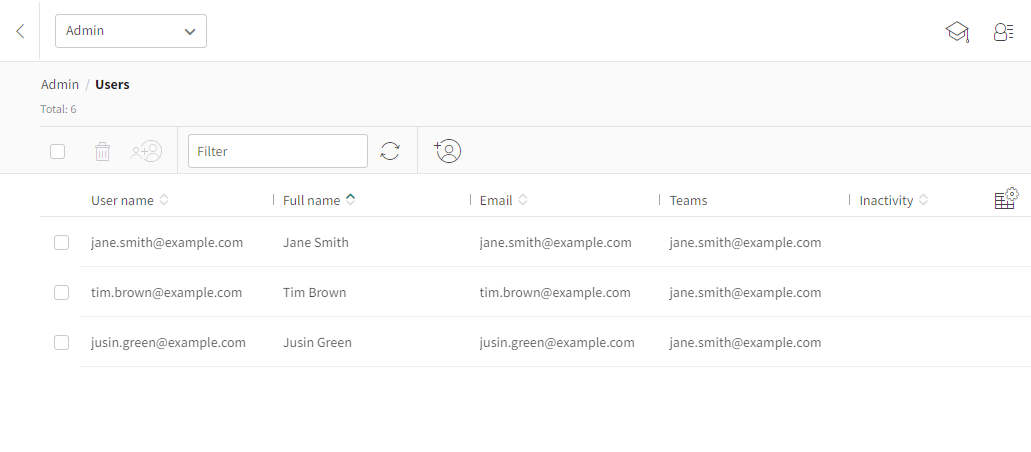
The Admin Users view
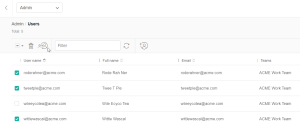
The Users view lists all users that belong to an account, their details, and the teams with which each user is associated. It also gives access to the user information view which allows you to set a user access rights.
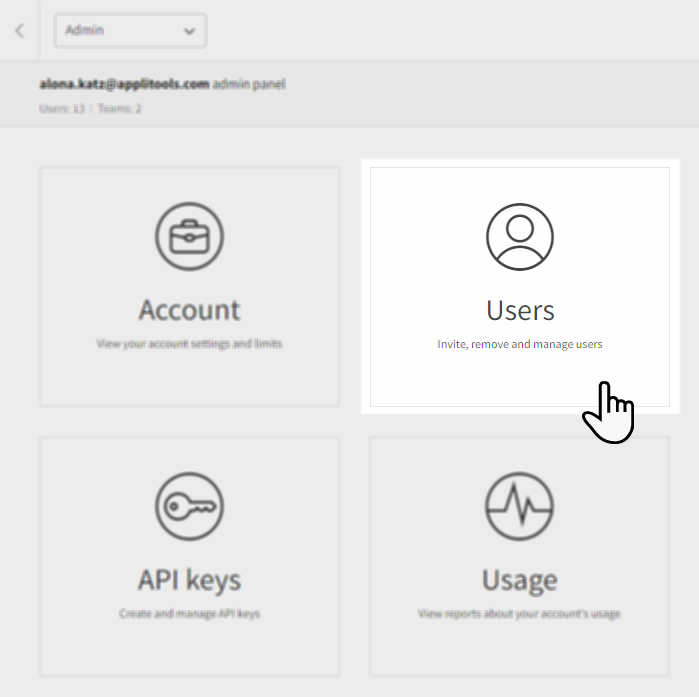
To open the Users view:
On the Admin panel, click on the Users tile.
You can perform the following actions in this window:
- Adding users to the account
- Adding a user to a team
- Adding multiple users to multiple teams
- Removing users from the account
- Viewing and changing user information
Adding users to the account
You can add users to your Applitools Eyes account through the Users view. After a user is added he does not have access to any account or team data until he is added to a team.
There are two ways to add a user to a team:
- Directly on the user view as is described below.
- On the teams information view.
When a user is first added and saved to the Users list, Eyes stores the Username and associates it with the account.
To add users to the account:
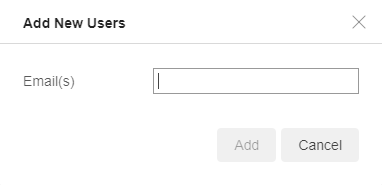
- Click Add a new user in the toolbar on the Users view.
- Enter the email address of the new user in the Add New Users dialog box and click Add.
- Verify that the user details displayed in the Add New User dialog box are correct.
- Click Add.
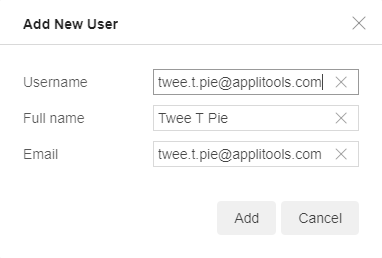
The user is now added to the account and the user details appear in the Users list on the Users view. The Username is used when signing in to the Eyes Test Manager.
Once the Username is associated with an account, you cannot change it. If you need to change a Username, contact Applitools support.
While users can only belong to one account, they may be invited to join a team from another account but are not associated as a user of that account.
Adding a user to a team
You can add a user to a team either from the Teams information view, from the Users view, or from the user's information view as described here:
-
From the Admin view click the Users tile.
-
Click on the row with the users details to open the user's information view.
-
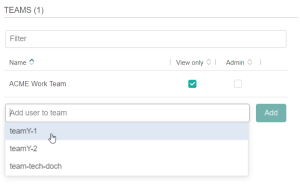
Click "Add user to team" and, select a team.
-
Click the Add button. The team appears in the list of teams.
-
If required, repeat this process to add the user to other teams.
-
Click Save changes or press Control + S to save changes to the account.

Adding multiple users to multiple teams
To multiple users to multiple teams:
-
From the Admin view click the Users tile.
-
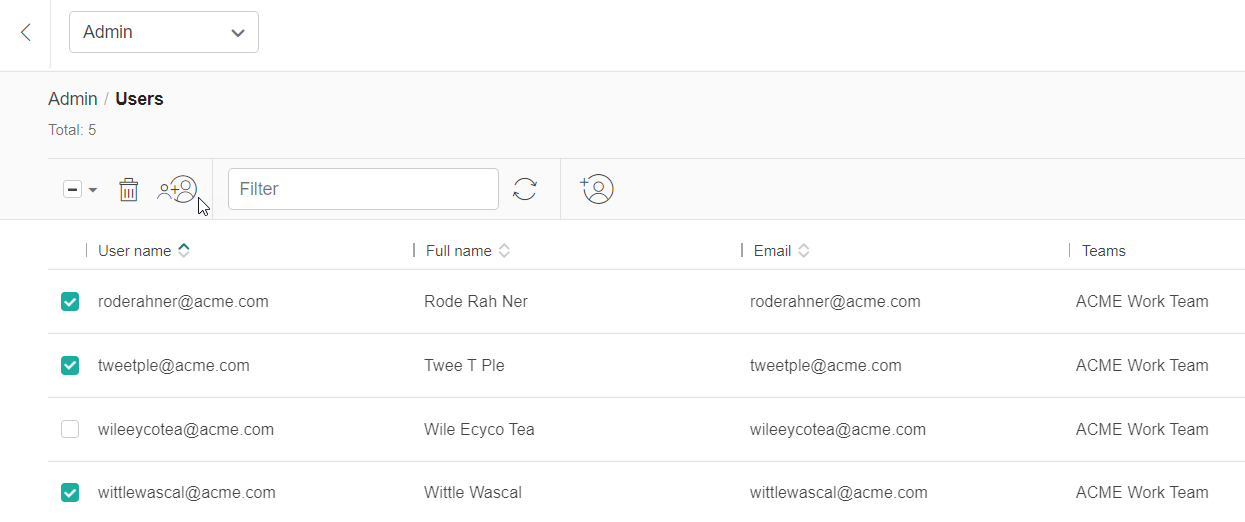
Select the users that you want to add to one or more teams.
-
Click
-
Select the teams that you want the users to be added to and click Add.
The users are added to the teams.
Removing users from the account
Removing a user from an account removes the user from all teams to which they belong. Removing users from an account also deletes all of their API key which is associated with the account.
To delete users from an account's Users list:
-
On the Users list in the Users view, select the users that you want to delete.
-
Click Delete selected users in the Users view toolbar.
-
Click Confirm in the Confirm deletion message that appears.
Viewing and changing user information
You can change the Full name and email address of a user from their individual User information view. On the same view you can view a user's Username, the Teams to which a user belongs and the access permissions that the user has for each team.
To edit a user's user details:
-
From the Admin view click the Users tile.
-
Click on the row with the users details to open the user's information view.
-
In the General section click in any of the editable fields and change the details.
-
Click Save changes or press Control + S to save changes to the account.
Setting users access rights
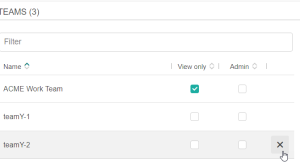
On the User information view, there is a list of teams that the user is a member of. For each team you can set the user's rights and change the team information as follows:
- View only: The user may only view the teams test results and other related information but can not make changes such as accepting or rejecting differences, adding regions or saving the baseline.
- Admin: The user has Team admin rights (but not account rights). This means that the user can use the Admin panel, add and remove team members, and change their details and permissions.
Removing a user from a team
You can remove a user from a team either on the team information view or on the user details view as described below:
-
From the Admin view click the Users tile.
-
Click on the row with the users details to open the user's information view.
-
In the list of teams that the user is a member of, hover over the team that you want to remove the user from and click on the X that appears on the row.
-
Click Save changes or press Control + S to save changes to the account.

