URL List Test
A URL list test allows you to generate a custom list of URLs that need to be tested. This test is useful if you do not have a sitemap, you only want to test specific URLs in your domain, or if you want to test specific URLs from different domains.
A URL list test has the following benefits:
-
Easy to enter a list of URLs directly in the interface or by importing URLs from a file.
-
Easy to verify all selected URLs across different browsers and devices.
-
Verification includes both visual and functional issues in the URLs, including visual differences, server errors, and pages that cannot be loaded.
Before you create a URL list test, we recommend that you create a file with a list of all URLs that you want to test and confirm that all URLs load successfully. The URL list should be in comma-separated format as a CSV, XLS, or TXT file, or a sitemap.xml file. The sitemap.xml file should contain only the URLs that you want to test, it does not need to include every URL on your website. For sitemap examples and full documentation, see www.sitemaps.org
When you create the test you will need to assign the test to an application and plan. If you do not have a suitable application and plan available, you should create an application and create a plan before creating the test. If you already created a full website test for the application, you can use the plan and application that were created with that test.
To Create a URL List Test
-
In the , select Tests.
-
Click Create a new test > URL list.
-
In the Test details area, enter the following information:
-
Test name – The test name will be displayed in the list of tests.
-
Description – An optional description of the test.
-
Plans running this test – (Optional) The plans associated with the test. The plan determines the test schedule and browsers & devices. A test can belong to multiple plans. For further information, see Plans.
-
-
If you need to run a flow before each step, such as entering authentication or closing a popup, click Select a flow to run before the screen URLs. For details, see Flow to Run Before Steps.
-
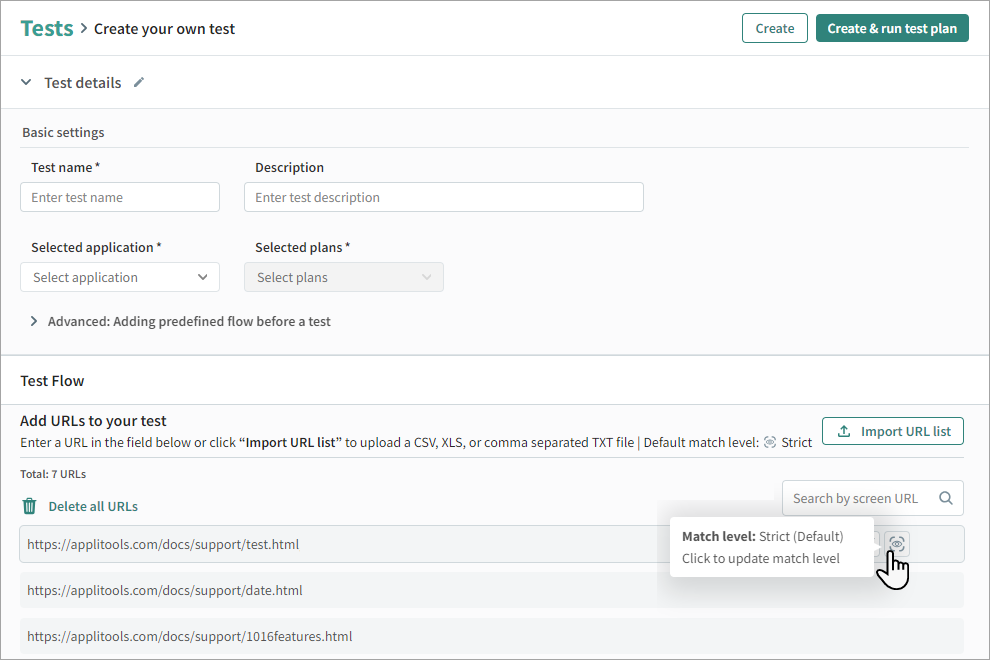
Click Import URL list to import a comma-separated text, CSV, or XML file with a list of URLs to test, or enter a single URL and click Add URL.
-
The default match level is Strict. To change the match level for a URL, click on the area to the right of the URL and select the required match level.
-
Once all steps are complete, click on one of the following:
-
Create (or Update) – Creates or updates the test and adds it to the plans, but does not run the test
-
Run – Runs the test. For details, see Running the Test.
Note that Test details are not saved automatically.
-
Flow to Run Before Steps
You can enter basic authentication or run a custom test before each URL in a test. For example, if you need to close a popup or click "Accept Cookies" before each URL in the test.
To enter or modify basic authentication or run a custom flow, click Select a flow to run before the screen URLs and select one of the following:
-
Basic authentication and enter a username and password. Basic authentication adds an authentication encode string in each URL, so that the user name and password is included in the request to the browser. When using basic authentication, the authorization header includes the endcode in every request.
-
Existing customized test and select a Custom Flow Test, for example a test which selects "Accept Cookies", which should run when each URL in the test opens. The list of available custom flow tests is based on the plans that the test belongs to. If the custom flow does not run successfully, for example a popup does not appear, the test will ignore the custom flow test for that URL.
By default, the start URL of a custom pre-flow test will be ignored. If you do not want to ignore the start URL, in the test's advanced settings, enable Use the custom flow's start URL for details, see Use Custom Flow's Start URL.
Removing URLs
To Remove URLs
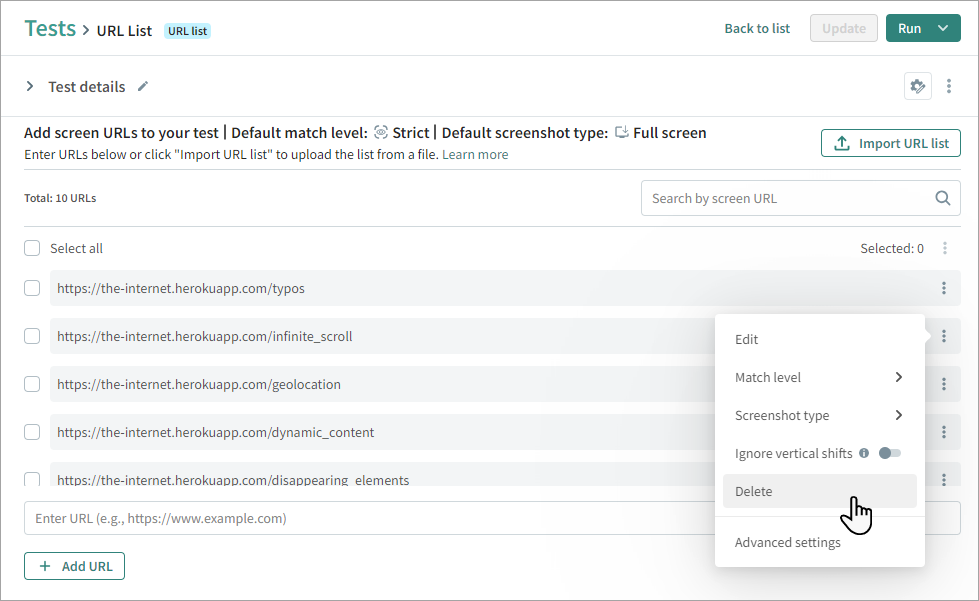
In the list of URLs, select the required URLs and click > Delete.
Setting the Match Level
The match level determines the way that Autonomous compares the checkpoint image with the baseline image. You can change the match level for any screen in the test. For details see Match Level.
Setting the Screenshot Type
The screenshot type determines what will be included in the screenshot (Full screen, viewport, or region). For details, see Screenshot Type.
To set the screenshot type for a single URL, next to the URL click and select a screenshot type.
To select the screenshot type for multiple URLs, in the list of URLs, select the required URLs and click > Screenshot type and select the required type.
Running the Test
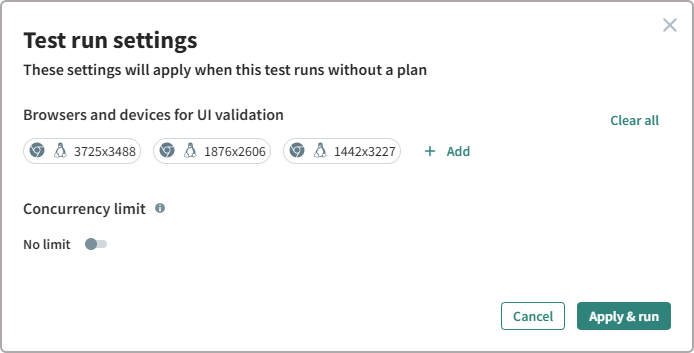
You can run a test on an ad-hoc basis without running a plan. When you run a test directly from the Test settings page, you need to select browsers and devices for the run. This is an easy way to view the results of changes you made to a test and create a baseline without waiting for the next scheduled run.
To Run a Single Instance of a Test
-
At the top of the Test Settings page, click Run.

-
By default, the browsers and devices that were last selected are displayed. Click on an item to remove it, or click Add to add new browsers and devices.

-
If required, set a concurrency limit to control how many screenshots the test generates simultaneously. Without a concurrency limit, the test will take screenshots for multiple URLs at the same time. With a concurrency limit of 1, the test will generate one screenshot before proceeding to the next.
-
Click Apply and run.
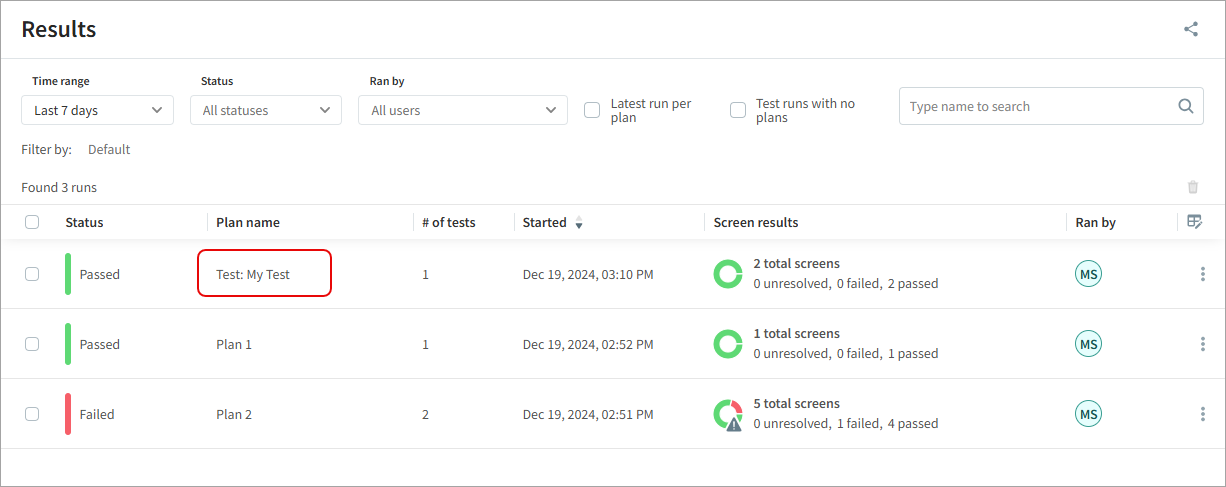
Once the test has run, you can view the status in the Results window. If the test is run without a plan, the Plan name column will list the name of the test in the Plan name column.

Duplicating a Test
You can duplicate a test. This creates a new test with the same list of URLs and the same application and plans.
To Duplicate a Test
-
At the top of the Test Details page, click
> Duplicate.
-
Give a meaningful name to the new test.
-
Click Create or Run.
Modifying Advanced Settings
To set or modify advanced settings for the test or for specific URLs in the test, see Advanced Test Settings.


