Custom Flow Test
A custom flow test lets you test a defined workflow on your website. For example, you could create a test that opens your website, logs into the site, adds an item to a shopping cart, opens the checkout page, and takes a screenshot at each stage of the process to use as a checkpoint.
Interactive Browser
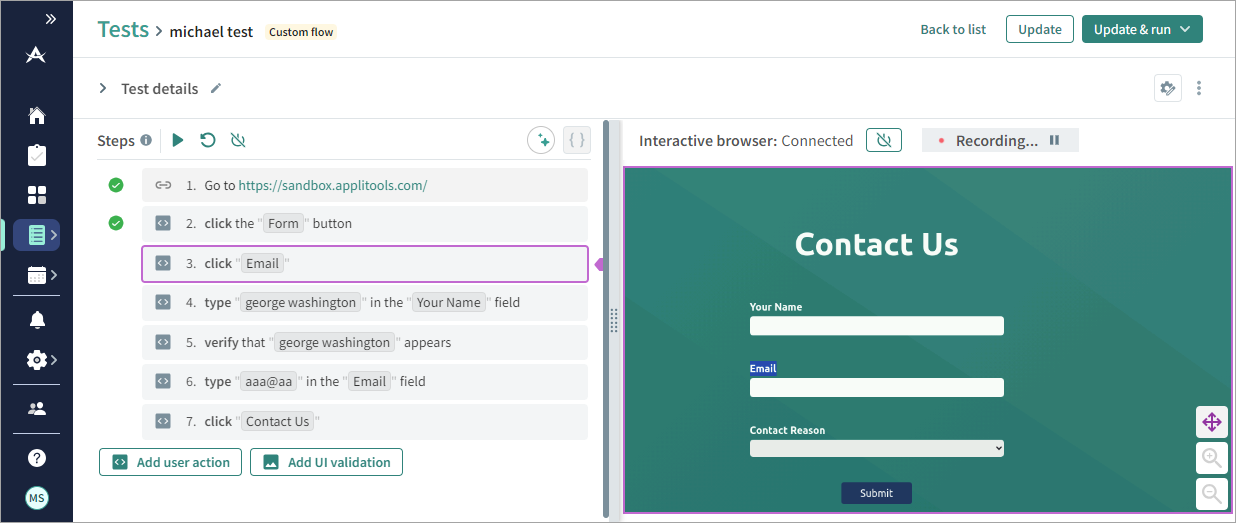
The interactive browser allows you to record actions, such as clicks, text entries, and scrolls, directly in a browser window to create a detailed test script. When you perform actions in the browser, Autonomous automatically adds each action as a step in the test.
Steps are displayed in simple English in a panel on the left. You can add, delete, or modify steps at any stage by typing a step in English.
Drag the splitter bar in the middle of the window to adjust the size of the interactive browser. In the bottom-right corner of the browser, you can click and
to zoom in or out, or
to reposition the screen.
Step Types
A custom flow test contains the following types of step:
-
User action steps
-
Text assertions
-
UI Validation Steps
User Action Steps
A user action step is a command written in plain English, for example, "Enter "John Smith" in the Name field" or "Click the OK button".
Click to create a user action step and record an action in the interactive browser or type a command in English. As you type, Autonomous offers suggestions to ensure ensure valid commands and corrects syntax automatically. To identify an element, click
and then click on an item in the Interactive live browser.
For details of possible commands in a manual step, see User Actions.
Assertions
Assertions allow you to verify that specific text or elements are visible on a page. An element can only be identified in an assertion if it has a text identifier, such as ALT text for an image.
To create an assertion, make sure that the interactive browser is connected. Click , and Autonomous will create a new step starting with "Verify that" and enable the Select Element button
. You can then click an element on the page to complete the assertion. You can also manually type an assertion using natural language commands. For examples, see Assertions.
UI Validation Steps
UI validation involves capturing a screenshot of the application at a specific stage of the test. These screenshots serve as baselines and checkpoints on the Results page, helping to identify visual diffs. To create a UI Validation Step, click .
If a test has no UI validation steps, the test results will not include validation screens. For example, you could create a test without validation steps to confirm that a process completes successfully. In such cases, the results will show as Passed or Failed without any screens included in the test results.
Creating a Custom Flow Test
To Create a Custom Flow Test
-
In the , select Tests.
-
Click Create a new test > Custom flow.
-
In the Test details area, enter the following information:
-
Test name – The test name will be displayed on the list of tests.
-
Start URL – The first URL in the test. The system automatically adds the first step in the test as Go to [Start URL].
-
Viewport – The screen size, operating system, and browser that will be used in the interactive browser when creating the test. You can choose from default options for desktop, tablet, and mobile devices, or specify a custom screen size. We recommend creating separate tests for each device type, especially when screen elements like a Hamburger menu appear only at specific screen sizes.
You can set a user agent to simulate how a webpage behaves on specific devices or browsers. Click Custom > Advanced user agent settings, then select an operating system and browser that match the customized width and height.
-
Description – An optional description of the test.
-
Plans running this test – (Optional) The plans associated with the test. The plan determines the test schedule, browsers & devices, and parameters. A test can belong to multiple plans. For further information, see Plans.
-
-
Click
to connect the interactive browser. When the browser connects, perform actions in the browser to create user actions in the test.
-
To add a UI validation step or an assertion, click
or
-
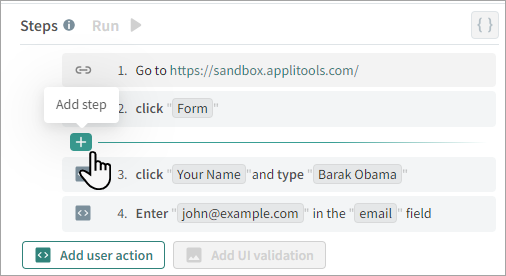
To add a step between existing steps, hover the pointer between the steps and click
Add step.
-
If required, click
to create additional user action steps or modify existing steps in simple everyday English.
-
If required, drag steps up or down to change the order of steps.
-
Once all steps are complete, click on one of the following:
-
Create (or Update) – Creates or updates the test, but does not run the test
-
Run – Runs the test. A window opens prompting you to select browsers and devices to the test and if required add parameters or select a dataset.
-
Note that test details are not saved automatically. You need to click Update or Update & run to save your changes.
Modifying Screenshot Settings
You can modify the match level and other details of the screenshot taken in a UI Validation step.
To Modify Screenshot Settings
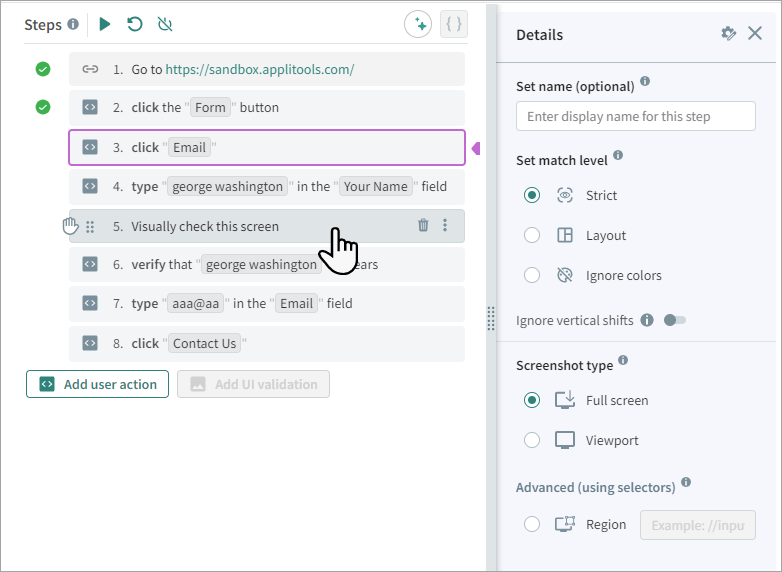
Click on a "Visually check this screen" step and modify the following:
-
Name – An optional name for the step. This name will be displayed on the Results page. If you do not enter a name, the default name of the step is the step number. The name is useful if you order results by step name.
-
Match level – The match level determines how Autonomous compares the checkpoint image with the baseline image. For details, see Match Level.
-
Ignore vertical shifts – Ignores differences that arise from content whose vertical position on the page has changed. For details, see Ignore Vertical Shifts.
-
Screenshot type – The screenshot type determines what will be included in the screenshot (Full screen, viewport, or region). For details, see Screenshot Type.
To set advanced settings for the screen, click . For details, see Advanced Test Settings.
Debugging a Test
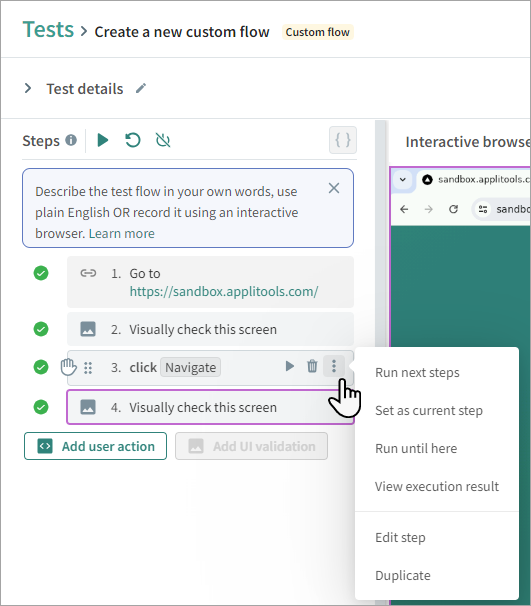
To validate or debug a test, you can set a step to stop when running the test (set the step as a breakpoint), start a test from a specific step, or run a single step.
To Debug or Modify a Test
Next to a step, click and select one of the following:
-
Run next steps – Run the test starting after this step.
-
Set as current step – Move the pointer to this step.
-
Run until here – Run the test from the beginning until after this step.
-
View execution result – Opens a screenshot of the test at that stage in a popup window.
-
Edit step – Allows you to manually edit the text in the step.
-
Duplicate – Copies the step.
To Run the Test From the Beginning
-
Above the list of steps, click Run.
-
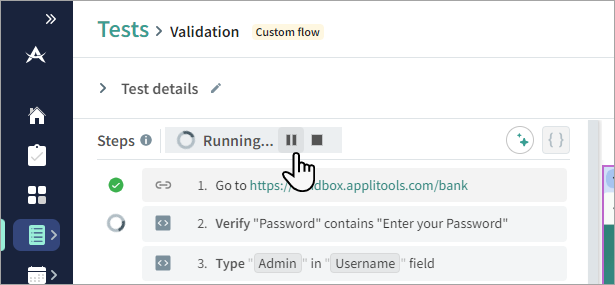
indicates that the step passed.
-
indicates that Autonomous was not able to process the test and will not continue with the next step in the test.
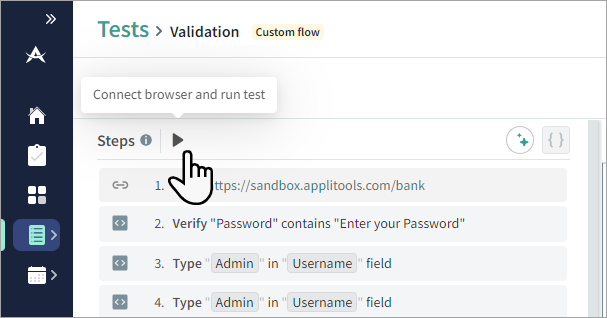
Autonomous runs through the steps in the test and takes a screenshot of each step. If the browser is not connected, this button also connects before running the test. This allows you to confirm that all steps are valid and to see the status at each step.
While the test is running you can click or
to pause or stop the test.
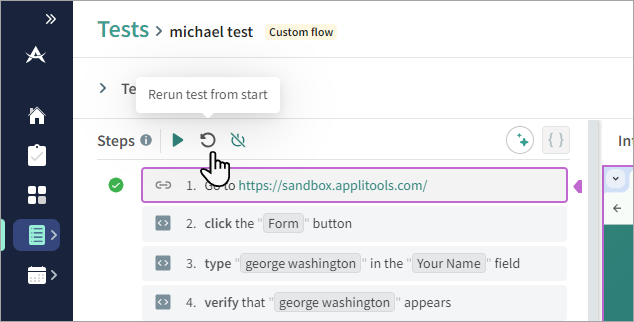
When a test has finished or failed, you can click to run the test again from the beginning.
Previewing a Step
When a test runs inside the interactive browser, you can preview the screen as it appears before and after each step.
To Preview A Step
-
Click Run
or
to connect the browser and run or rerun a test.
-
Next to a step, hover over
to view a thumbnail of the window, or click on the icon to open the preview in a larger window.
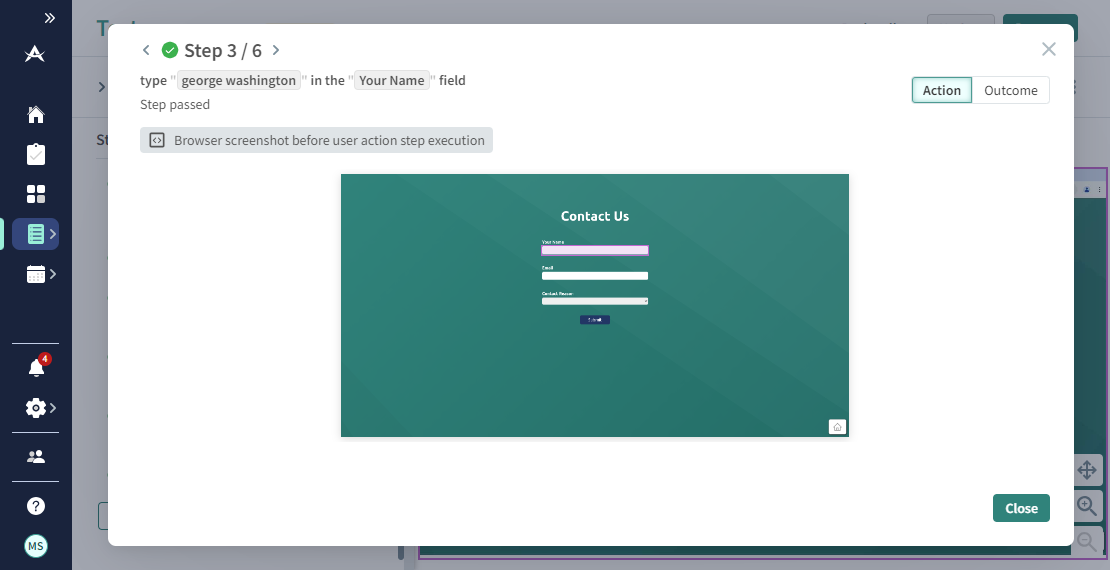
At the top of the window, the step number, the step command, and the status (passed or failed) are displayed.
Click Action or Outcome to view the screen as it appeared before and after the command was run. The Action window also highlights in pink the element that was selected in the command.
Running the Test
You can run a test on an ad-hoc basis without running a plan. When you run a test directly from the Test settings page, you need to select browsers and devices for the run. This is an easy way to view the results of changes you made to a test and create a baseline without waiting for the next scheduled run.
To Run a Single Instance of a Test
-
At the top of the Test Settings page, click Run.

-
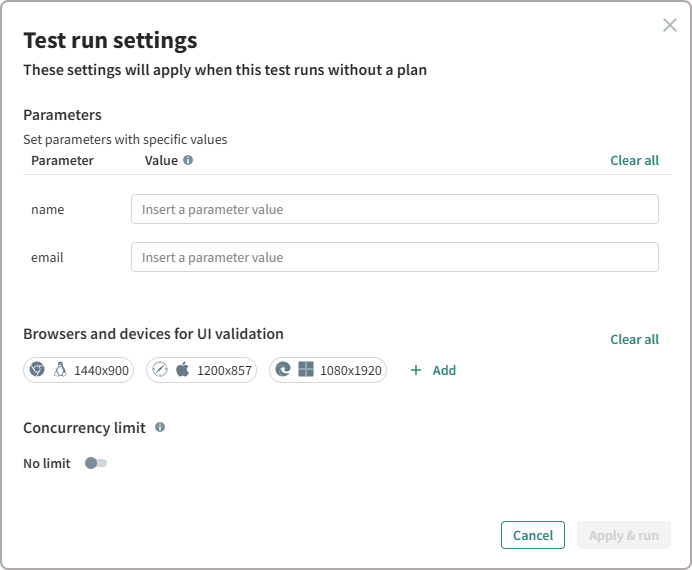
If there are parameters in the test, enter a value to use for each parameter in the test run.
-
By default, the browsers and devices that were last selected are displayed. Click on an item to remove it, or click Add to add new browsers and devices. The selected browsers are used to take the image for visual validation steps, user-action steps are always performed on Chrome.
-
If required, set a concurrency limit to control how many tests can run simultaneously. Without a concurrency limit, the test will run on all browsers and devices at the same time. With a concurrency limit of 1, the test will complete on one browser before starting on the next.
-
Click Apply and run.
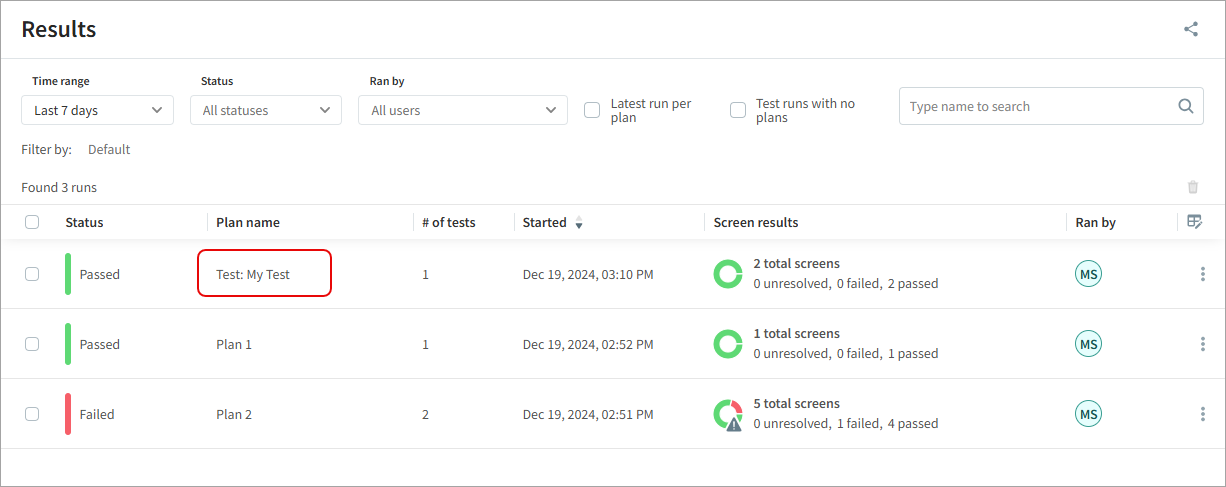
Once the test has run, you can view the status in the Results window. If the test is run without a plan, the Plan name column will list the name of the test in the Plan name column.
