Secure Tunnel for Local Testing
A tunnel enables Preflight to establish a connection with an internal environment that is not publicly accessible, typically hosting a staging or testing version of the web application or website. It is important to ensure that the machine running the tunnel agent has unrestricted access to the internal environment. If access is restricted, performance issues or forbidden access errors (403) may occur.
To Configure a Secure Tunnel
-
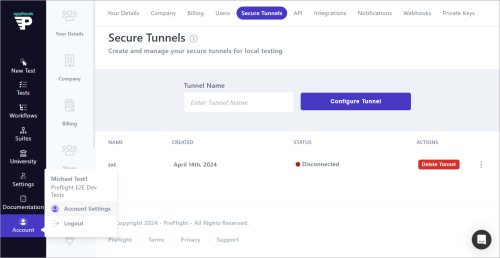
In the Navigation bar, select your profile icon and navigate to Account Settings > Secure Tunnels.
-
Enter a name for the tunnel and click Configure Tunnel.

-
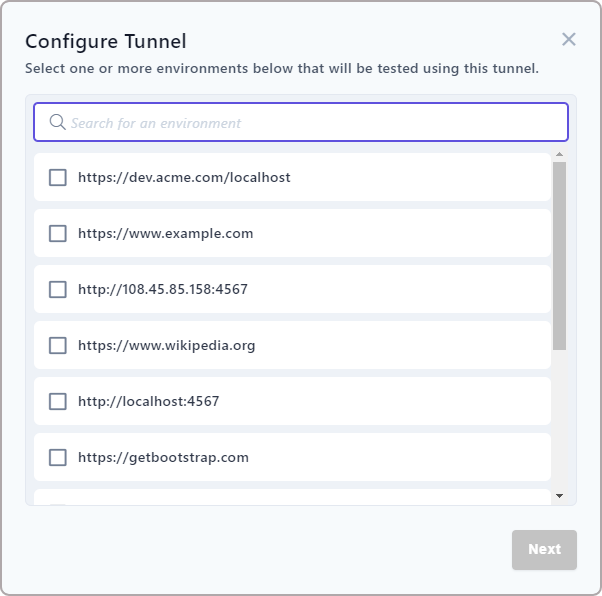
Select the download agent for the tunnel and click Next.

-
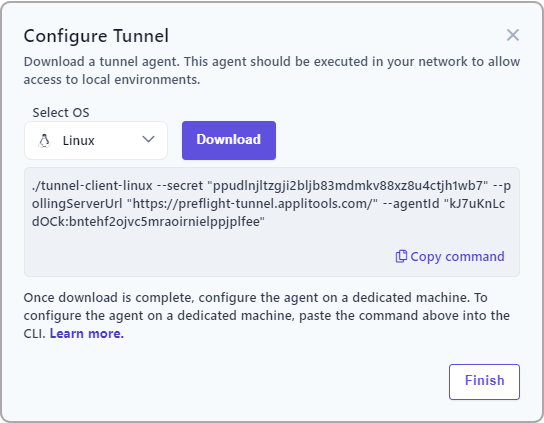
Select the required operating system and click Download.
The agent corresponds to an operating system. To configure the agent, copy the command displayed in this window and run it in a command prompt.
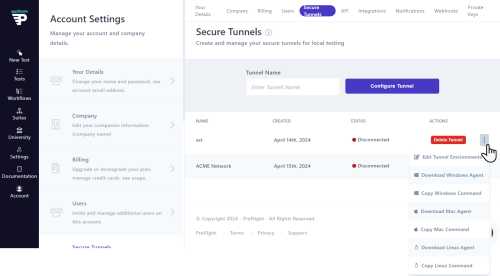
You can also find the configuration command and agents in the Tunnel ellipsis menu
.next to the tunnel name.
-
Confirm that the file has Execute permissions.
-
Open a command prompt or terminal and paste the copied configuration.
-
To verify that the tunnel agent is running and connected to Preflight, confirm that the tunnel has a Connected status.
Troubleshooting
If the tunnel is unable to connect to the network, test the following:
-
Confirm that you copied and ran the configuration command correctly.
-
The tunnel agent has a Connected status.
-
The tunnel agent can communicate directly with the environment you configured.
Tunnel IPs
The following IPs should be added to a whitelist if tunneling is used and the client is blocked from initiating TCP connections to the public internet:
Name                           IP Address    Port  DNS Record
====                           ==========    ====  ===============
Execution Cloud Tunnel US-West 34.49.100.3   443   exec-wus.applitools.com
Related topics

