Modify the View
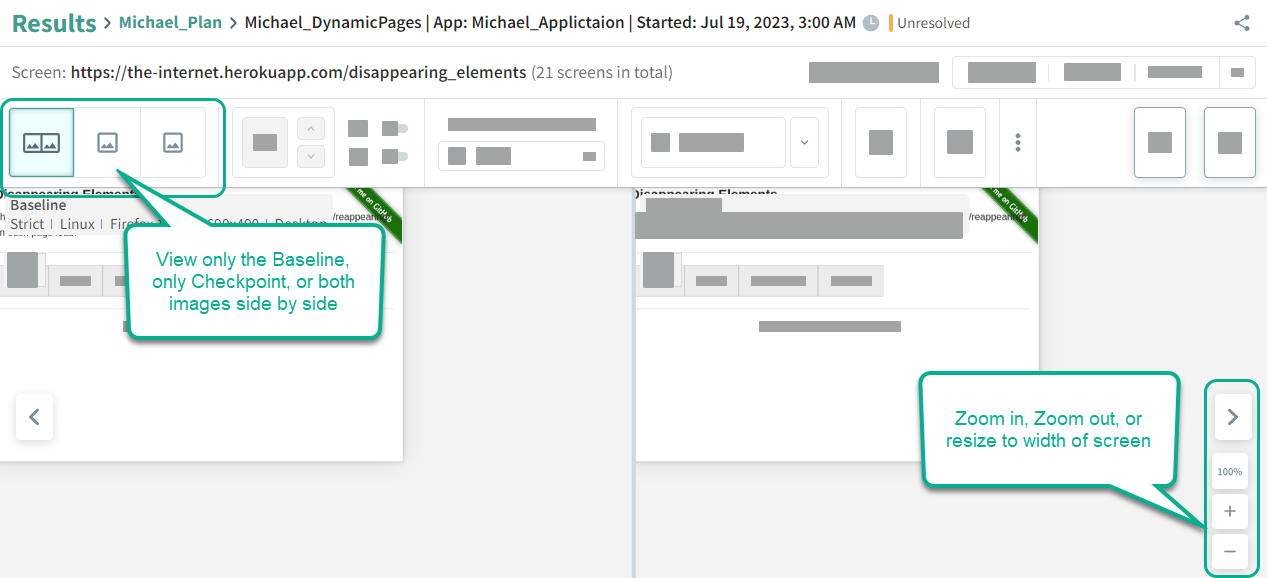
In the Test Analyzer, use the toolbar buttons to select whether to view both baseline, checkpoint, or both images side-by-side. Use the zoom buttons on the right side of the image to zoom in or out.
Highlighting Differences
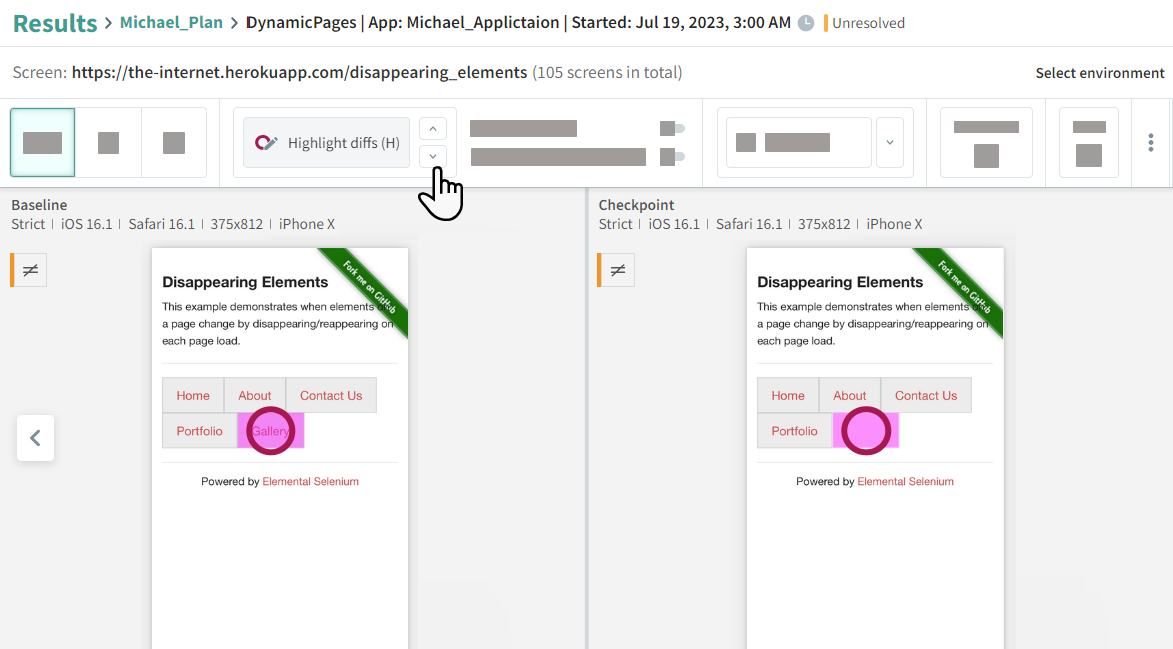
By default, differences between the baseline and checkpoint are highlighted in pink.
Click the Highlight diffs button, and circles will flash wherever there are differences in the images. If a difference is positioned outside the field of view, a circle flashes and a blurred pink strip appears on the edge of the view that indicates the direction in which to scroll to see the diff.
Click ![]() or
or ![]() to step through all the differences by zooming on each difference in turn.
to step through all the differences by zooming on each difference in turn.
Click Hide diffs to remove he pink shading.
Hiding Displacements
Click Hide displacement diffs to view only differences caused by changed content, hiding differences that arise from content whose position on the screen has changed. This feature is useful, for example, where content is added or deleted, causing other elements on the screen to be displaced and generating additional differences. When a large area of the screen is impacted by such a change, the screen is full of pink mismatched areas, and it can be hard to identify content that has changed. By using this tool you can hide content that has only moved and focus on mismatches caused by actual changes in the content.
Understanding Match Levels
You can simulate the results with a different match level, or set a specific region to use a different match level.
The match level determines the way Autonomous compares the checkpoint image with the baseline image. There are the following match levels:
 Strict
This is the default and in most situations the recommend match level. This match level verifies that the screen content matches the baseline image closely enough that the human eye would not see any difference. With this level, Autonomous detects changes in text, font, color, graphics, and position of elements. It detects differences that are visible to the human eye while ignoring differences in pixel values that are platform dependent due to the rendering software and hardware.
 Layout
This level is useful for validating that the screen layout is consistent. With this match level, Autonomous identifies the various screen elements in the checkpoint and baseline images, such as text, images, buttons, and columns, and verifies that the relative positions of these elements are consistent. This match level can detect elements that have appeared, disappeared, or moved. With this match level, the Autonomous matching engine ignores differences in the actual content text and graphics, color, and other style changes. This match level is useful for screens with dynamic content, such as banner ads or content which changes every time the screen is refreshed.
 Ignore colors
This match level is similar to the strict match level but ignores changes in colors. It is effective when your content is static but the color varies, for example if there are buttons or screen elements that can appear in a variety of colors.
Using Match Level Simulation
You can preview how the screen would have looked if the screenshot had been set to a different Match Level. If the screen displays a better result with a different match level, you can modify the test so that next time it runs a different match level will be used for this screen. For details of changing the match level in a test, see Creating a URL List Test or Creating a Custom Flow Test.

