Recording a Test
To start a new recording, open a new tab in your browser and navigate to the page you want to record, or go to an existing tab and click the extension on your browser.
If you are using the current tab after installing the extension, refresh the page to ensure the extension is loaded for use on that page before starting to record.
To Record a Test:
-
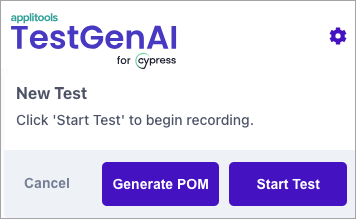
Click the TestGenAI extension to open the recorder.
-
Click Start Test to begin recording.
All actions that you perform on the page will be recorded and added to the test.

-
Click Finish Test when you have completed the process to be tested.
Supported Recorded Actions
Simple Actions
The following browser actions are recorded when you perform them:
-
Click
-
Double-click
-
Right-click
-
Type
-
Drag and drop
Advanced Actions
The following actions can be recorded in the test as described:
-
File upload
The extension will record this file upload action and place the uploaded file in the ./cypress/fixtures folder. For example, the following code snippet will upload the
testImage.jpgfile from ./cypress/fixtures when the test executes:cy.getAI('[type="file"]', 'fileInput').fileUpload('testImage.jpg');
-
Hover on element
Right-click on the element and select Add Hover from the extension context menu.

-
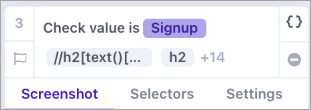
Text assertion
Drag the Text Assertion icon to an element you want to assert on the page.
Or, right-click and select Add Text Assertion from the context menu.
-
Closing popup windows
The default behavior automatically confirms all popup messages, for example by clicking OK.
You can use the following code to override the default behavior:
cy.setConfirmDialogResponse(false);
cy.getAI('#confirm-button', {iframe: 'iframe'}).click(); -
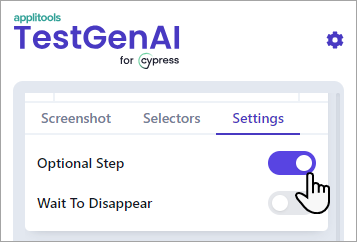
Optional step
To mark a step as optional, click the step Settings tab and enable Optional Step.
-
Wait for the element to disappear
To mark a step to wait for an element to disappear, click the step Settings tab and enable Wait to Disappear.
-
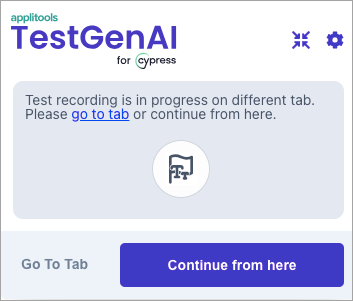
Navigate to a new tab or window
-
While actively recording, open a new or existing tab.
-
Click the extension on the new page or tab. This will open the extension on the new page or tab.
-
Click Continue from here to record a navigation step. From this point forward, you can continue recording on this new tab.
-
-
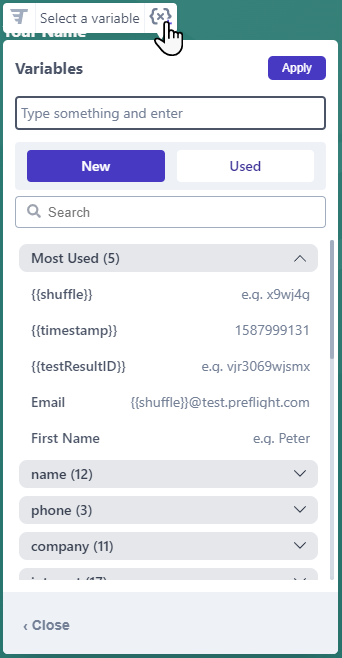
Test data variable generation
-
If the extension detects the type of a text field, it will suggest a variable. To choose this variable, click it to insert it into the text field.

-
To select a different variable from the variable generator list, click { x }, select a variable, and click Apply.
-
To change a recorded variable on a step, click the { } button on the top-right of the step in the recorder to open the variable generator UI, select a different variable, and click Apply.
Alternatively, you can select a variable that was already used in a previous step.
-